This step is always a point of disagreement between Deb and I. Deb prefers to paint the items before they are assembled in place. I prefer to assemble things first, then paint it all at once after it’s installed.
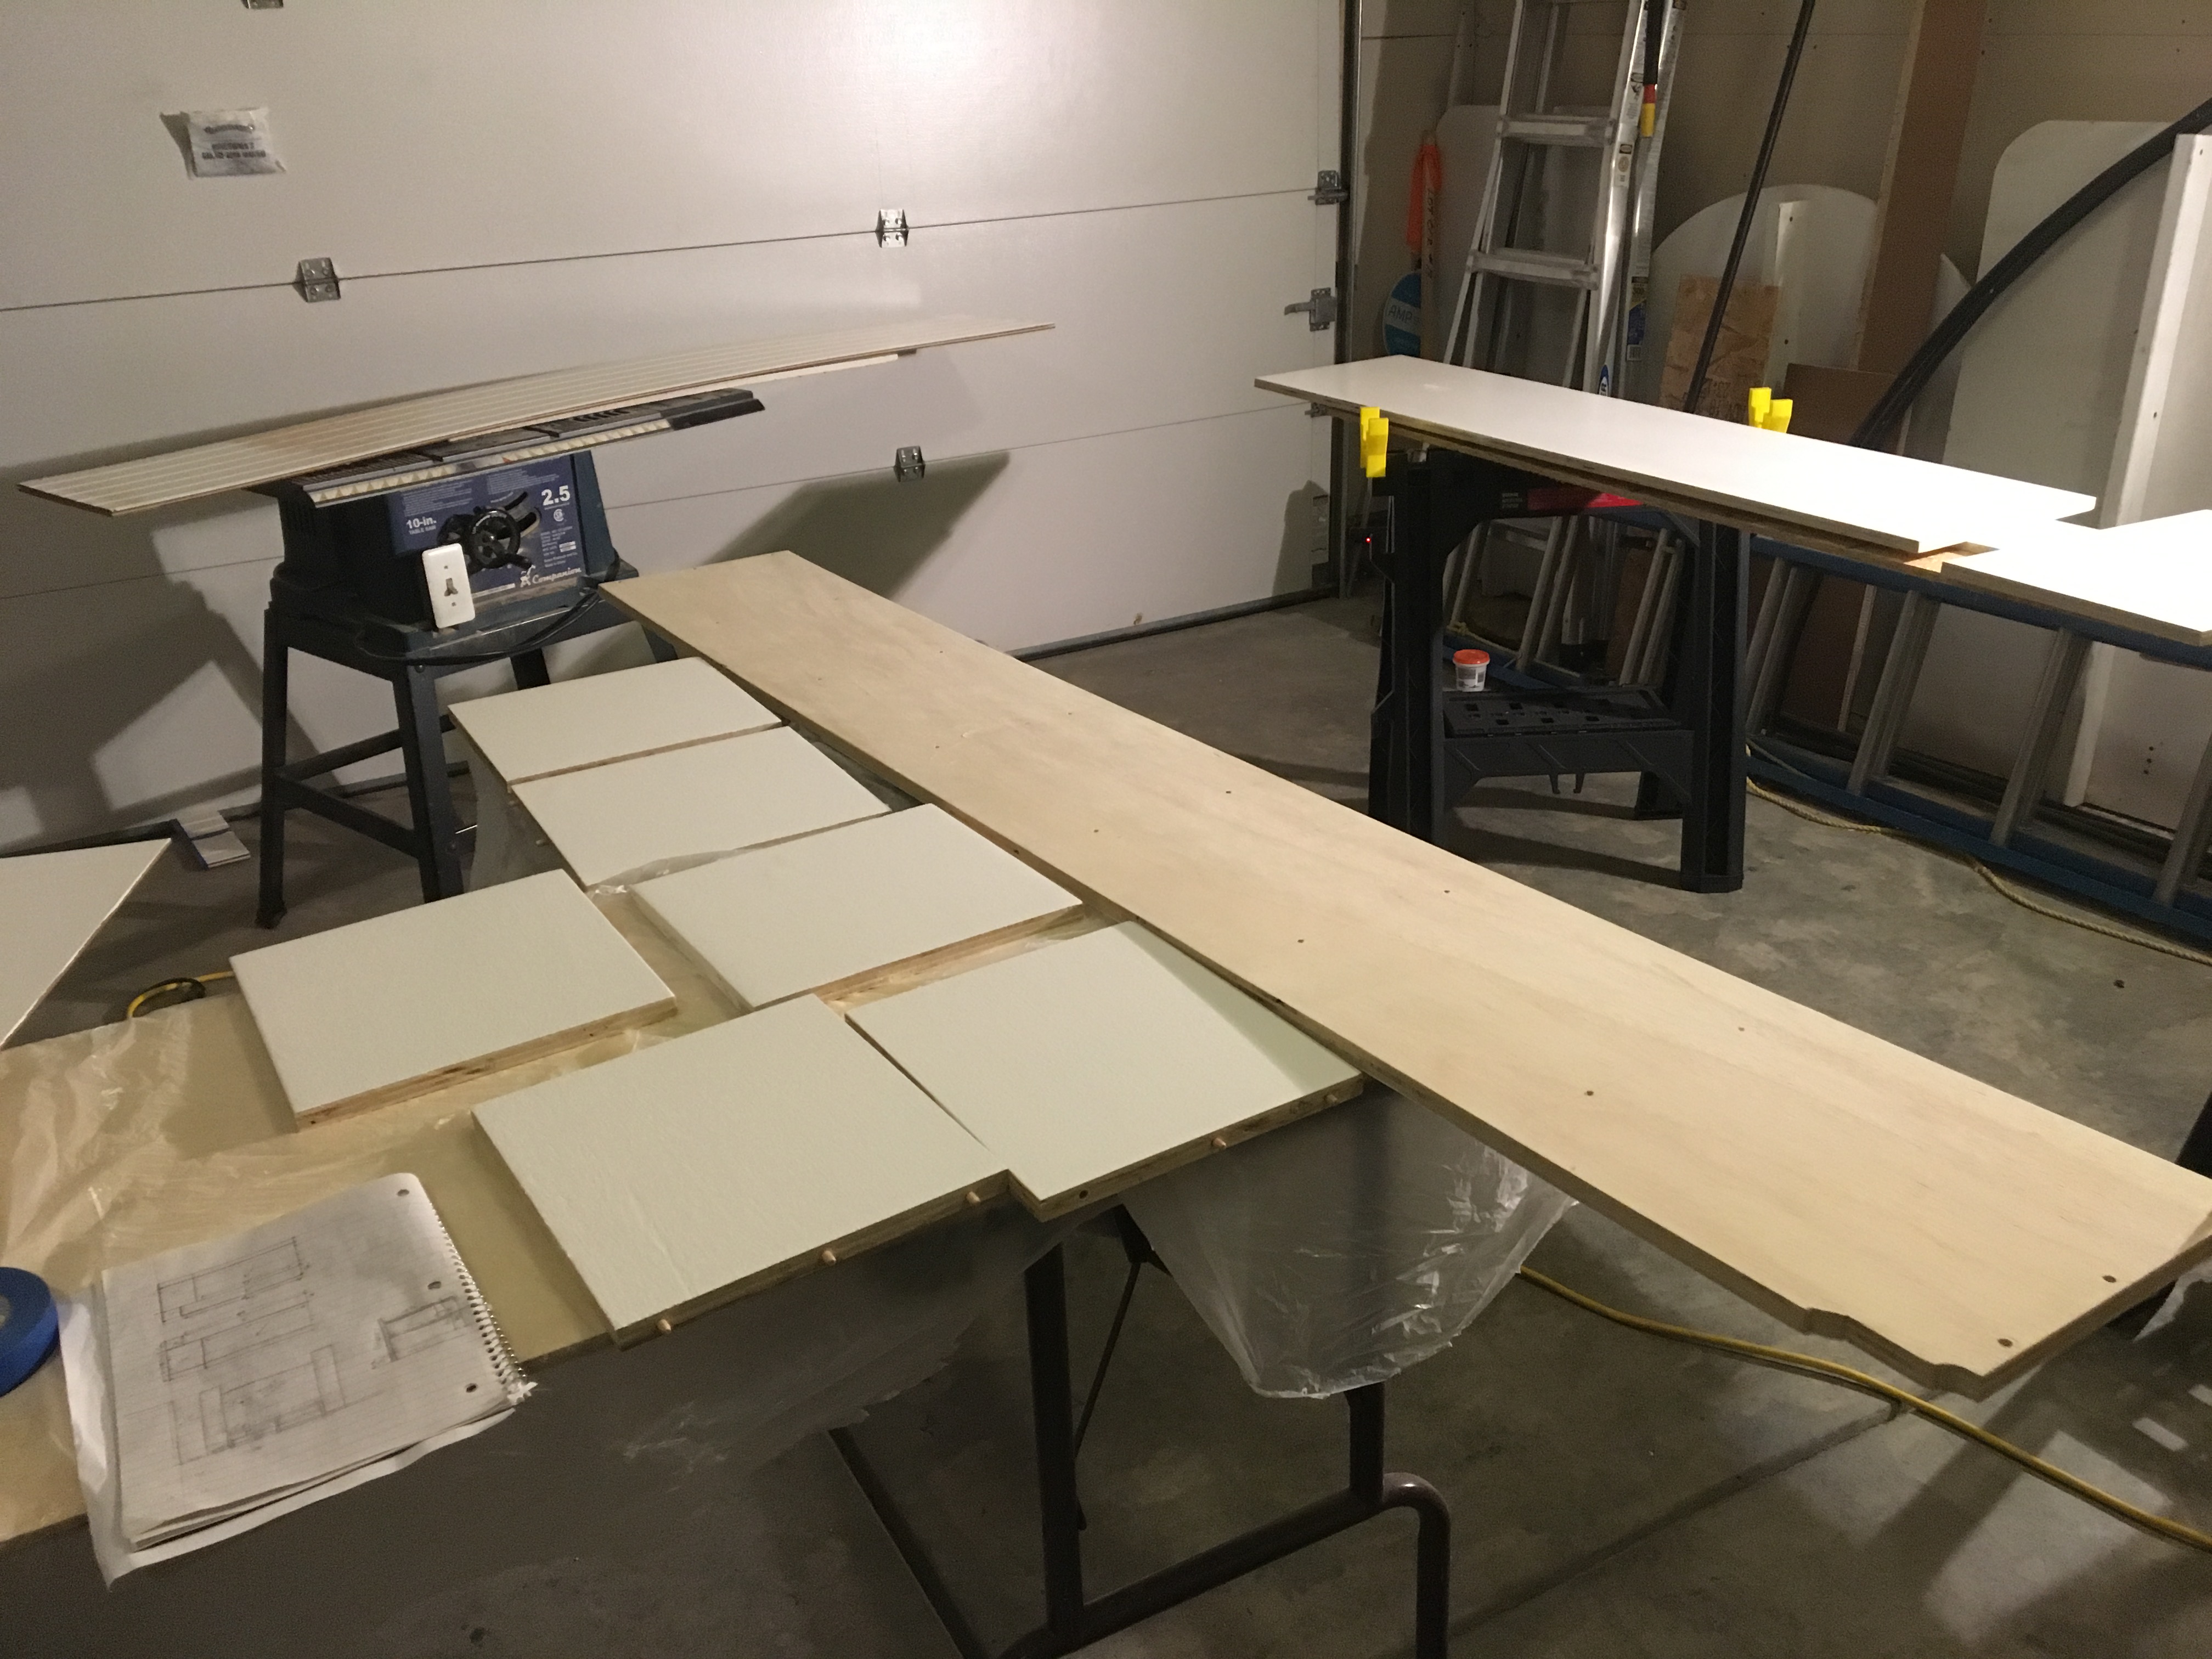
So, as usual, Deb won and we painted the parts first. At first we set up painting in our garage. However the temperatures were cold, and we experienced some bubbling in the paint that I have never seen before. From what I can guess, it could be any of three things. It was cold in the garage I shook the paint really well before hand. Maybe it got air mixed in? We used a primer and paint in one so it was really thick. It could be a combination of any of those or something else entirely. So we had to sand off the bubbled paint and repaint them again.

So for round 2, we set up a painting area in our front entryway. It also meant we didn’t have to go to far to begin installation. The downside is you really can’t use your front door easily until it’s done. Whatever was causing the bubbling seemed to get better, but we still had some inside as well.
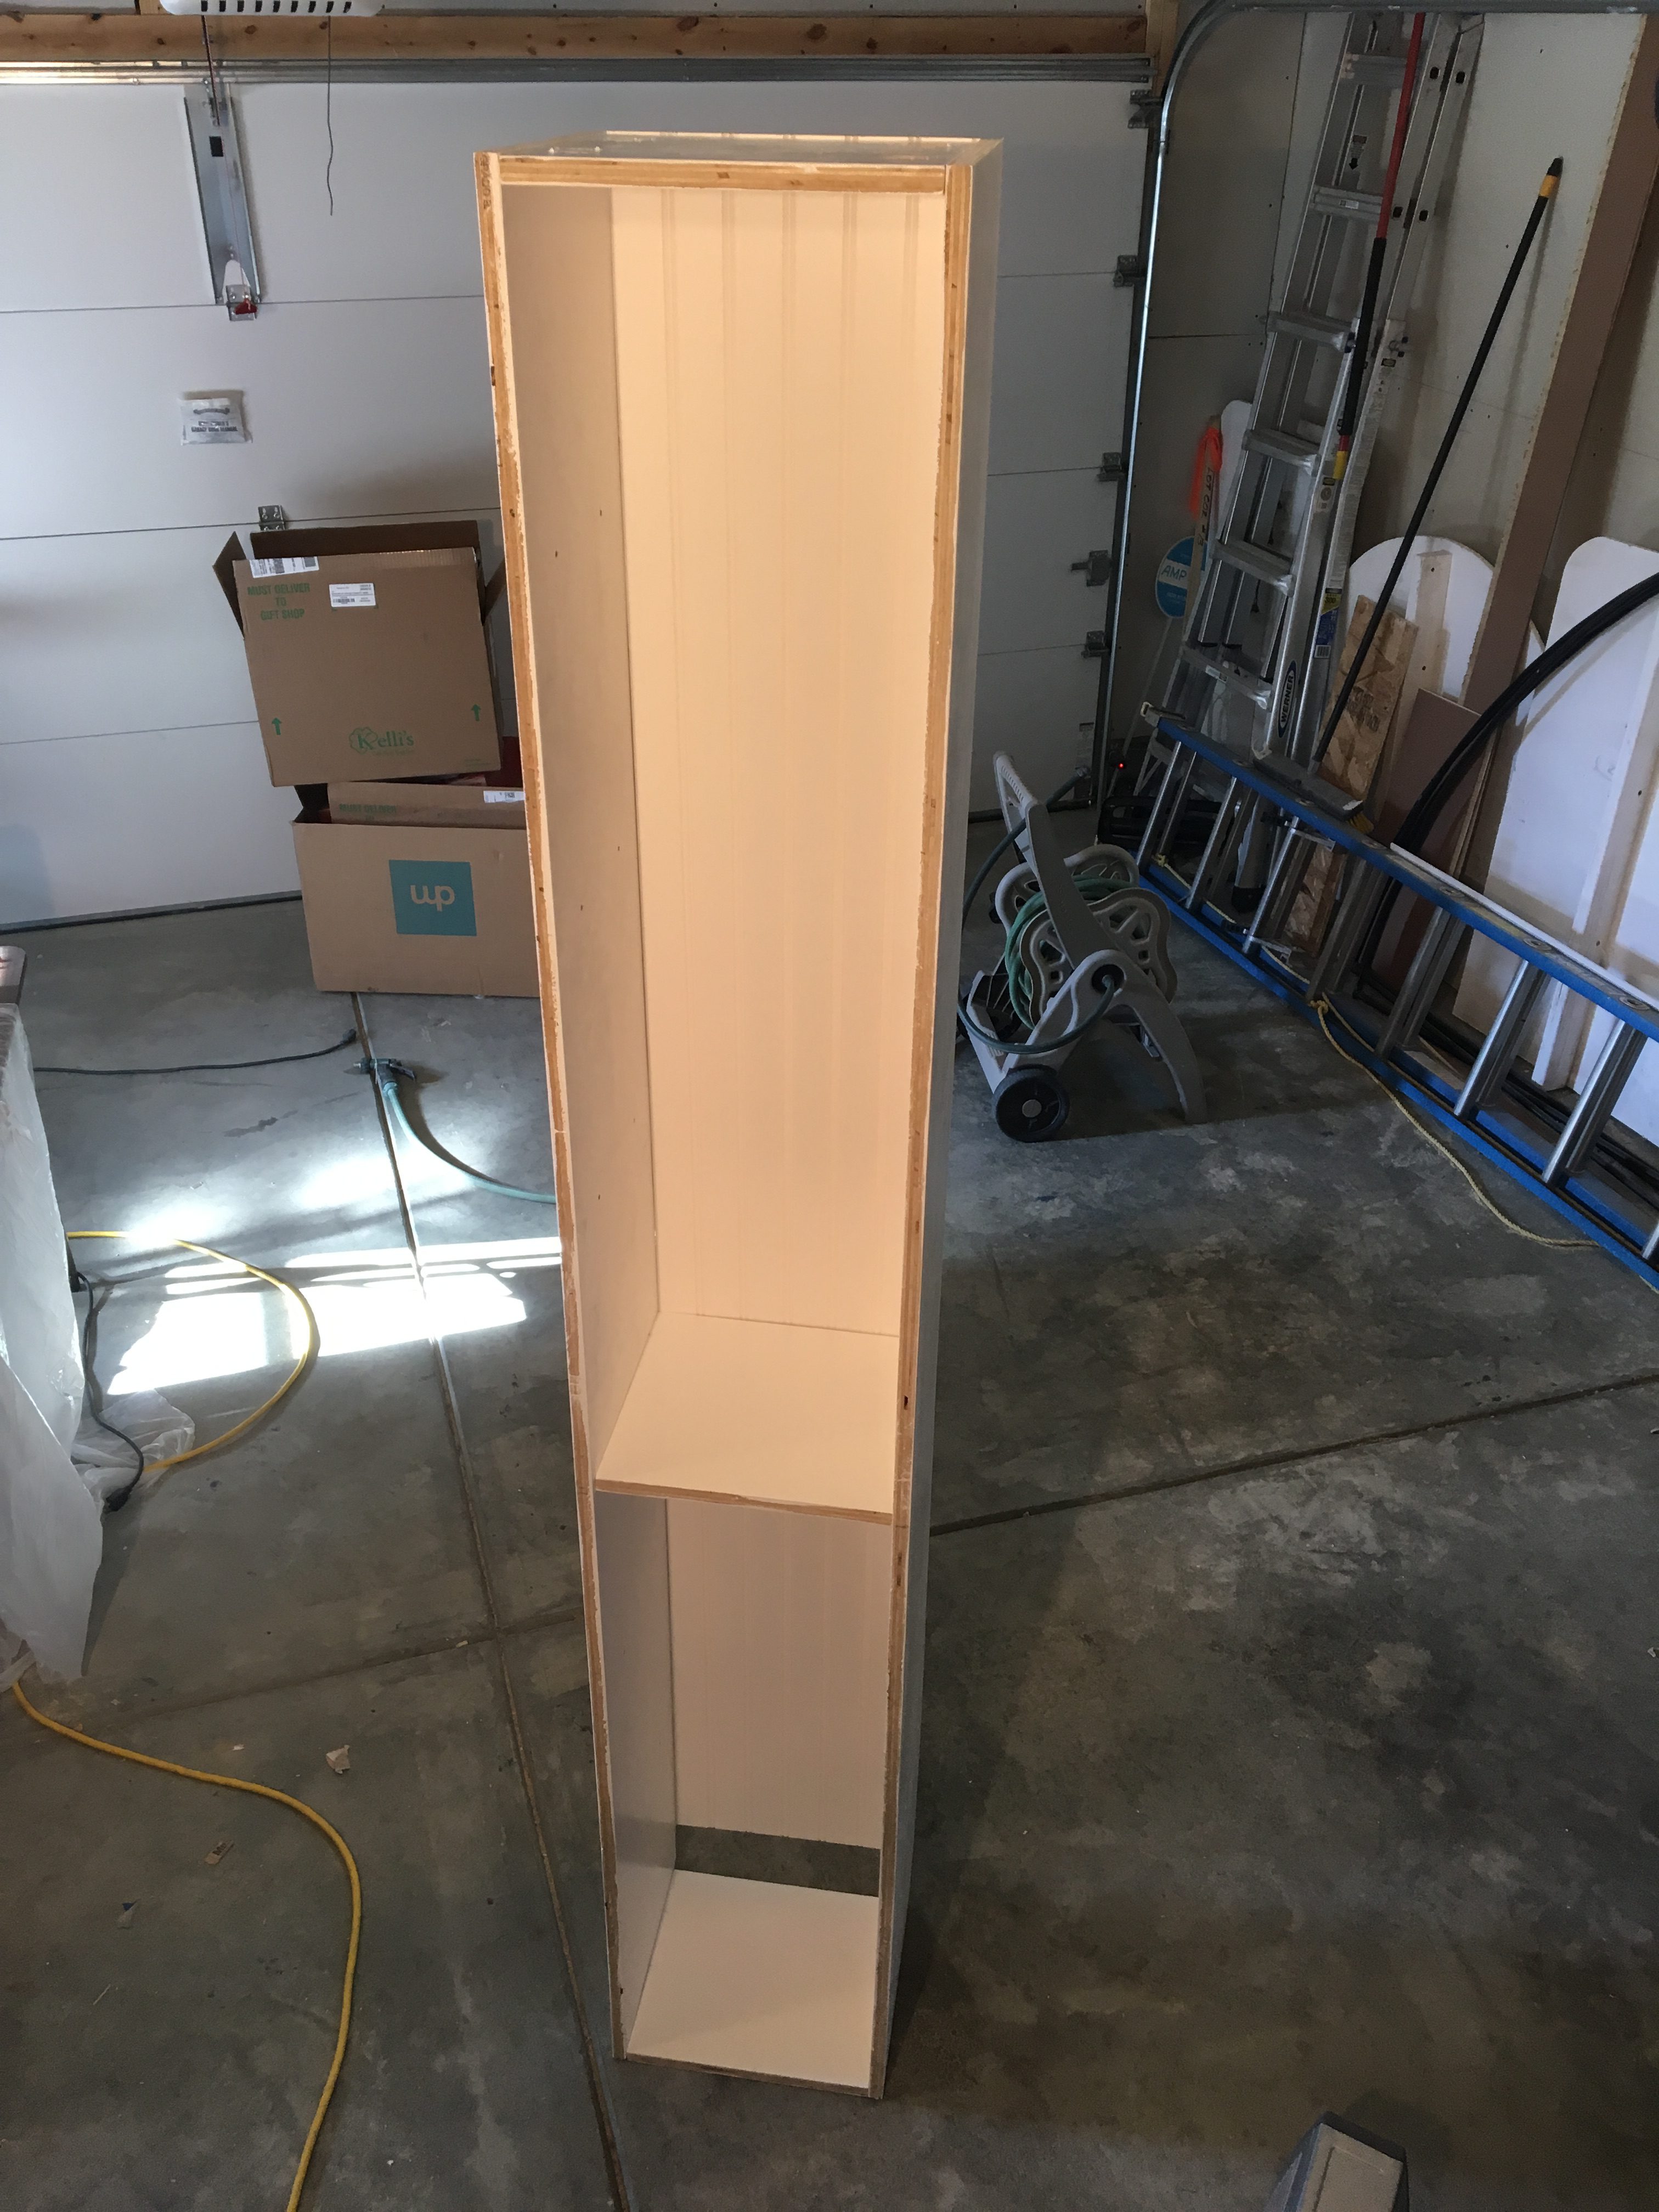
Here are the finished shelving units after painting and assembling.
Step 8: Begin Installation