 Quick weekend fire pit project
This was a fun project due to it getting results in a quick fashion.
When we had our patio installed, the contractor asked if we wanted him to install a fire pit ring into the patio for future use. We decided it would be much easier to install in then rather than cutting a hole later for gas or draining.
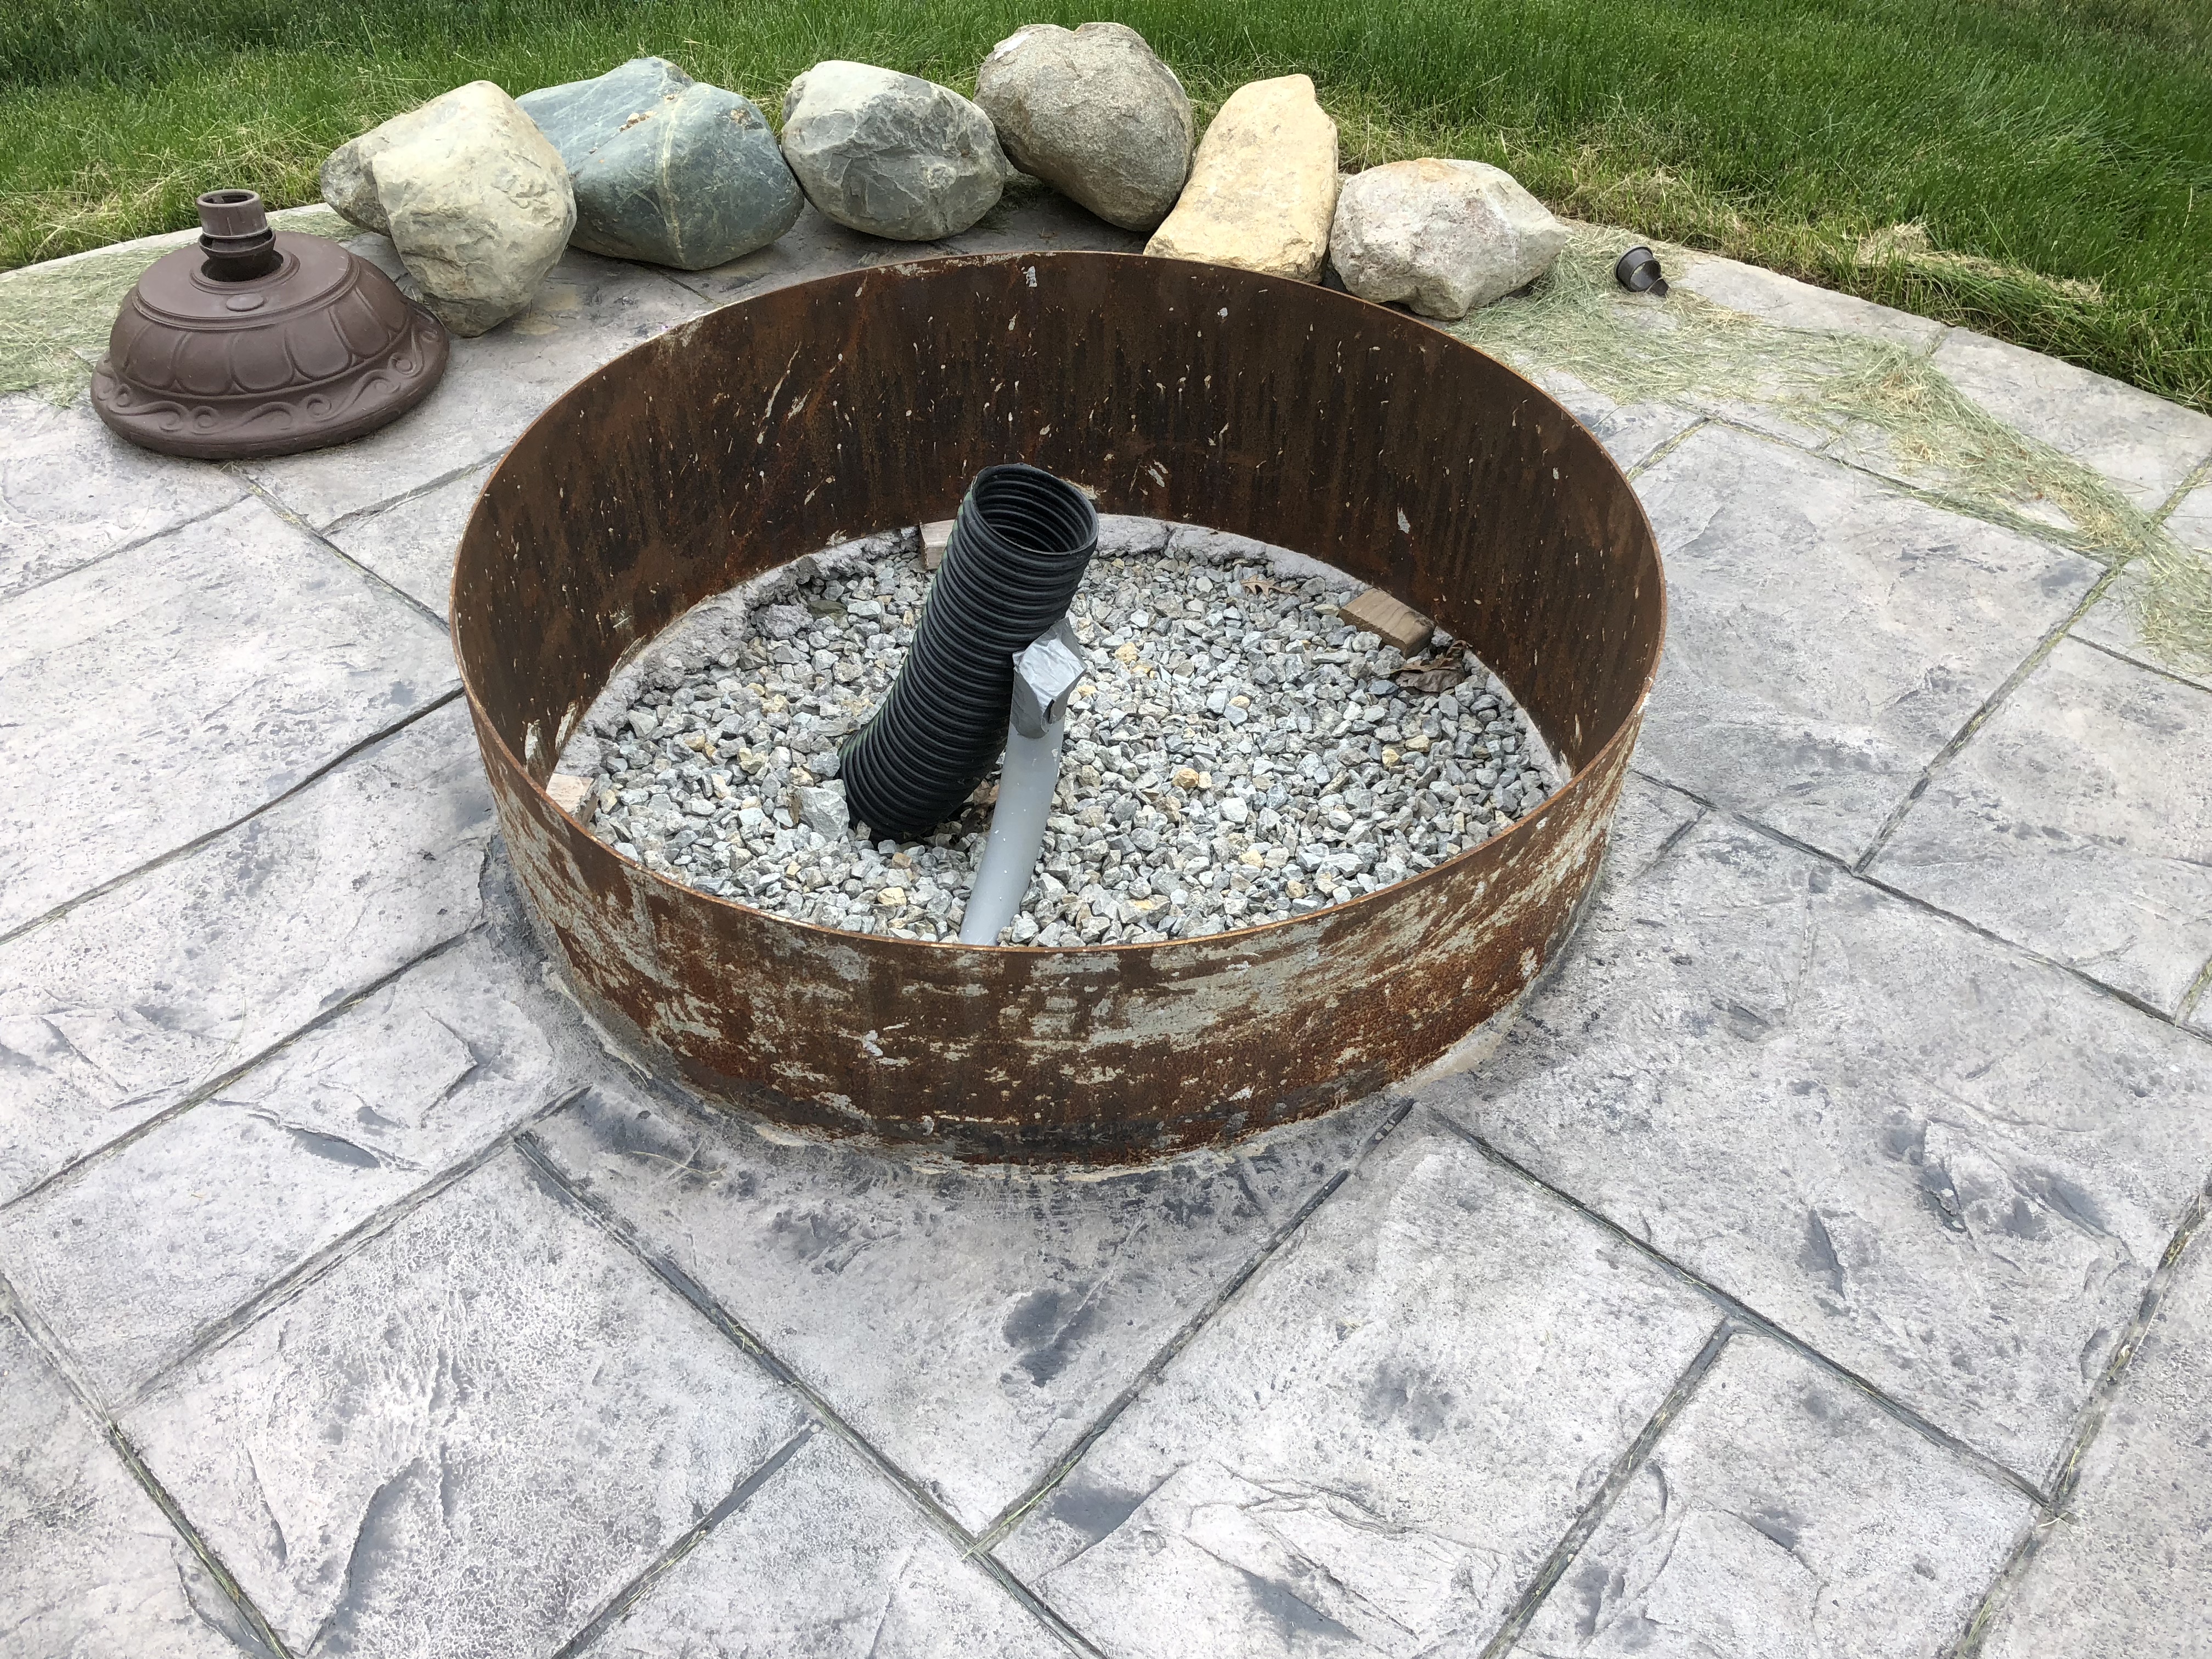
The problem was we weren’t sure if we wanted a gas fire pit or a wood burning pit. So we had them run a PVC pipe for running a gas line and a draining pipe to allow water to drain.
After the patio was finished, we ended up deciding we were going to go the wood burning route. So then we needed to figure out what we were going to do with the pipes.
I dug out all of the gravel the contractor put in the pit, and ended up using a hacksaw on the PVC pipe to get the pipe as close to the ground as I could. I covered the end of the pipe with a few layers of duct tape to keep water out of it.
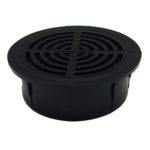
I then used a razor knife to cut the drainage pipe, again, as low as i could toward the ground. To top it off, I put a drainage cap that looks like this:
Once that was done we filled back in the rock that was originally there and added 5 more bags of pea gravel to bring the level up above the cut off pipe and drain about 4 inches above.
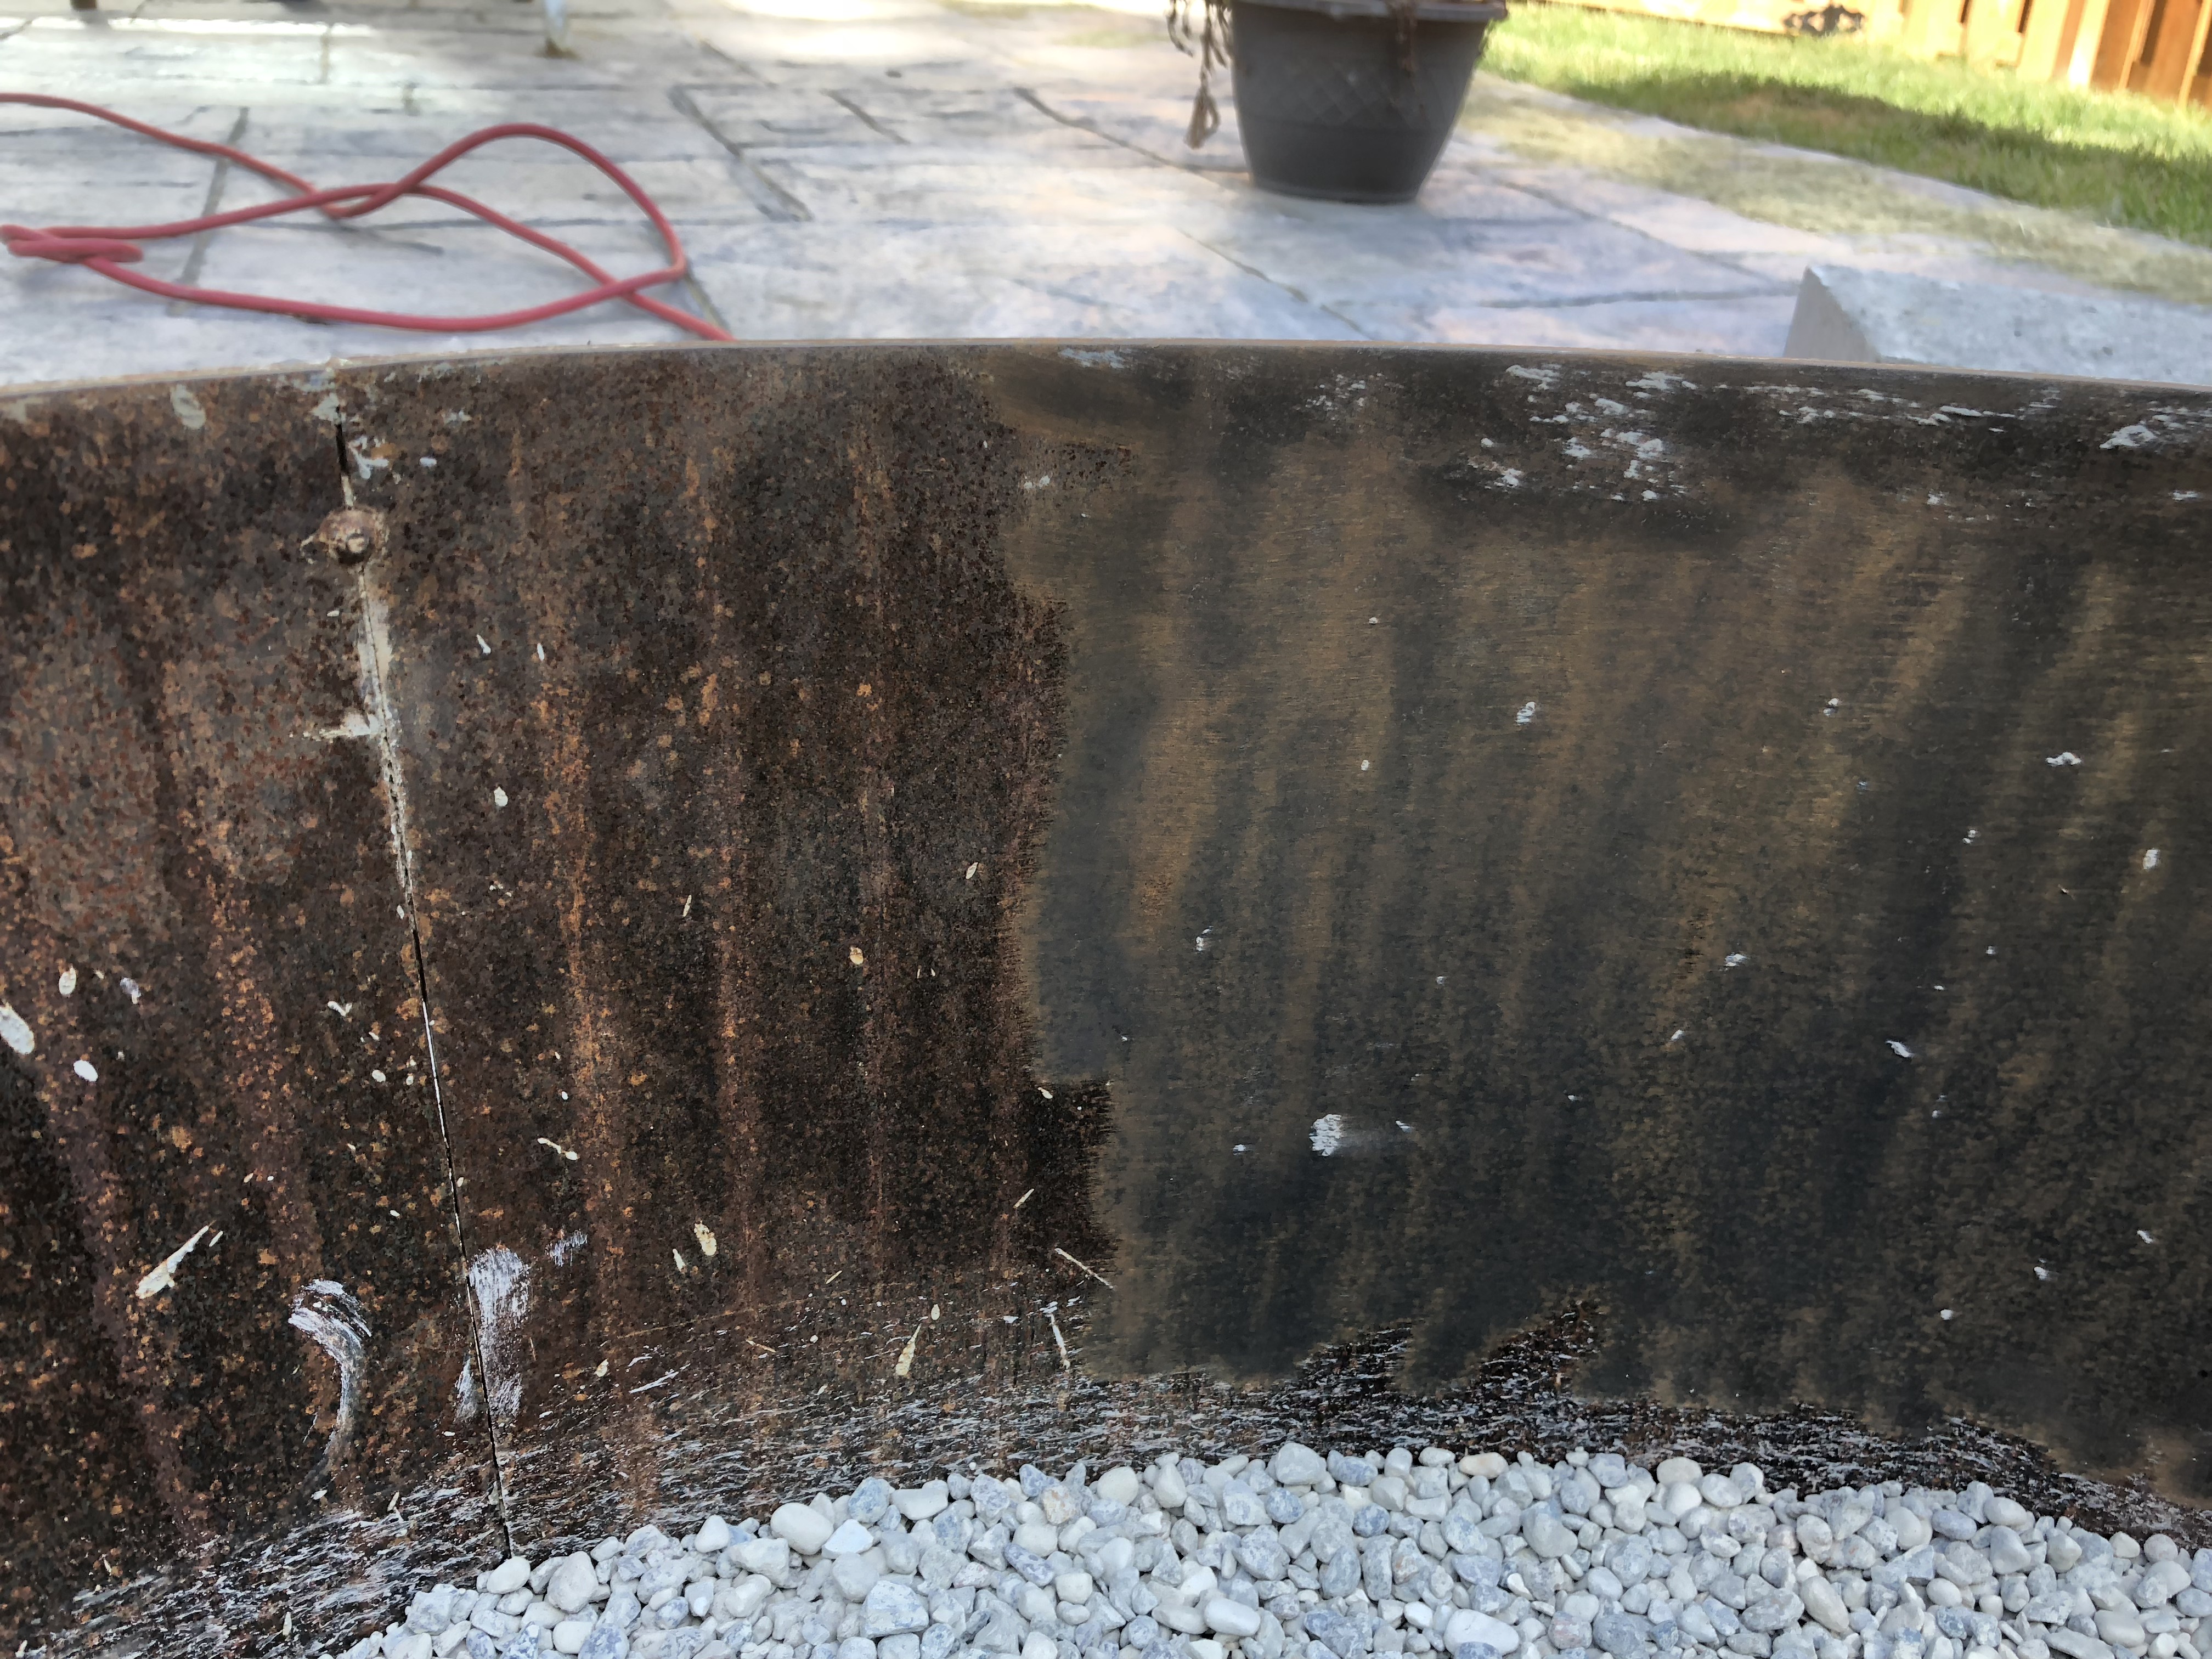 Next was to prep and paint the metal that had rusted from the time since it was installed.
I used a 1/2″ drill with a wire brush attachment to remove the rust. It seemed to work pretty well and only took a few minutes to finish it.
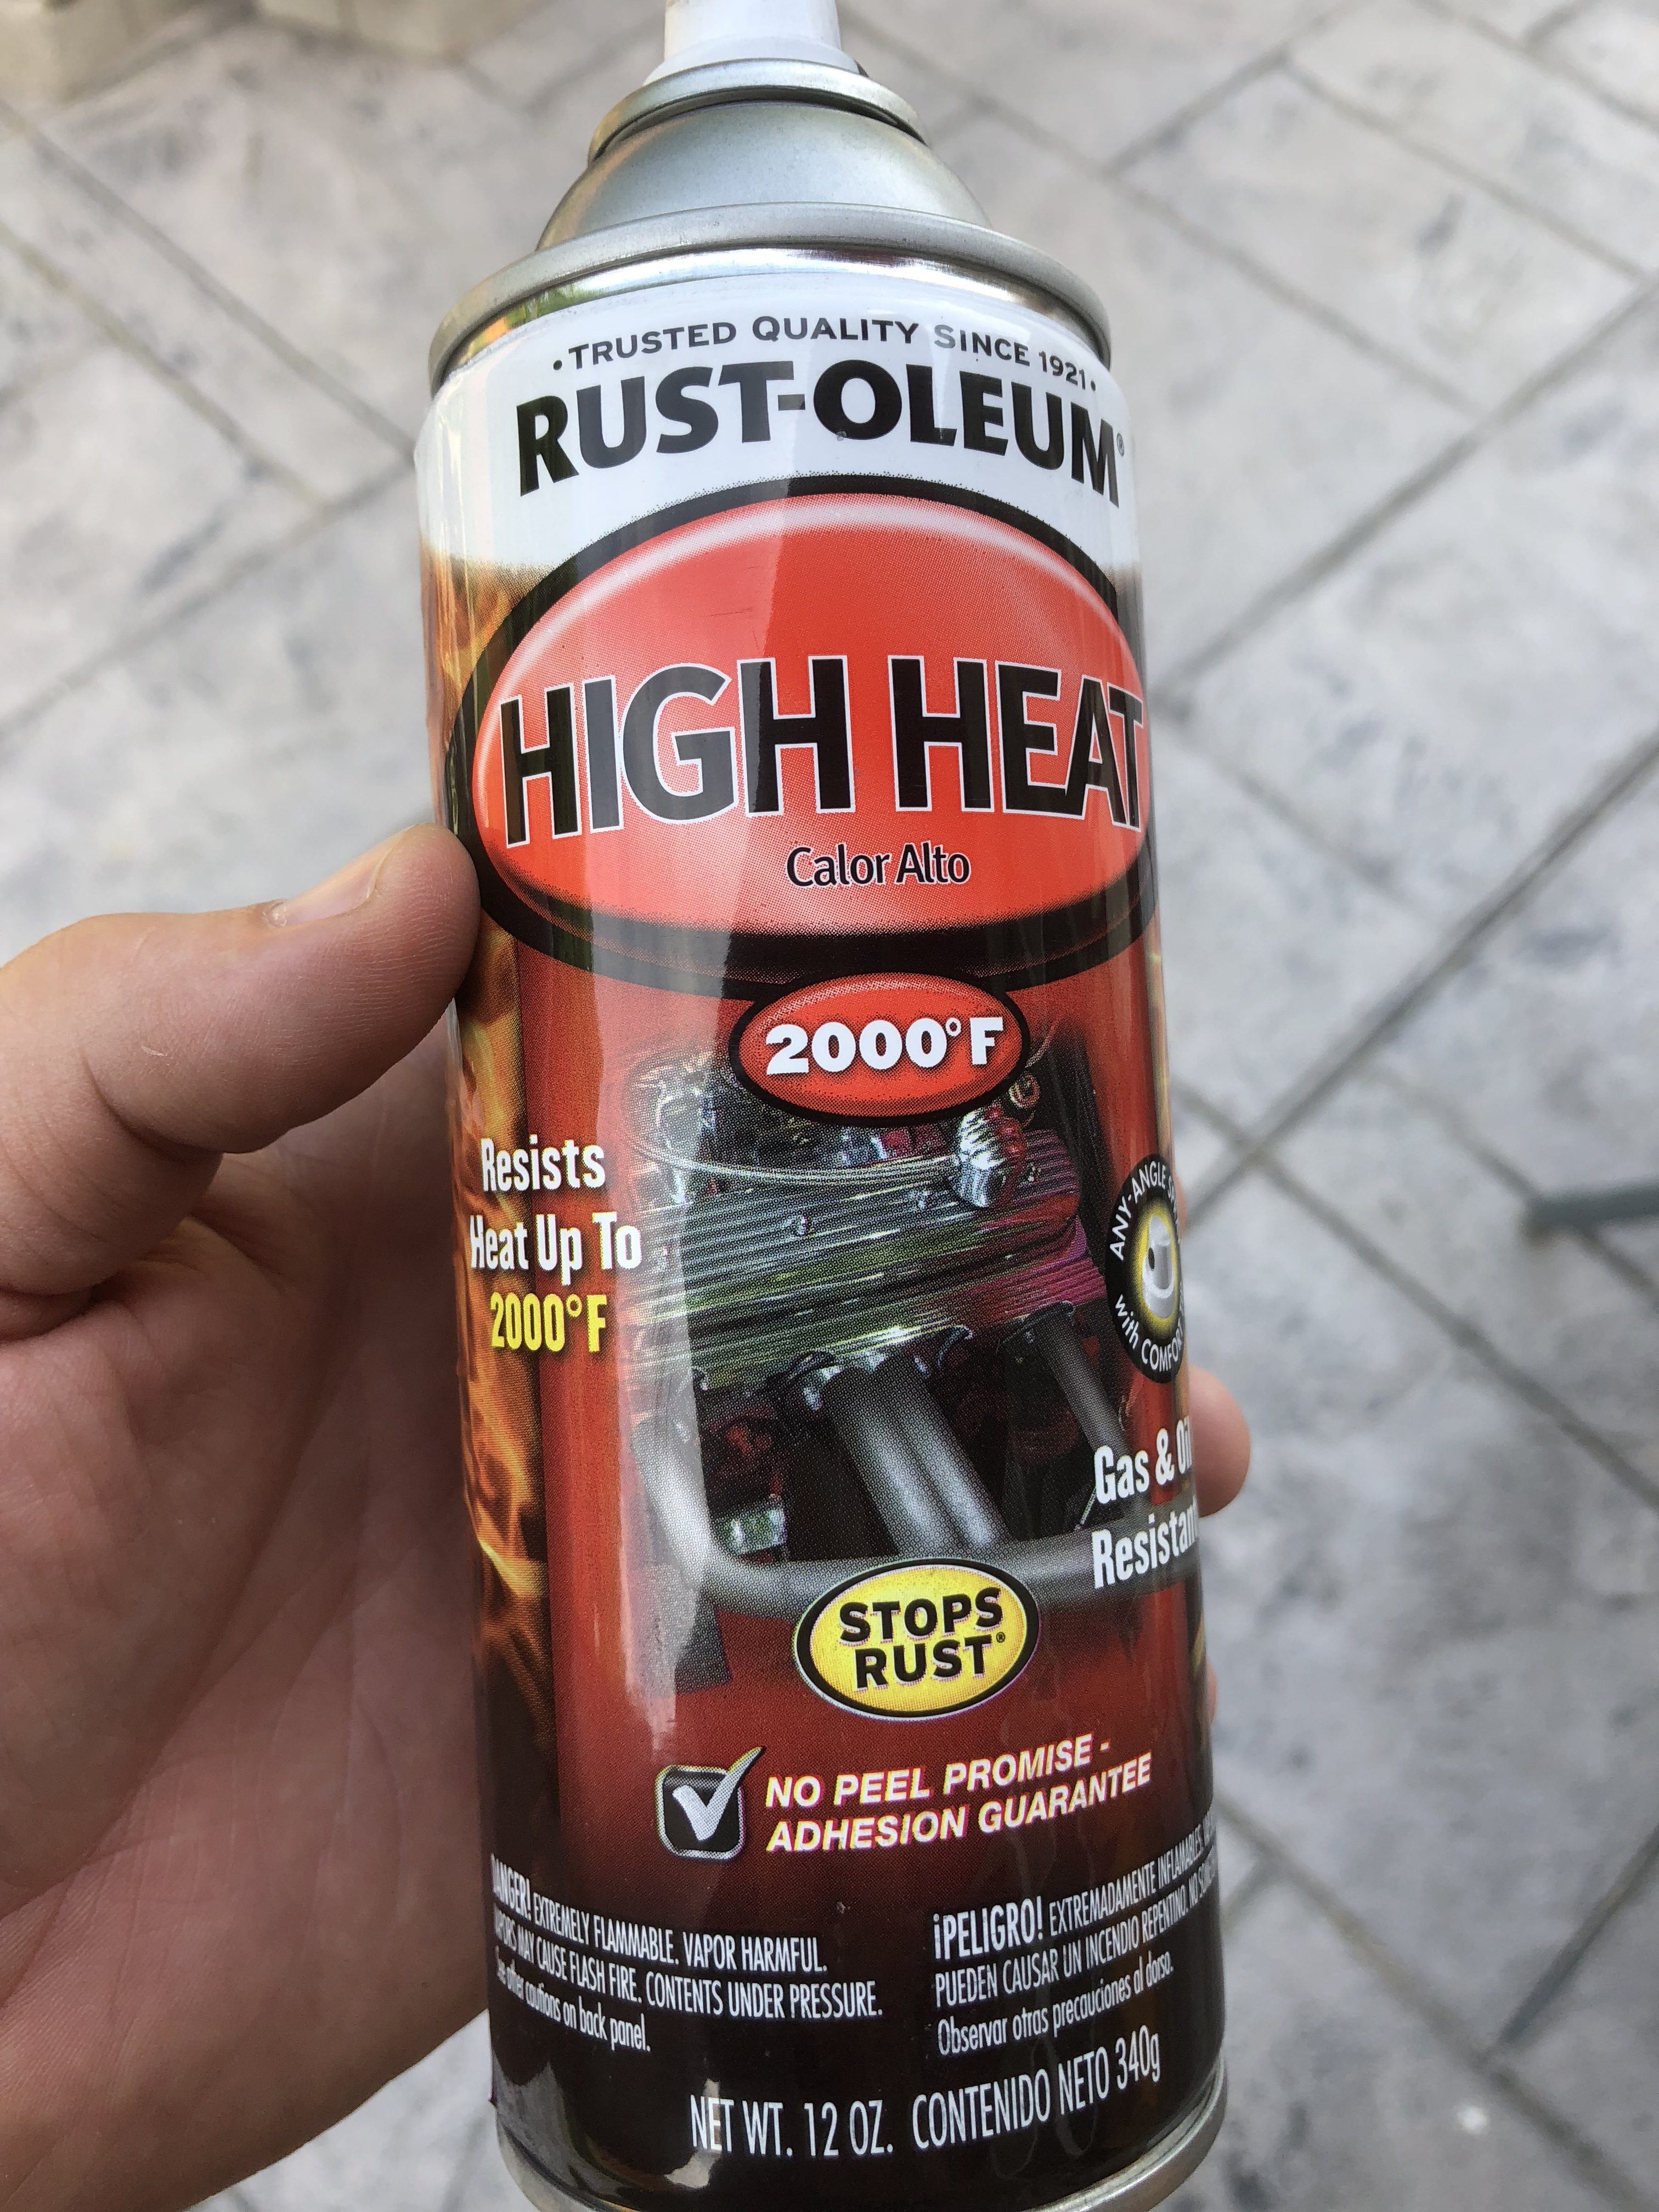
I was very pleased with this paint. It went on evenly. We have used the pit several times since we finished it seems to be holding up well. I only used it on the inside of the pit, and the can easily covered everything well. I did end up using up the whole can.
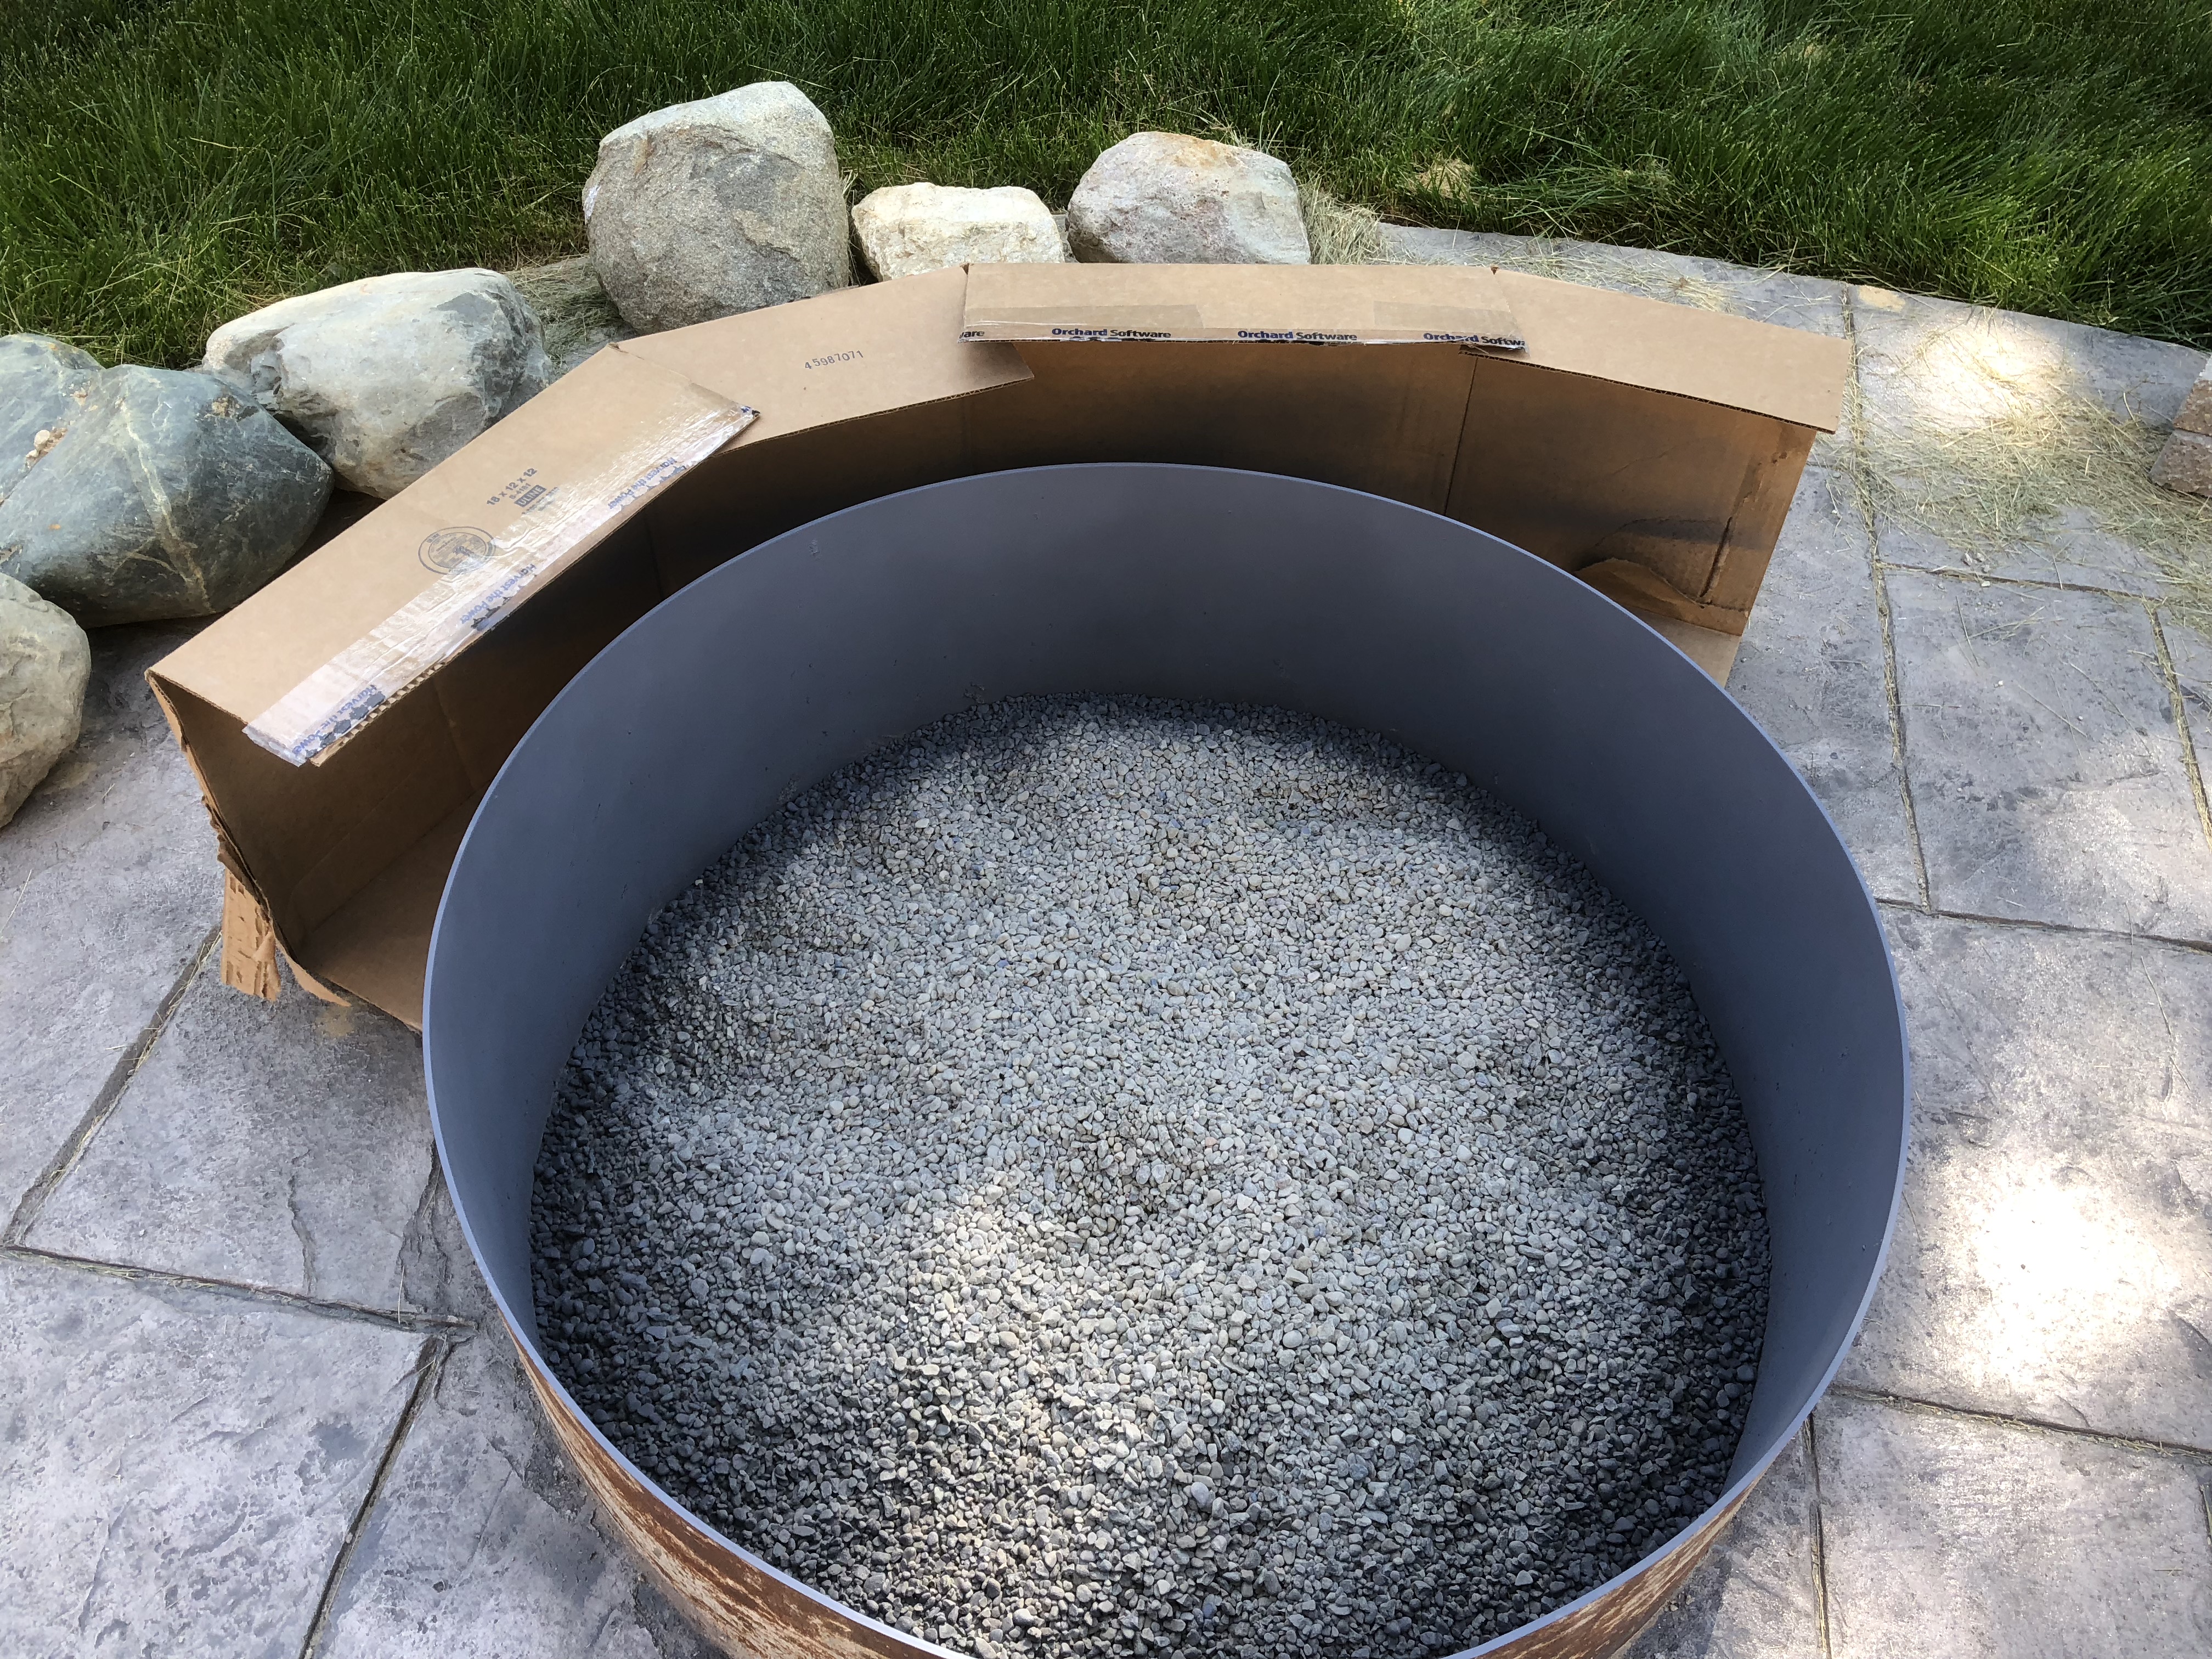 I created a backstop out of a cardboard box and moved it around as I painted the inside of the ring. Since there was little wind, and I took my time, so it worked out well.
 We went to a number of home improvement stores to find the color and quantity we wanted. One recommendation I would have, would be to buy the bricks right before you plan to use them and make sure there are extra in case you have to go back and get more. Which we did. I’m terrible at geometry.
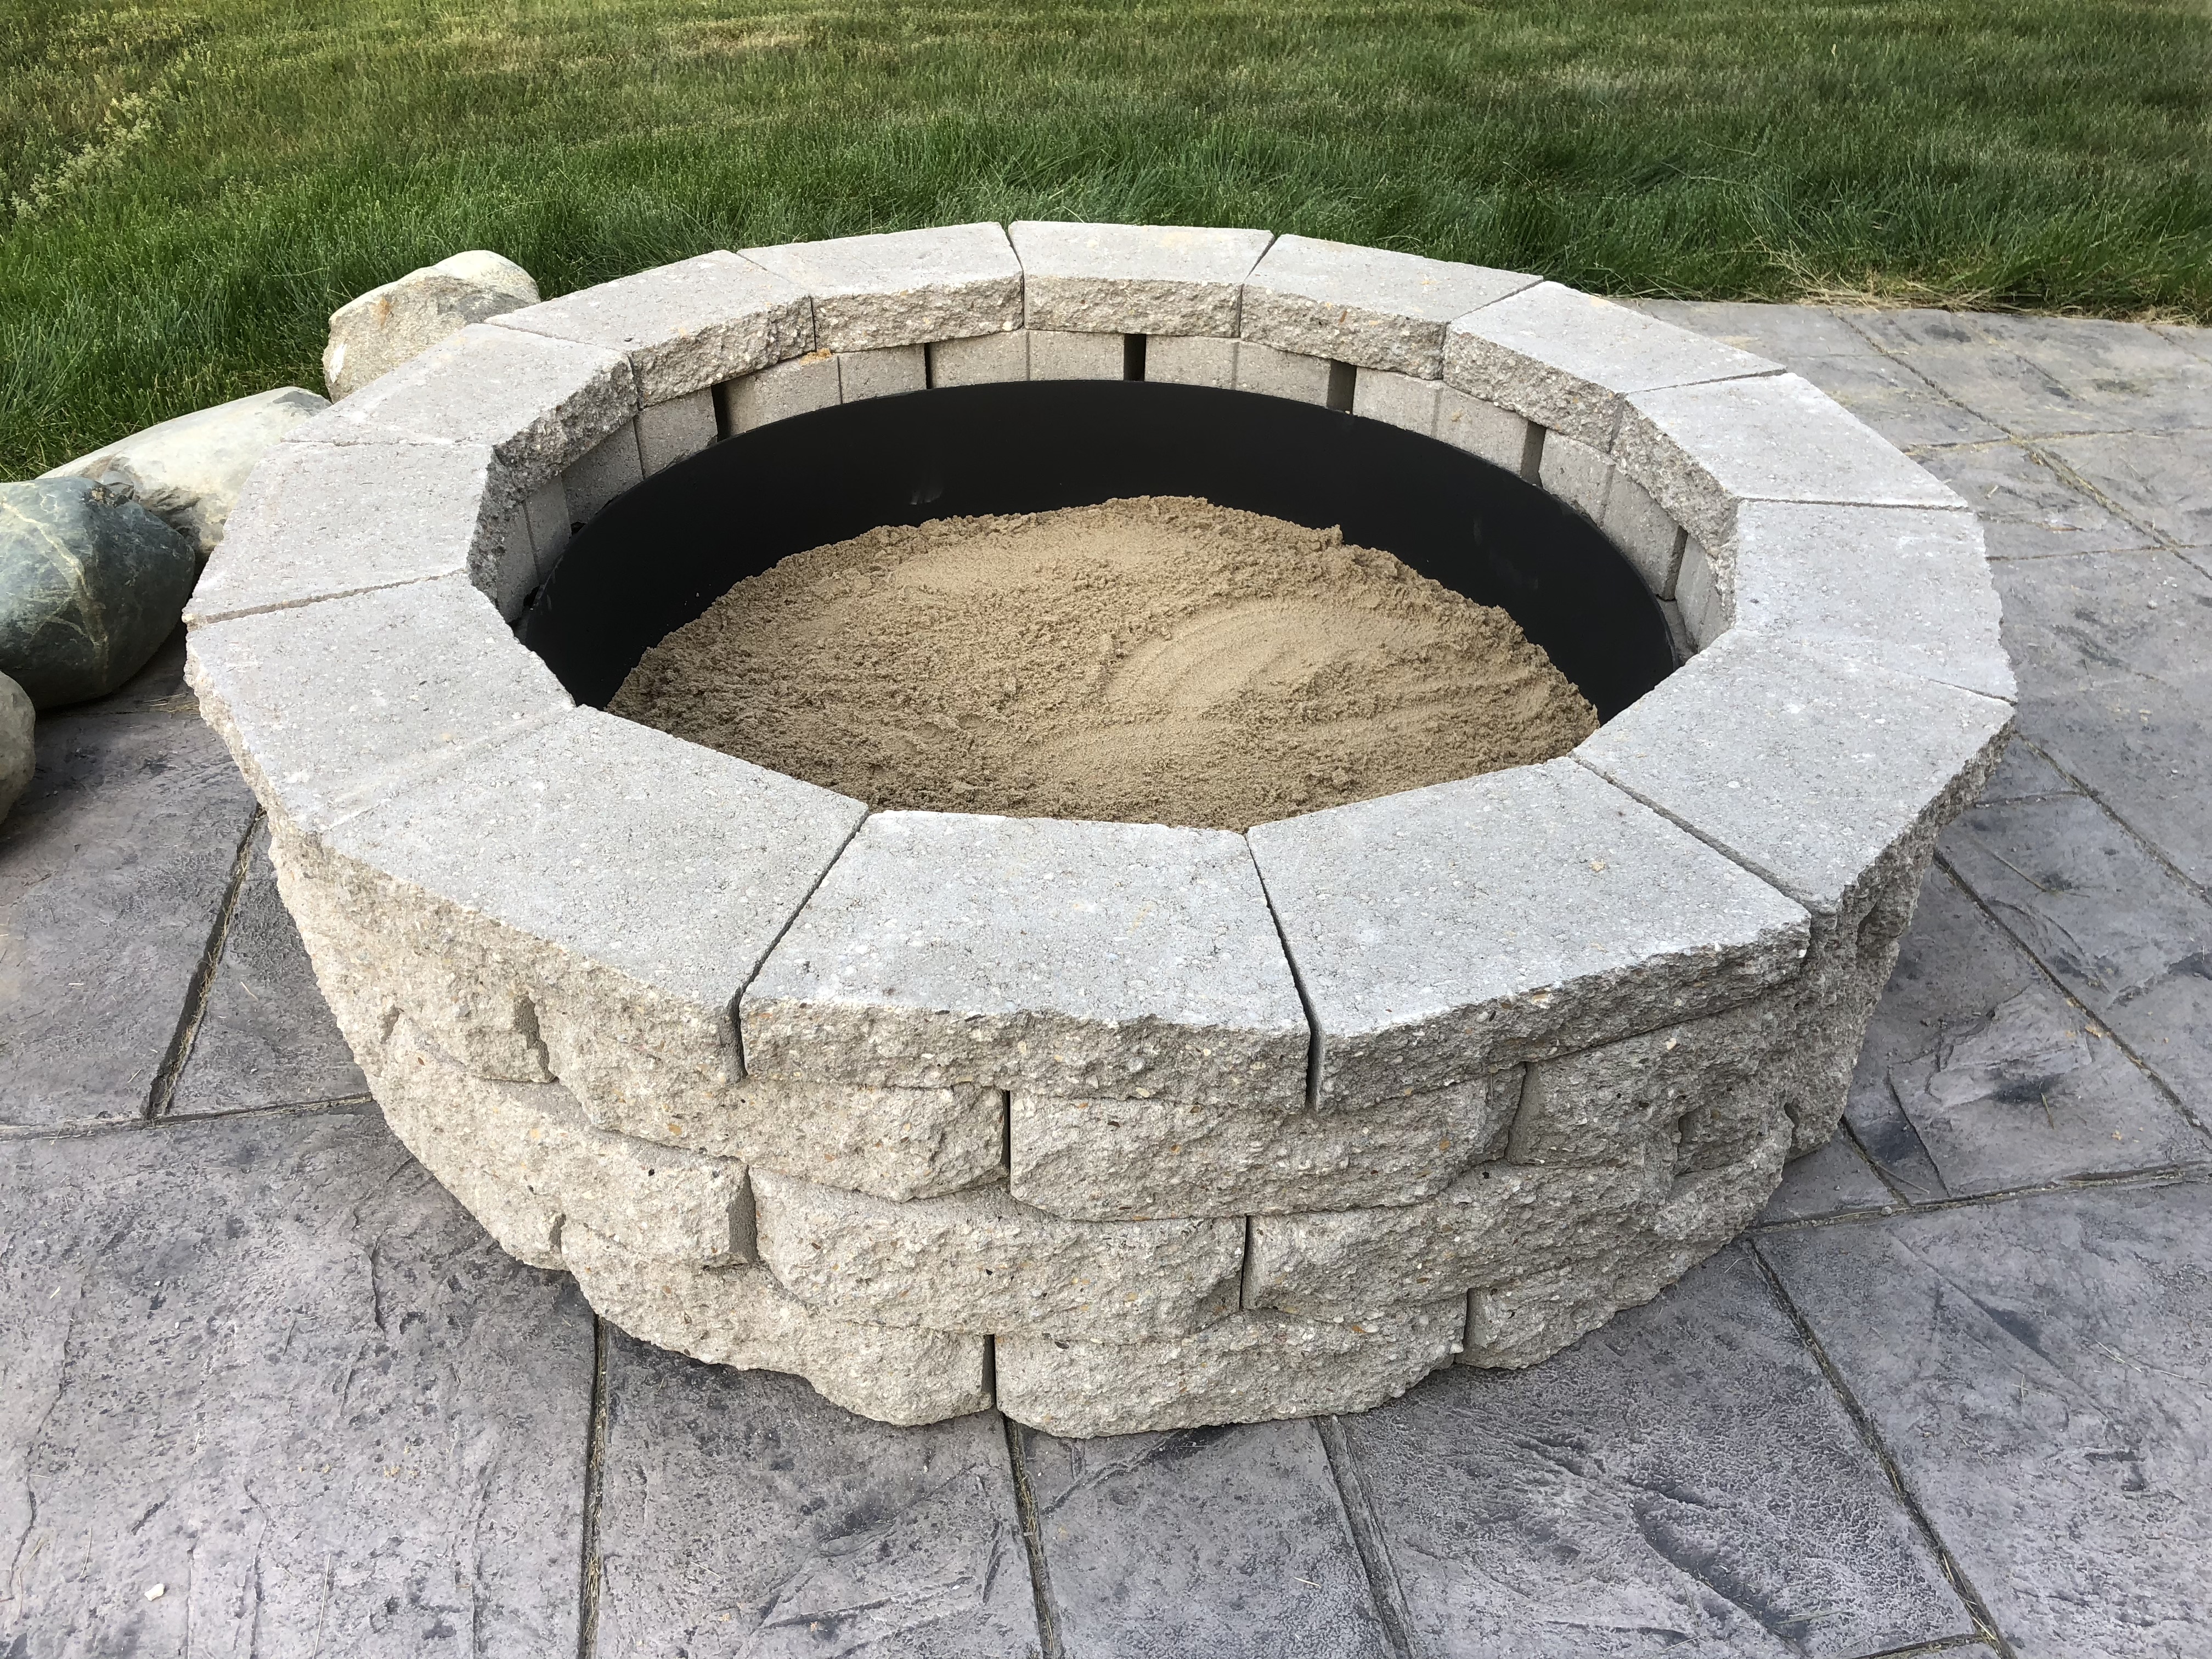
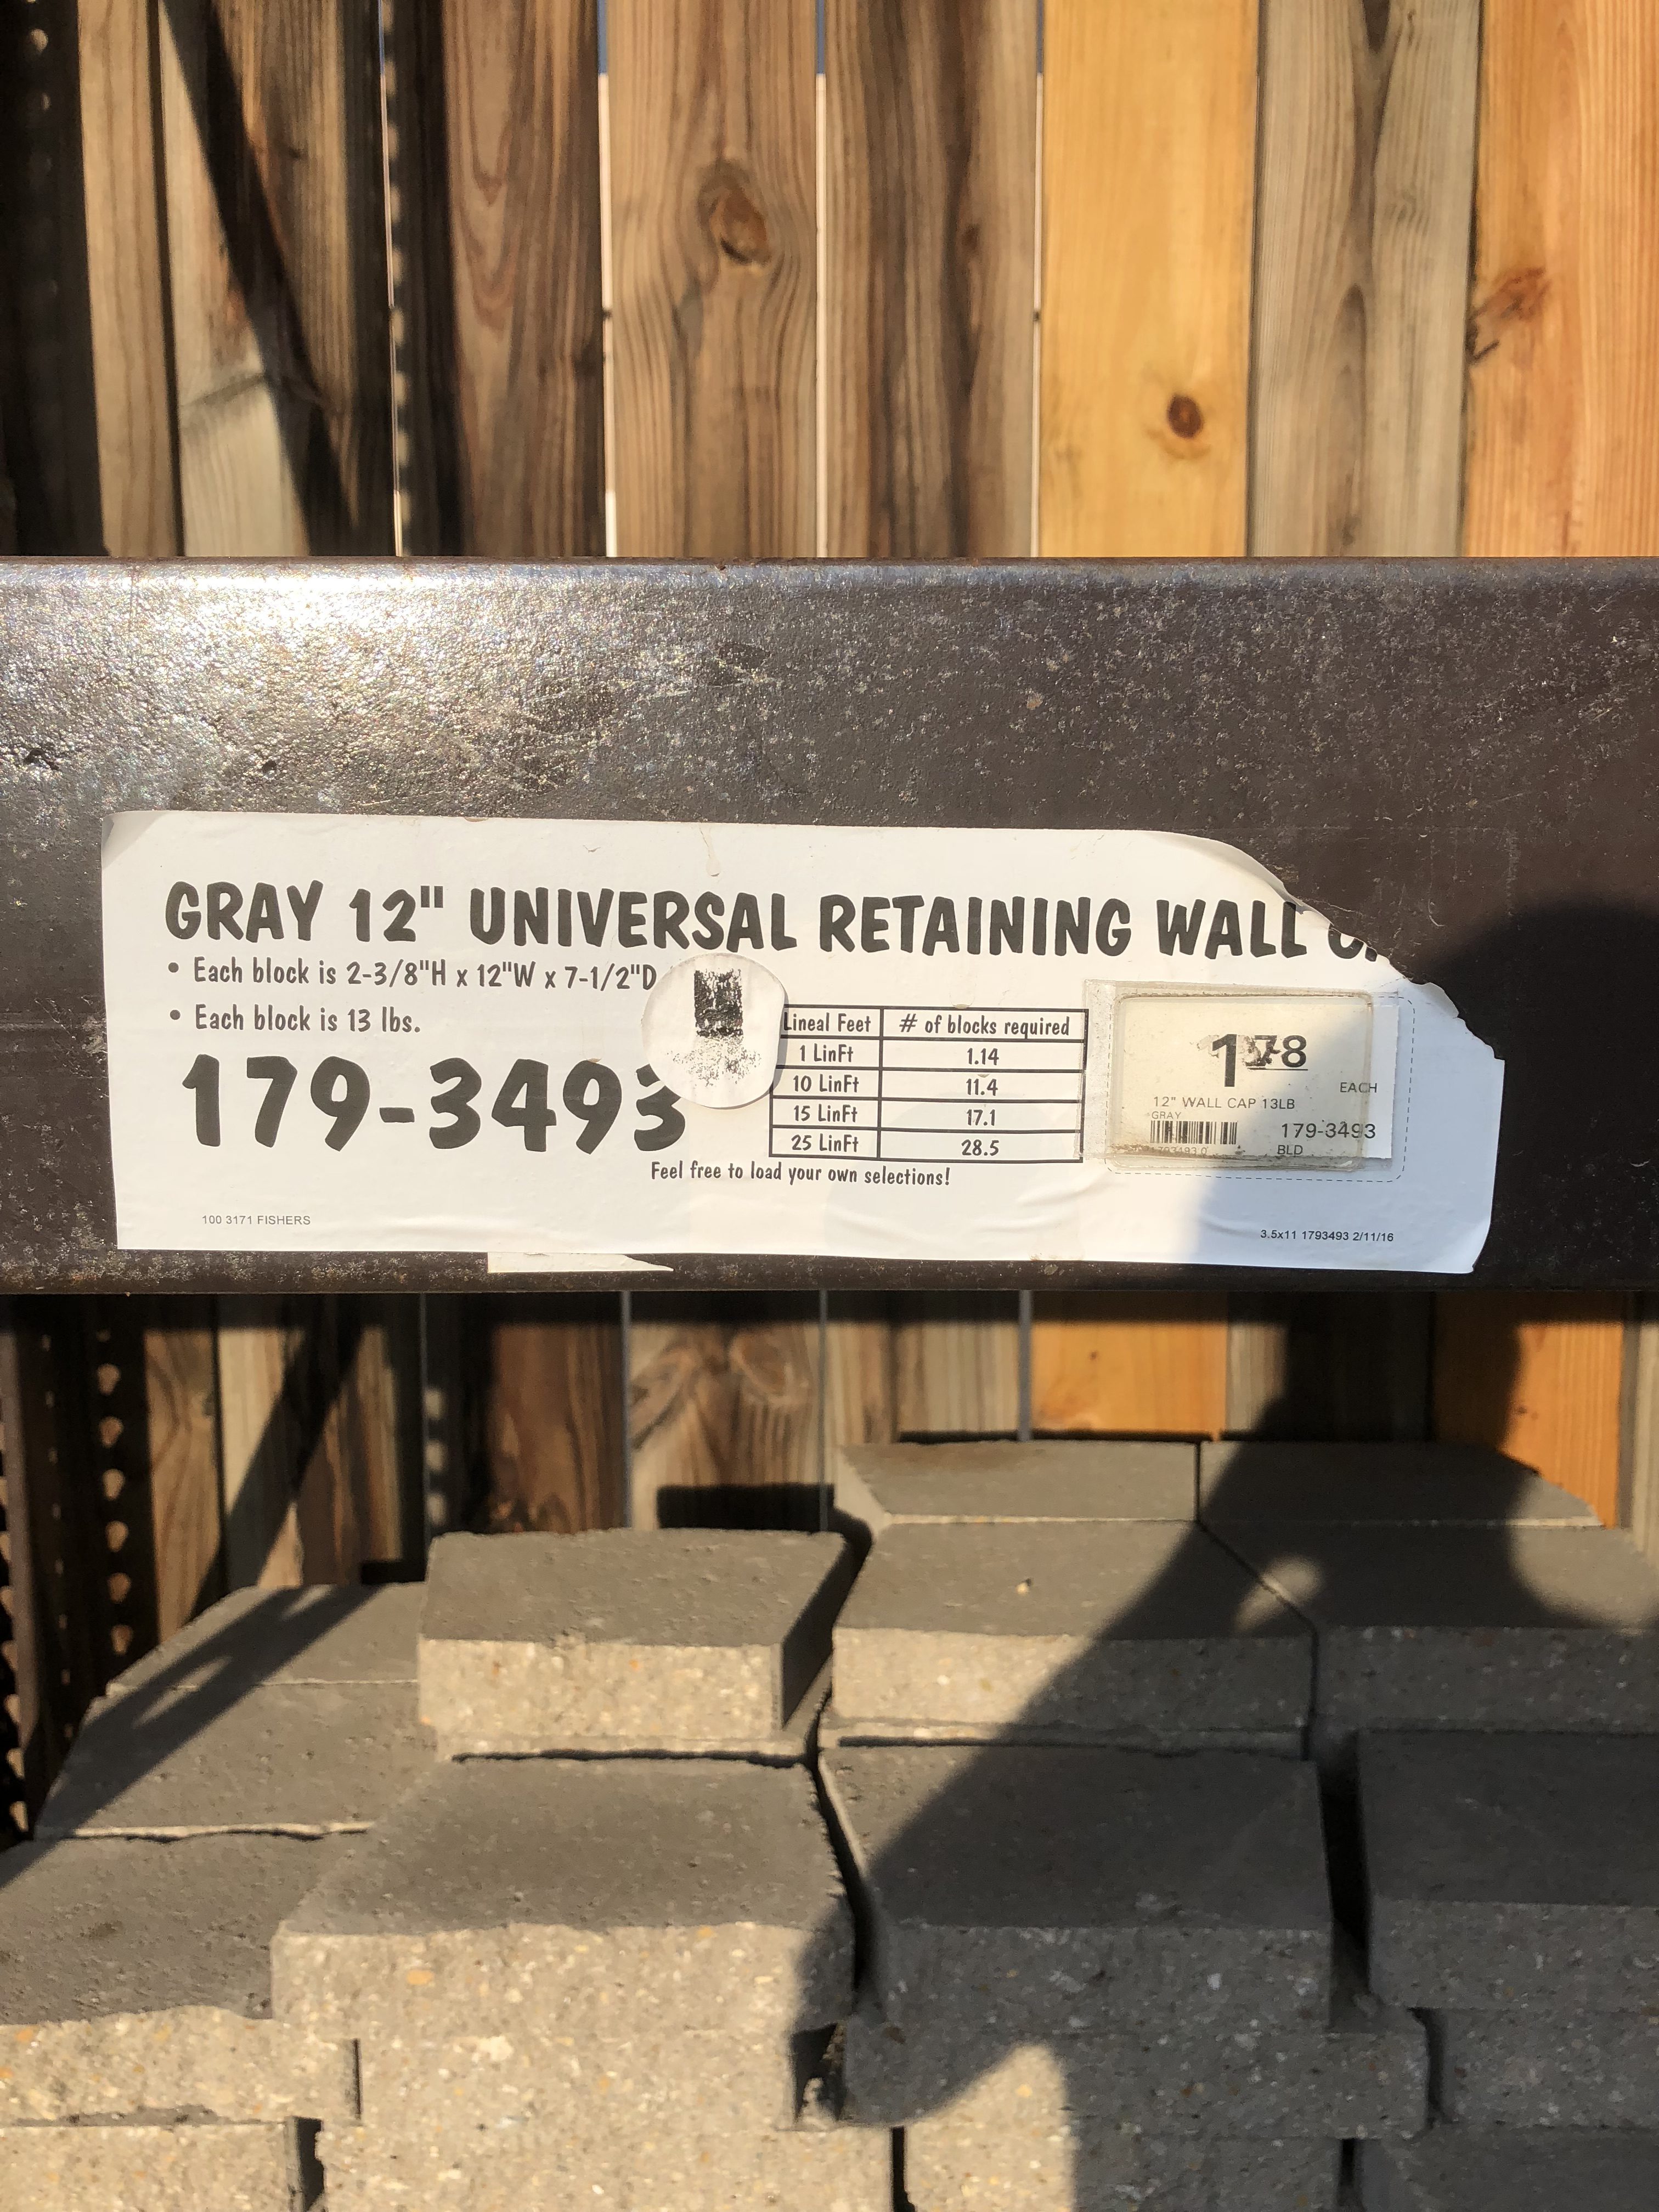
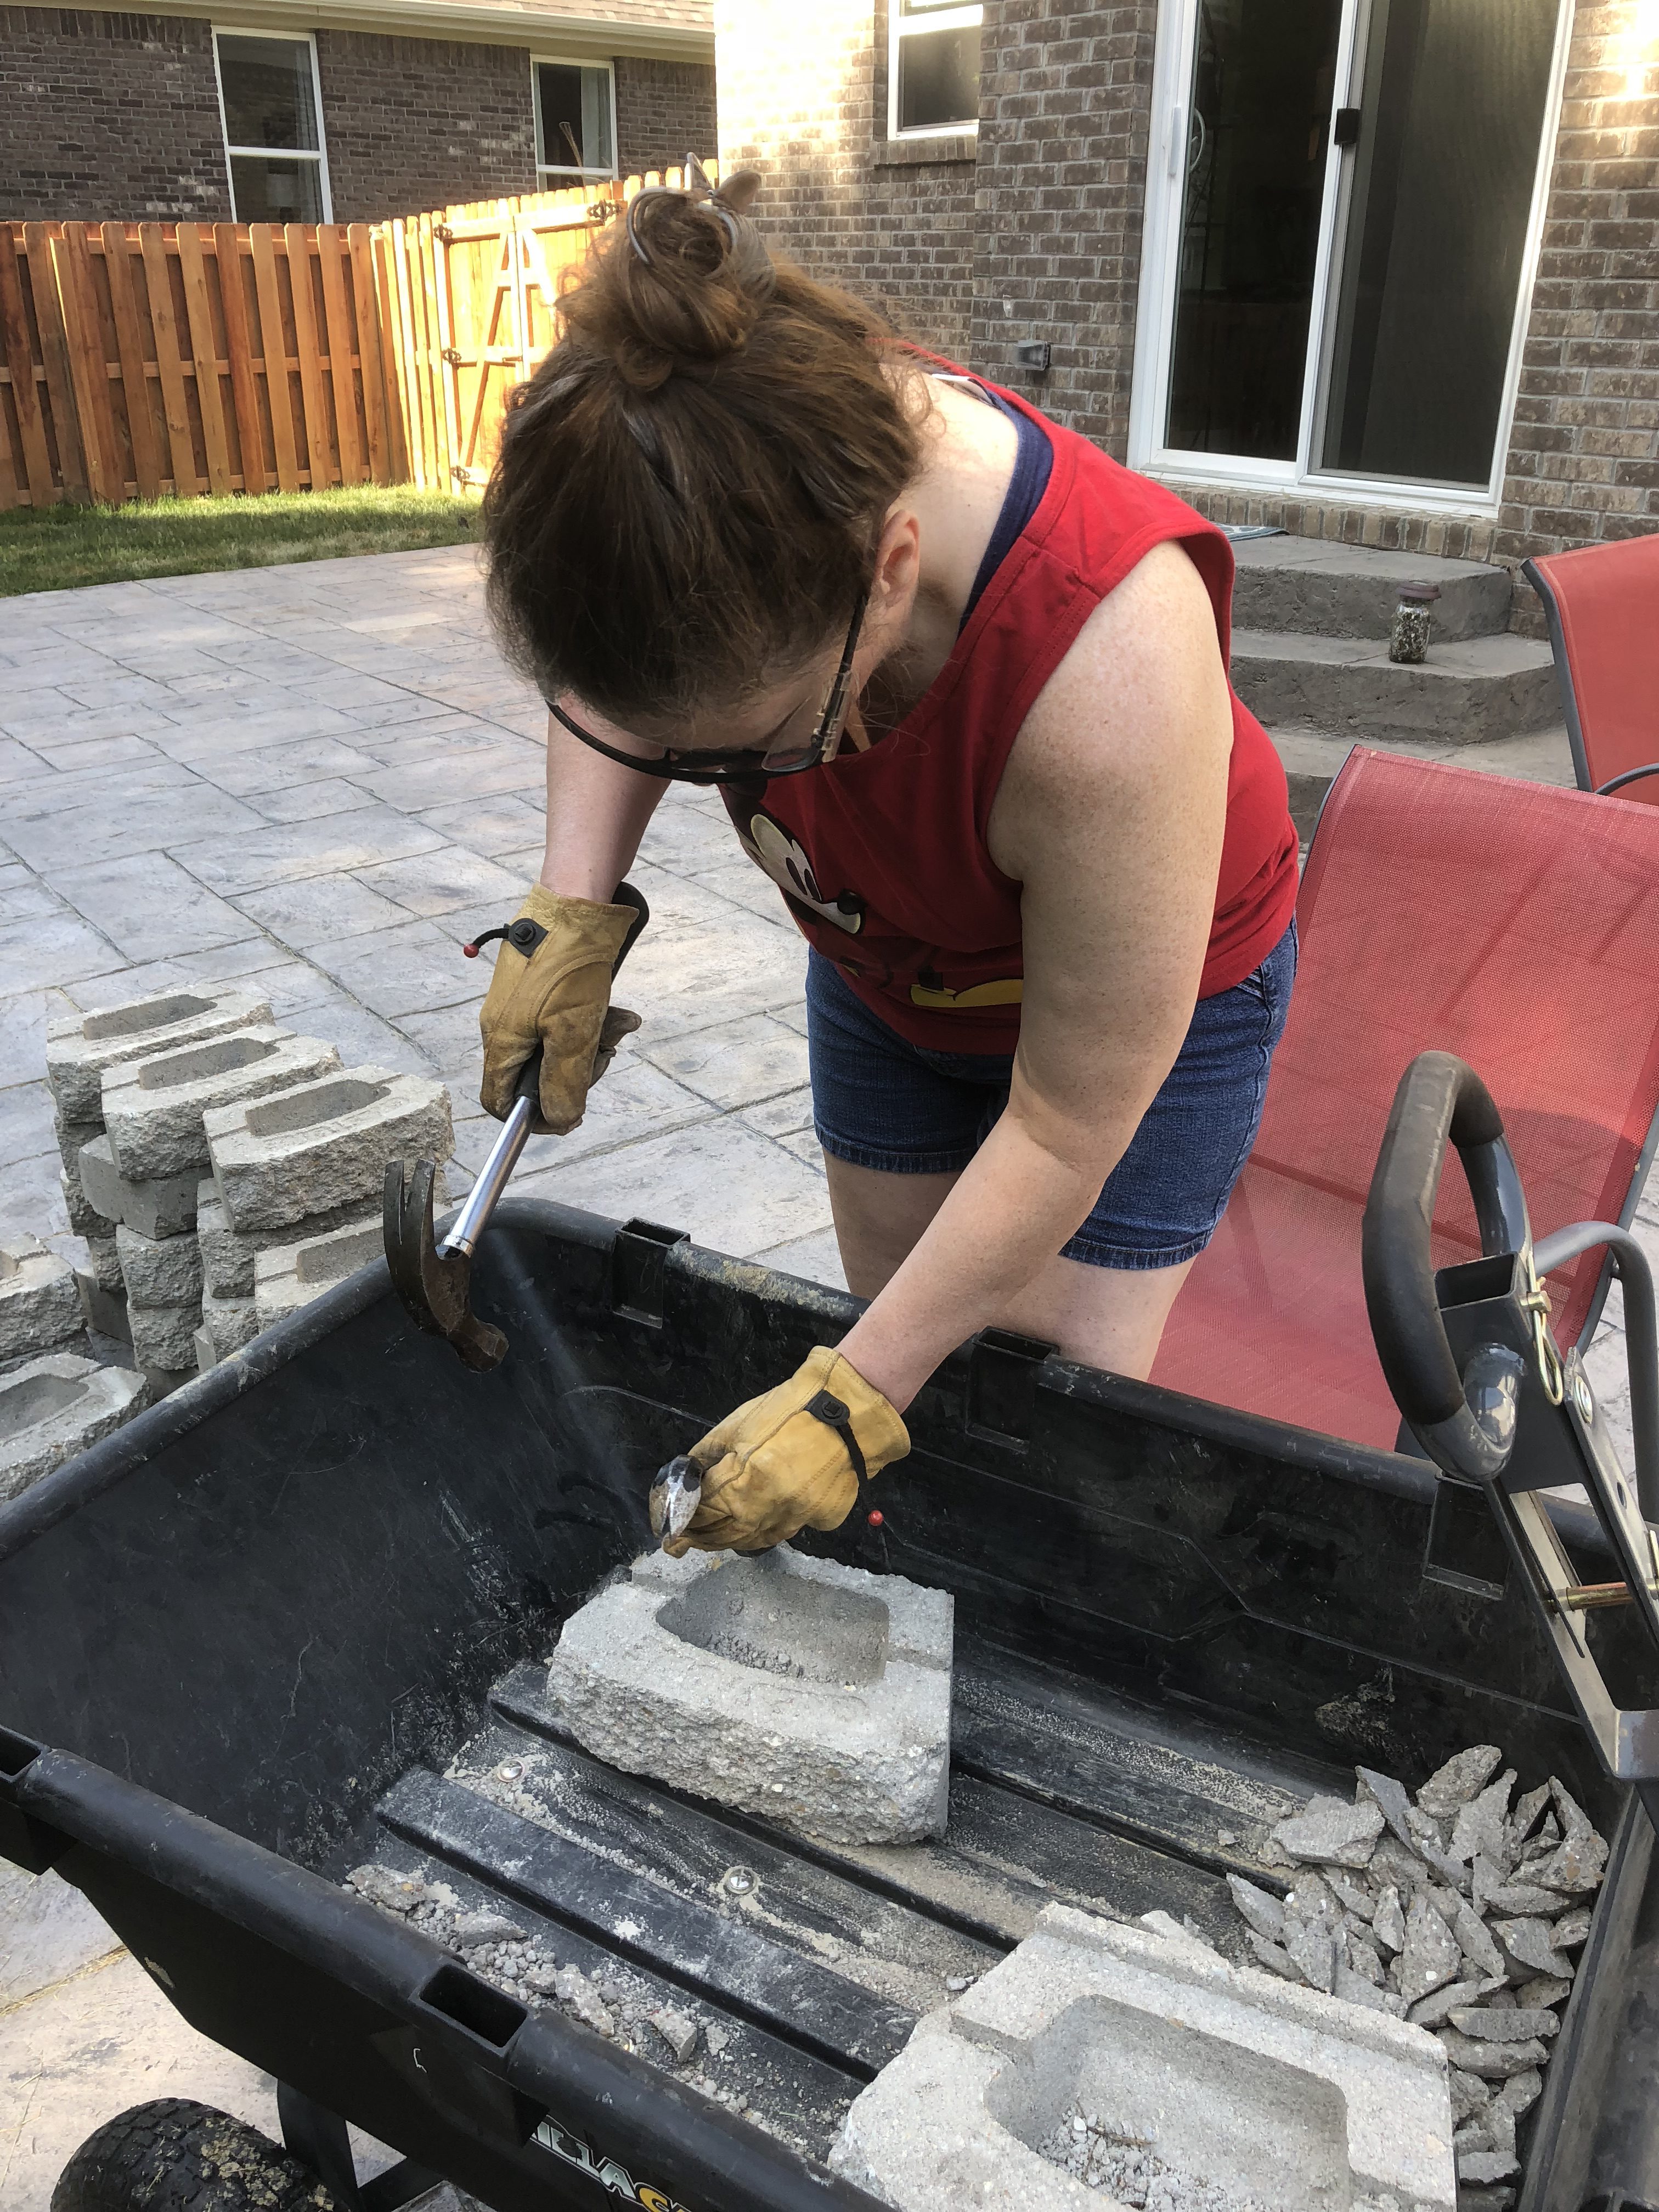
We purchased retaining wall blocks due to the color being right, and the price point was attractive. The only drawback to the retraining wall blocks was the lip that is use to, well, retain the wall. I tested using a hammer only, then the claw of the hammer, then a chisel. The hammer and chisel combination seemed to work really well.
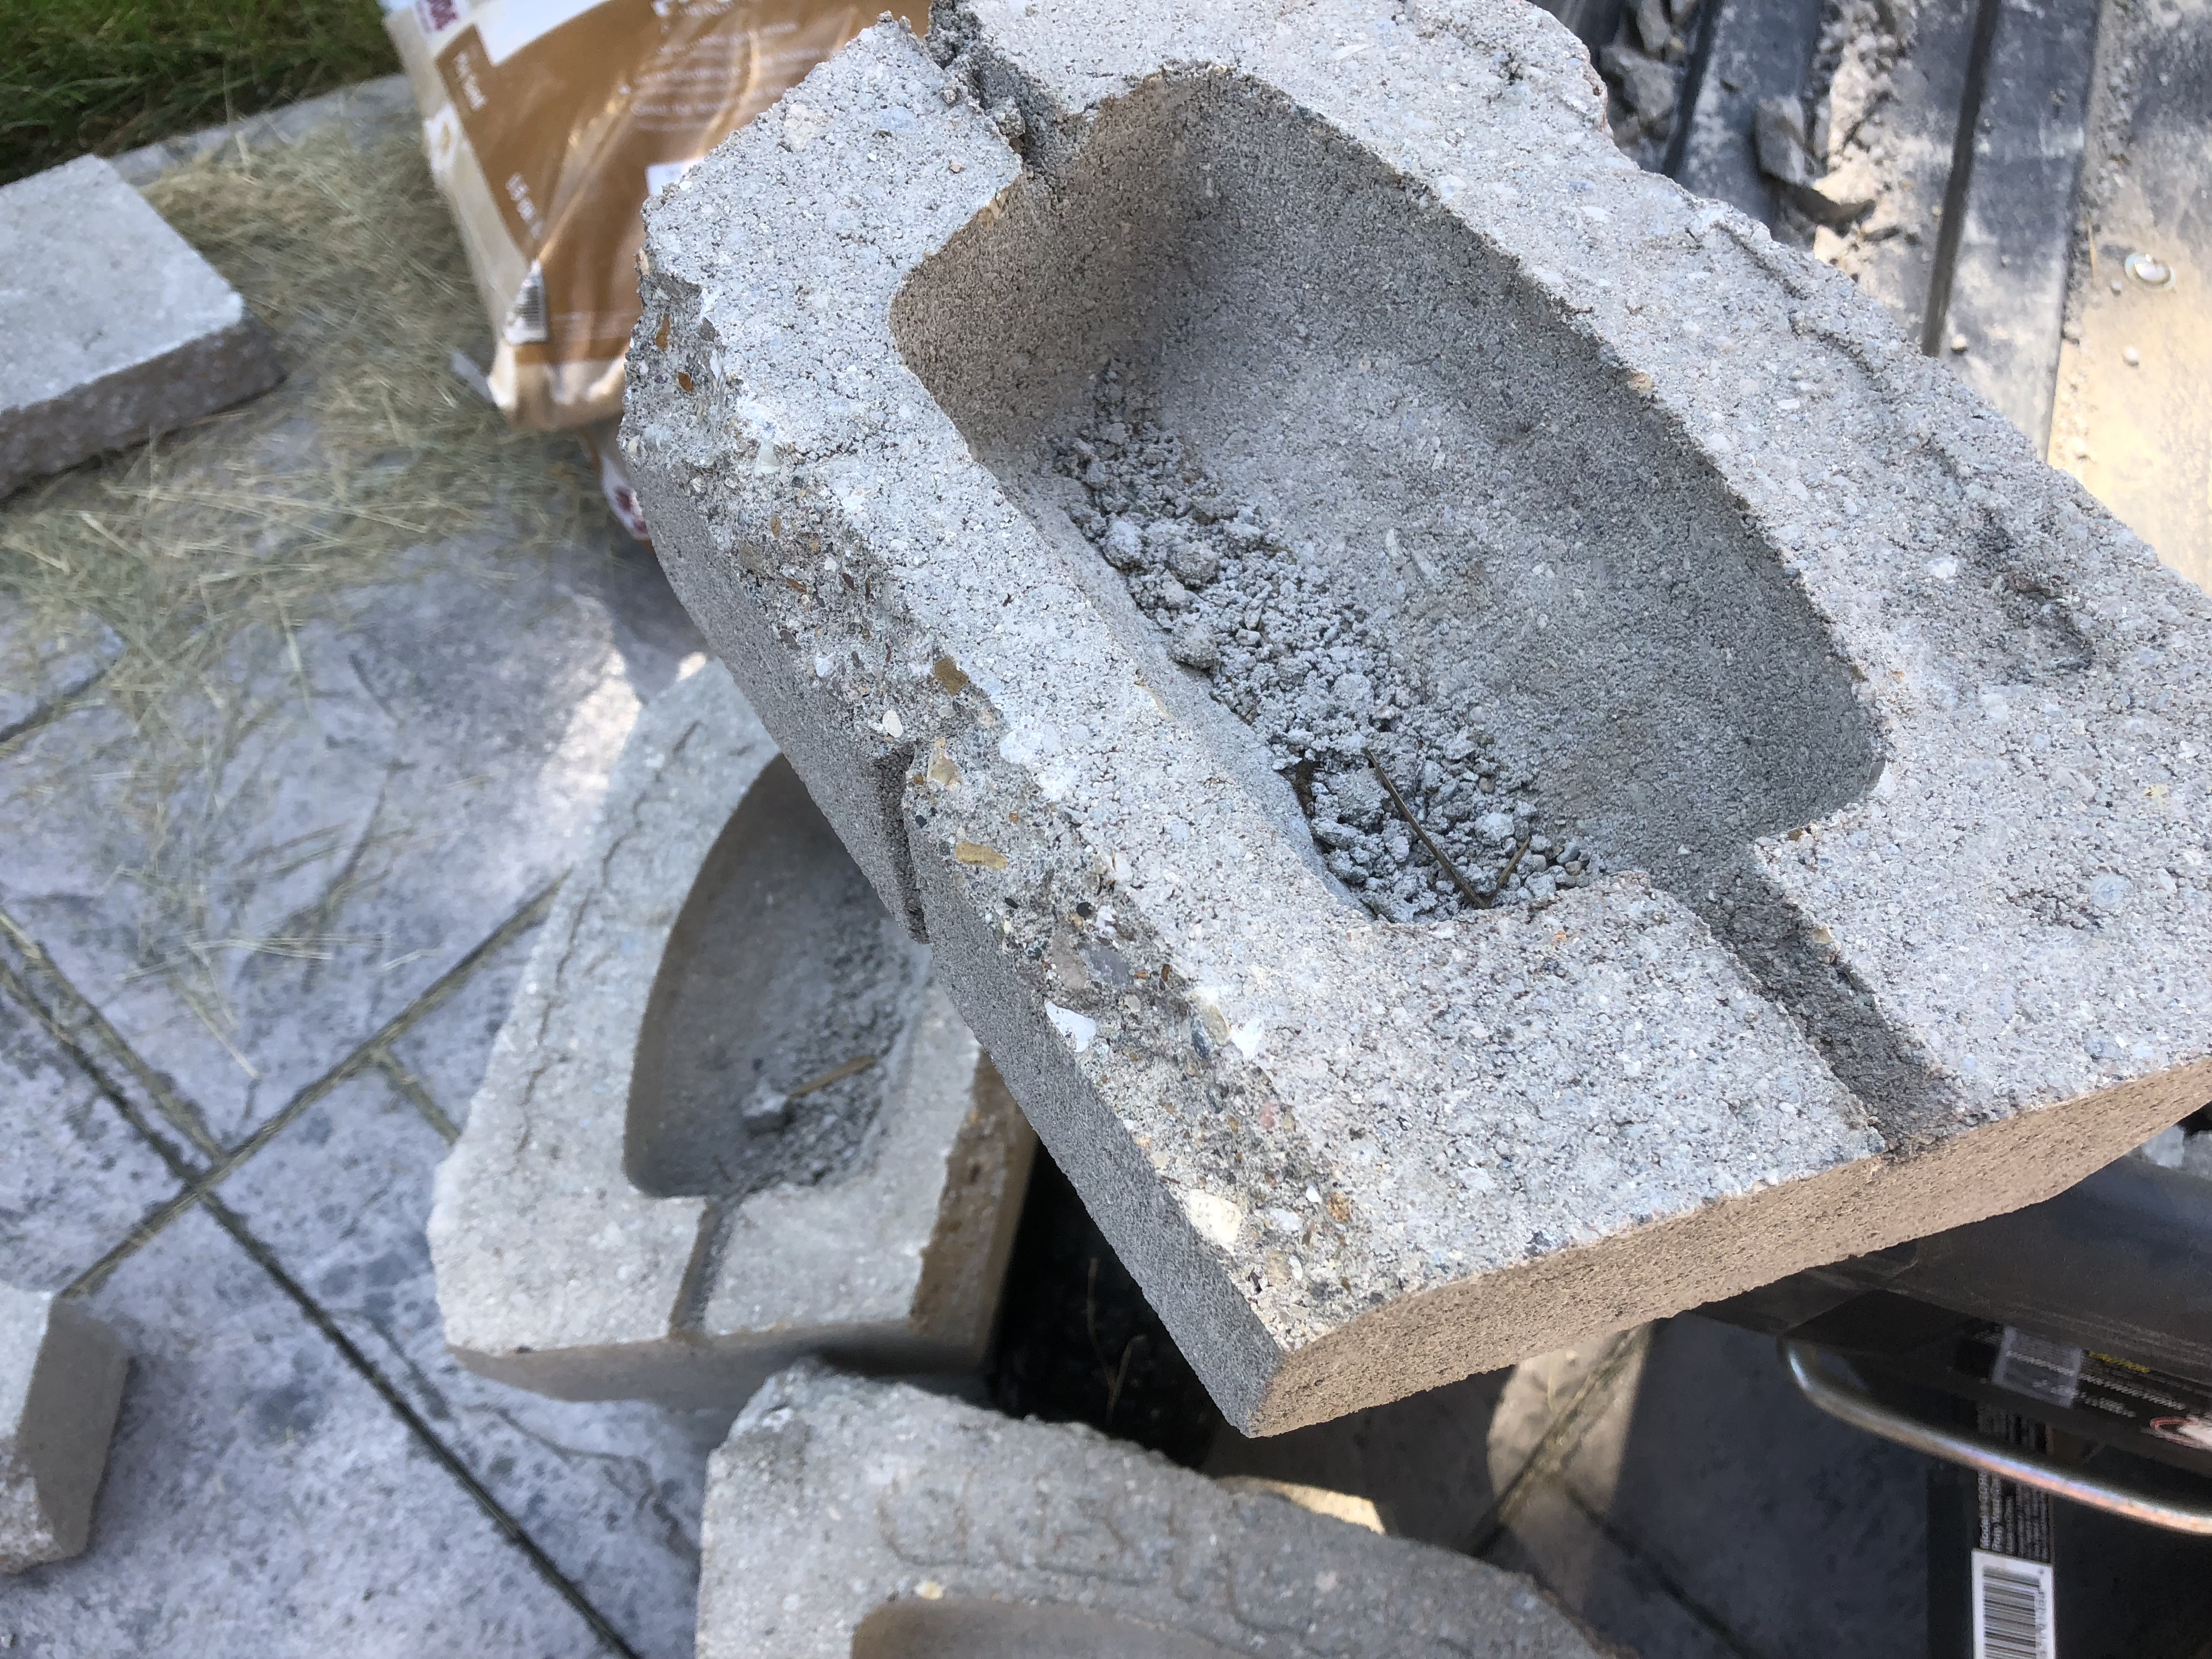
Once we had the blocks prepped, we laid them out to see how close we came to estimating the number of block. It was close, but we needed more. So, another trip to the hardware store.
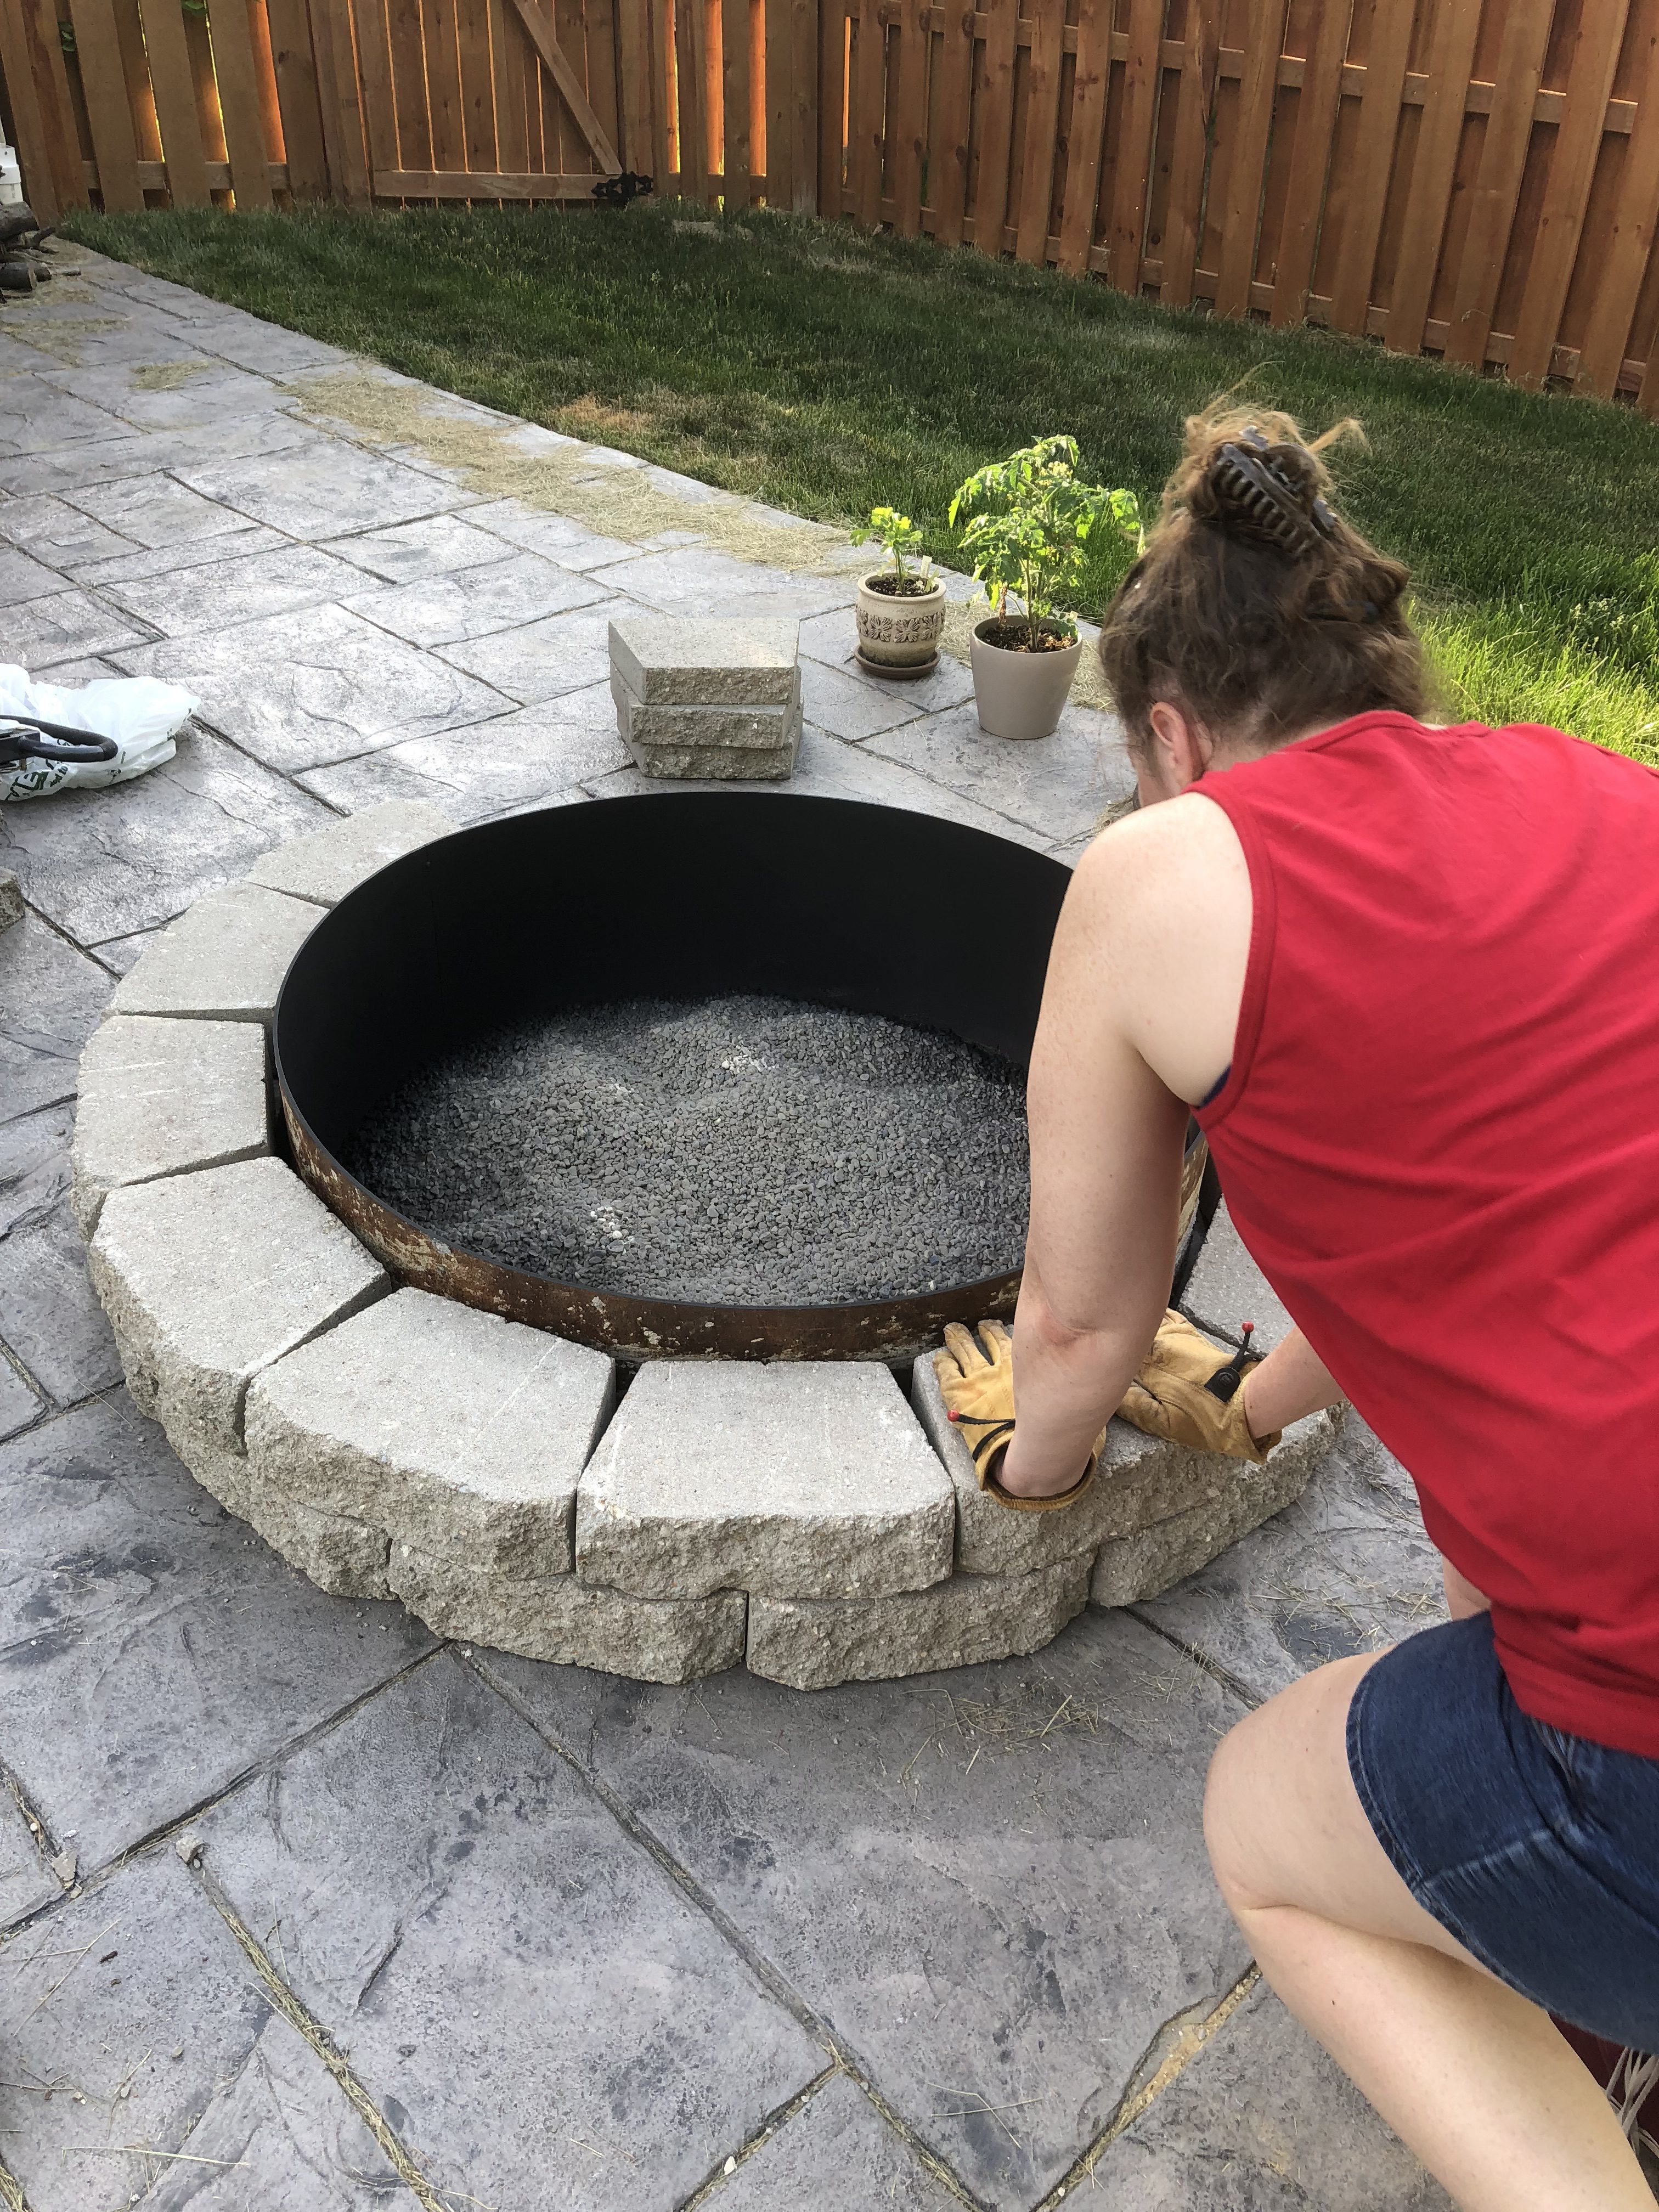
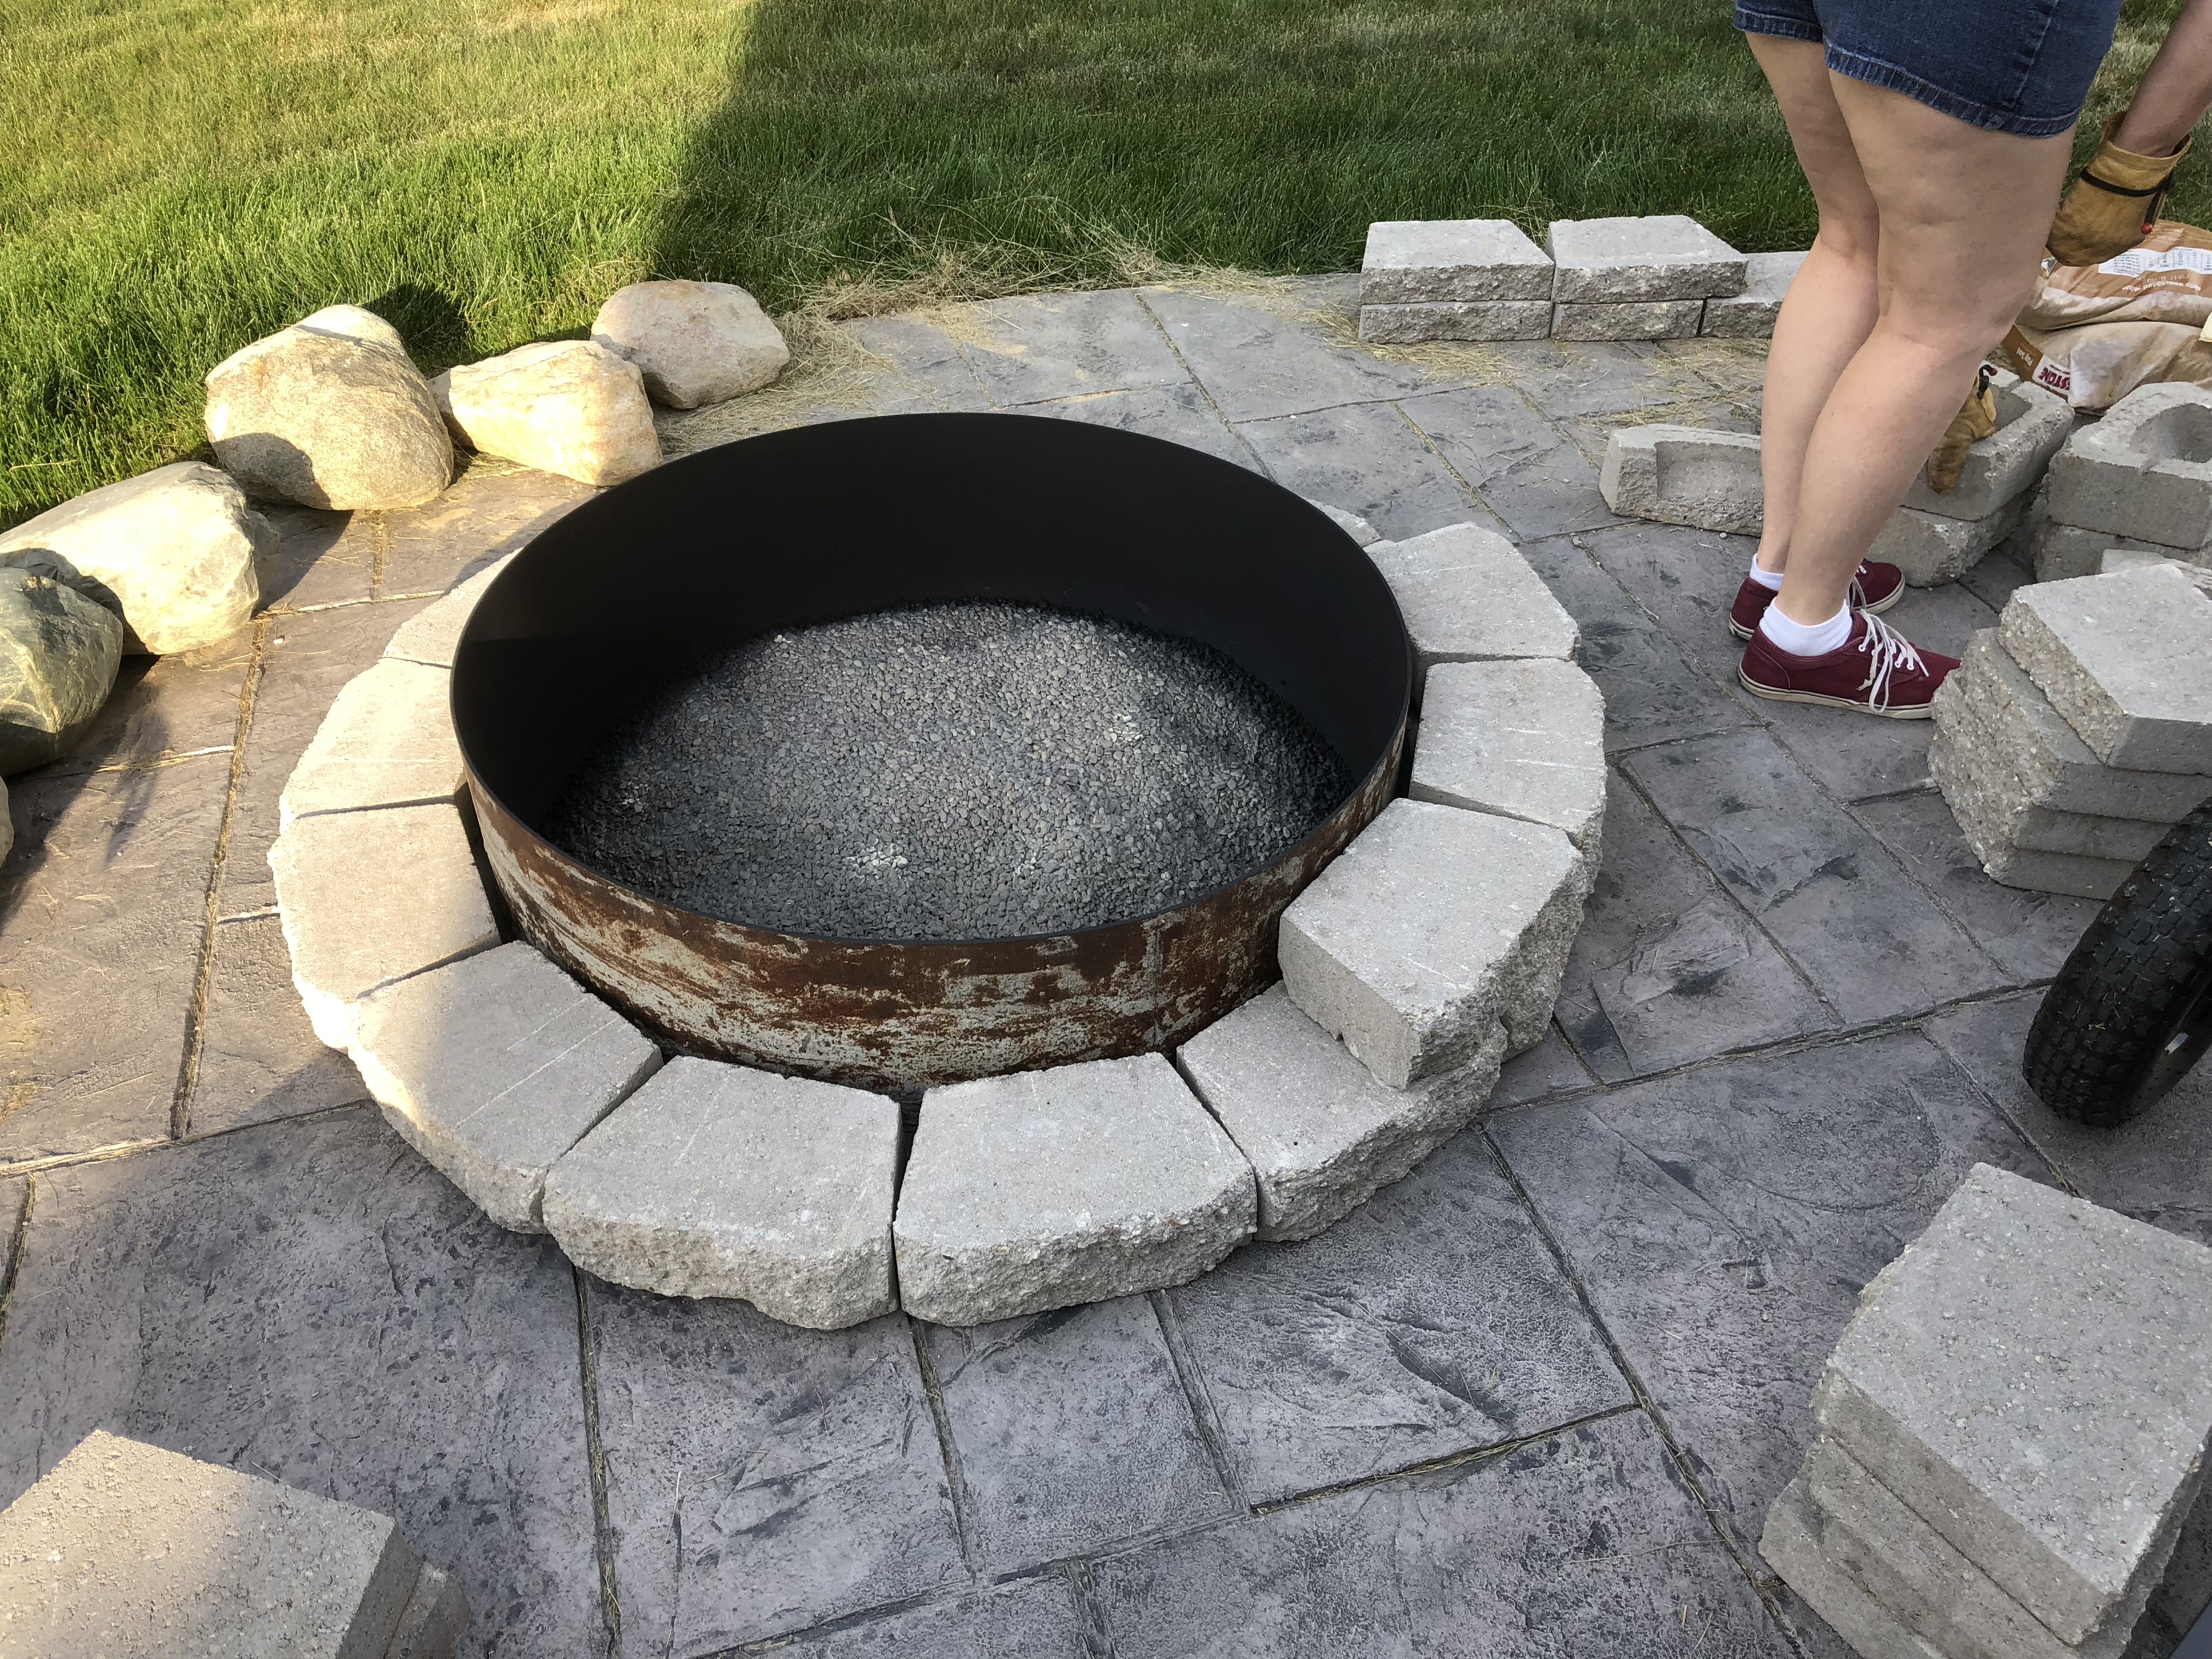
We used construction adhesive made for landscaping and constructed the circle of blocks.
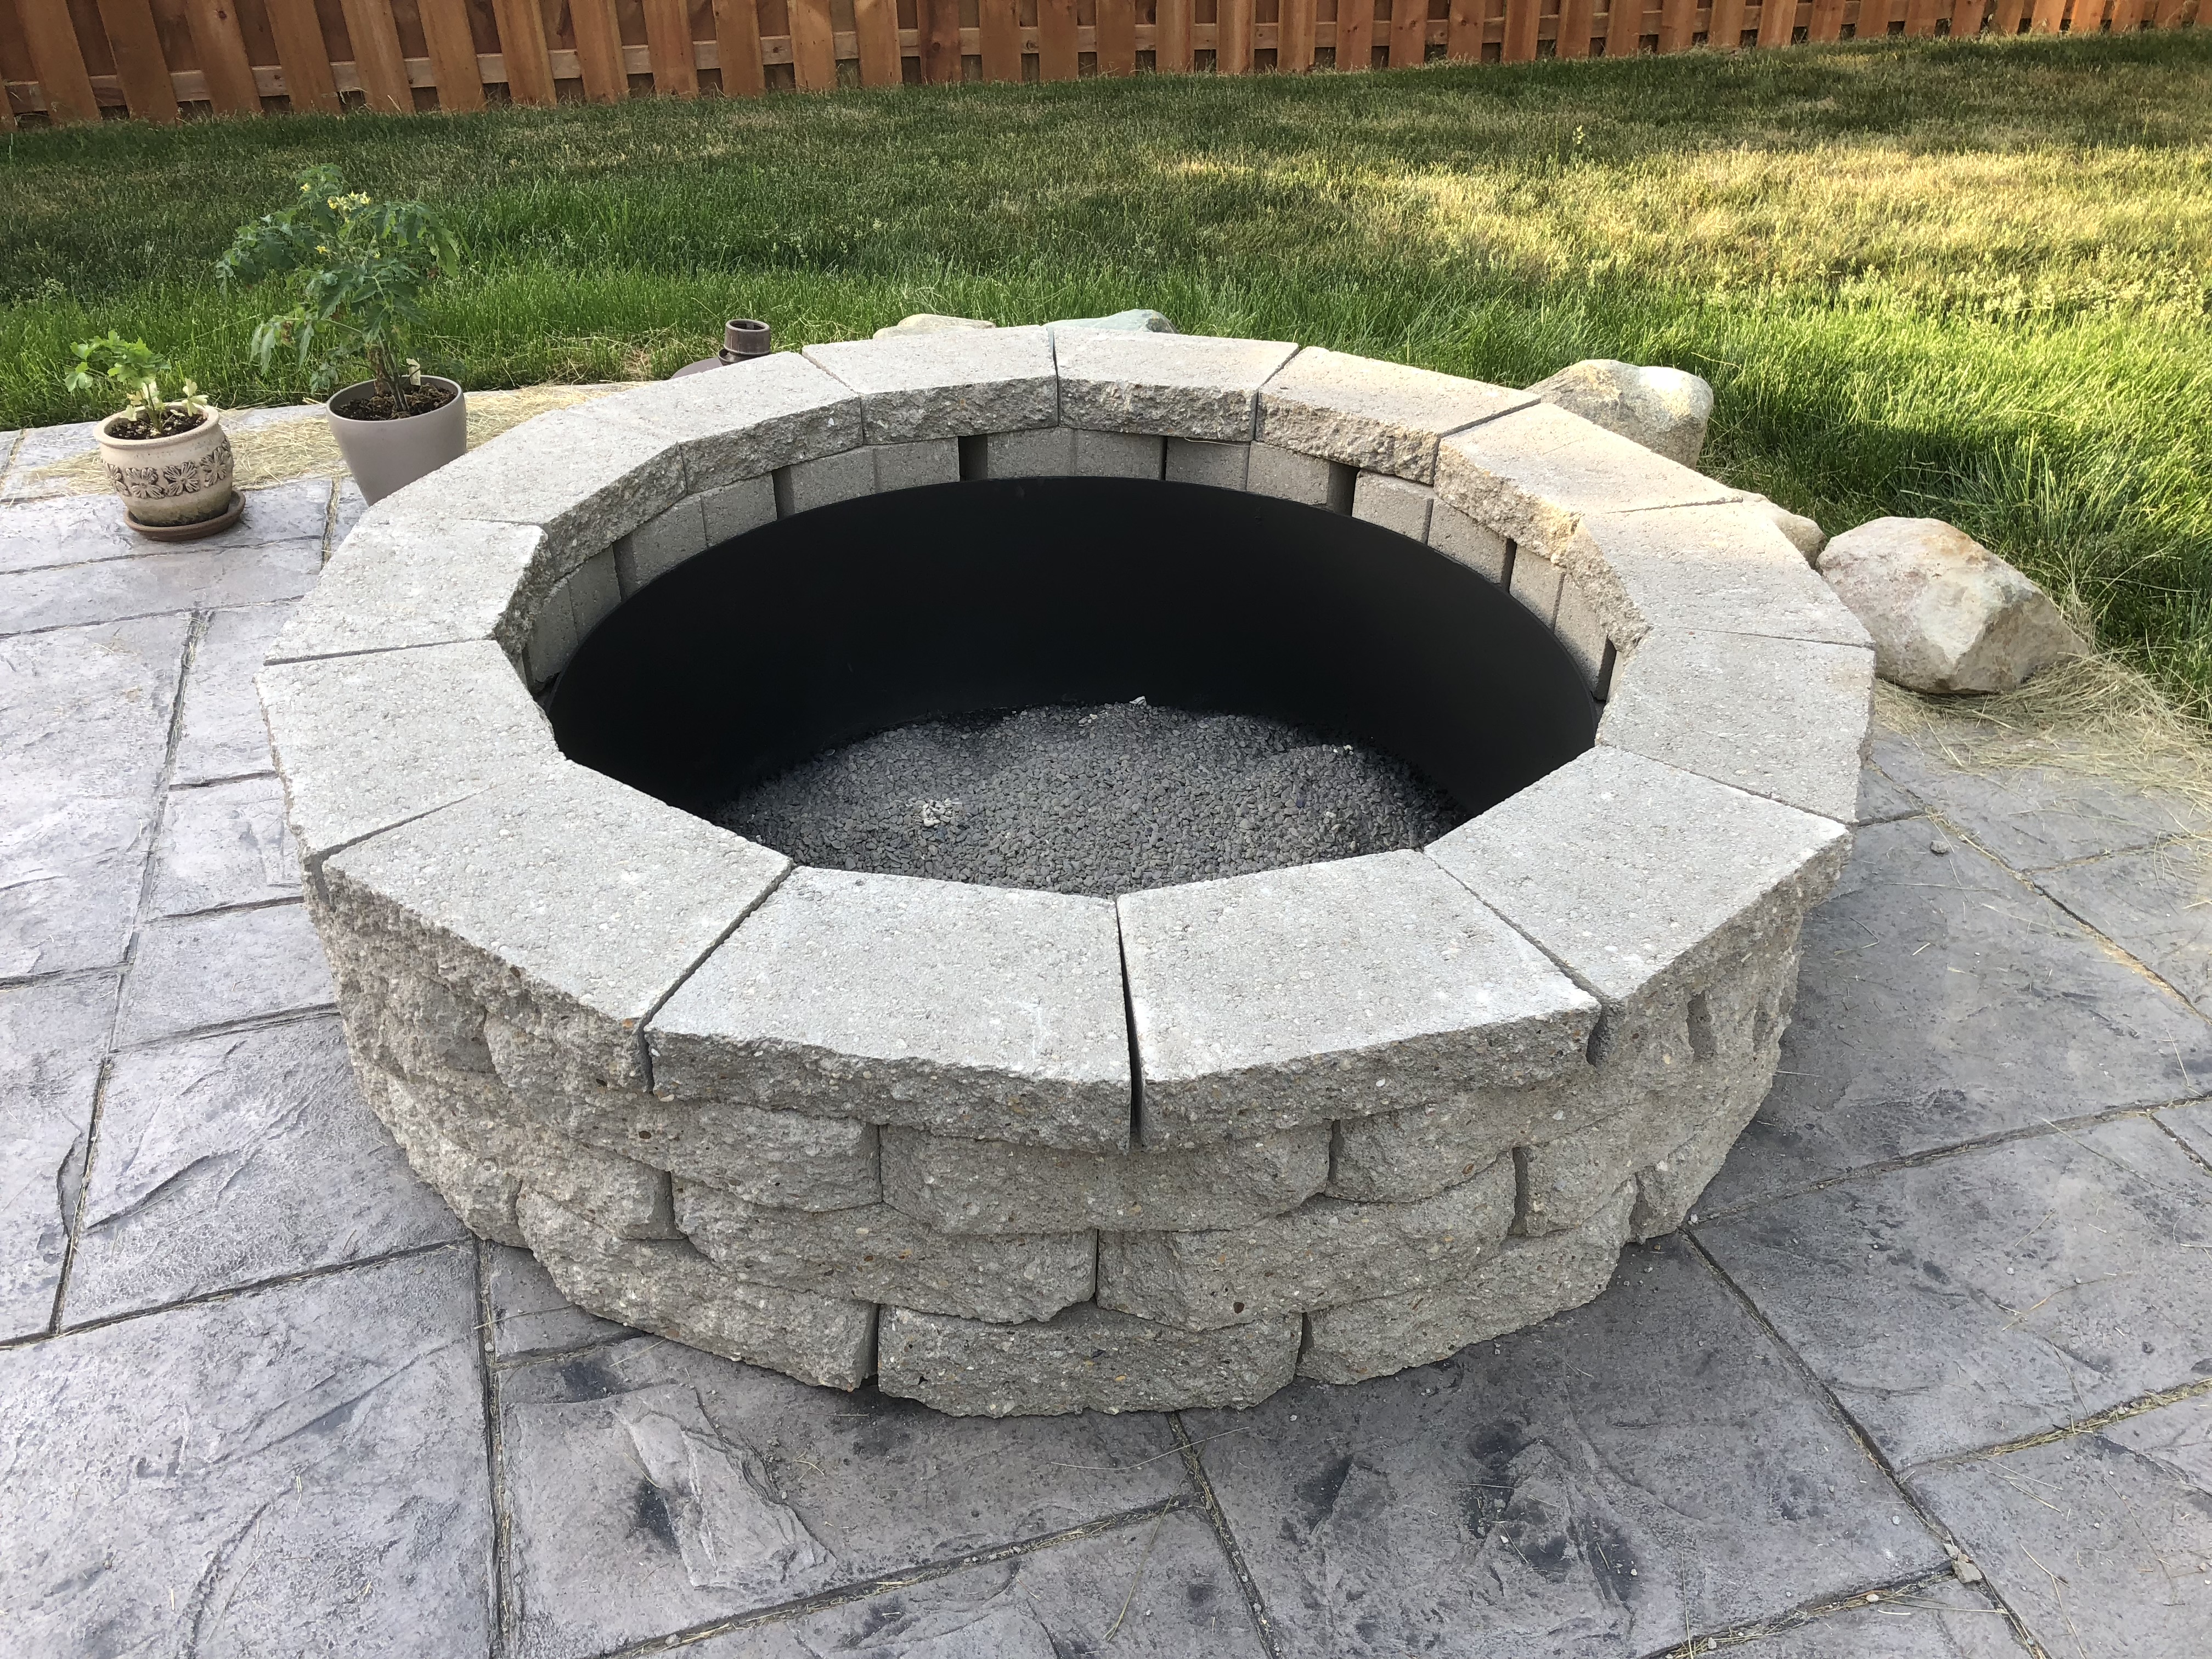
We finished the final layer with with block caps that are flatter that seemed to work out perfectly to cover the gaps in the blocks in the wall.
We finished the pit with general purpose sand to cover the rocks and provide drainage and a place to build the fires.
The final project took (approximate costs):
- $100 for the retaining wall blocks
(15 blocks per row X 3 rows and 1 row of cap stones) - $10 for 2 tubes of adhesive
- $30 for 5 bags of pea gravel
- $15 for 4 bags of general purpose play sand
- $6 for the high heat spray paint
- $1.50 for the drain cap
We finished the whole project over a single Saturday with a couple trips to the hardware store.