
For any project that is complex or I need to visualize first, I alway start off with a sketch. Just how I have to do it to keep things straight. These pictures shows my process when I haven’t drawn everything out specifically ahead of time. This was a smaller project and wanted to feel a bit more creative in the process.
I did spend a little time on Pinterest with Deb picking out features and patterns we thought were attractive and reflected our personality more.
I still sketch things thought, so here’s drawing to help get ideas rolling:
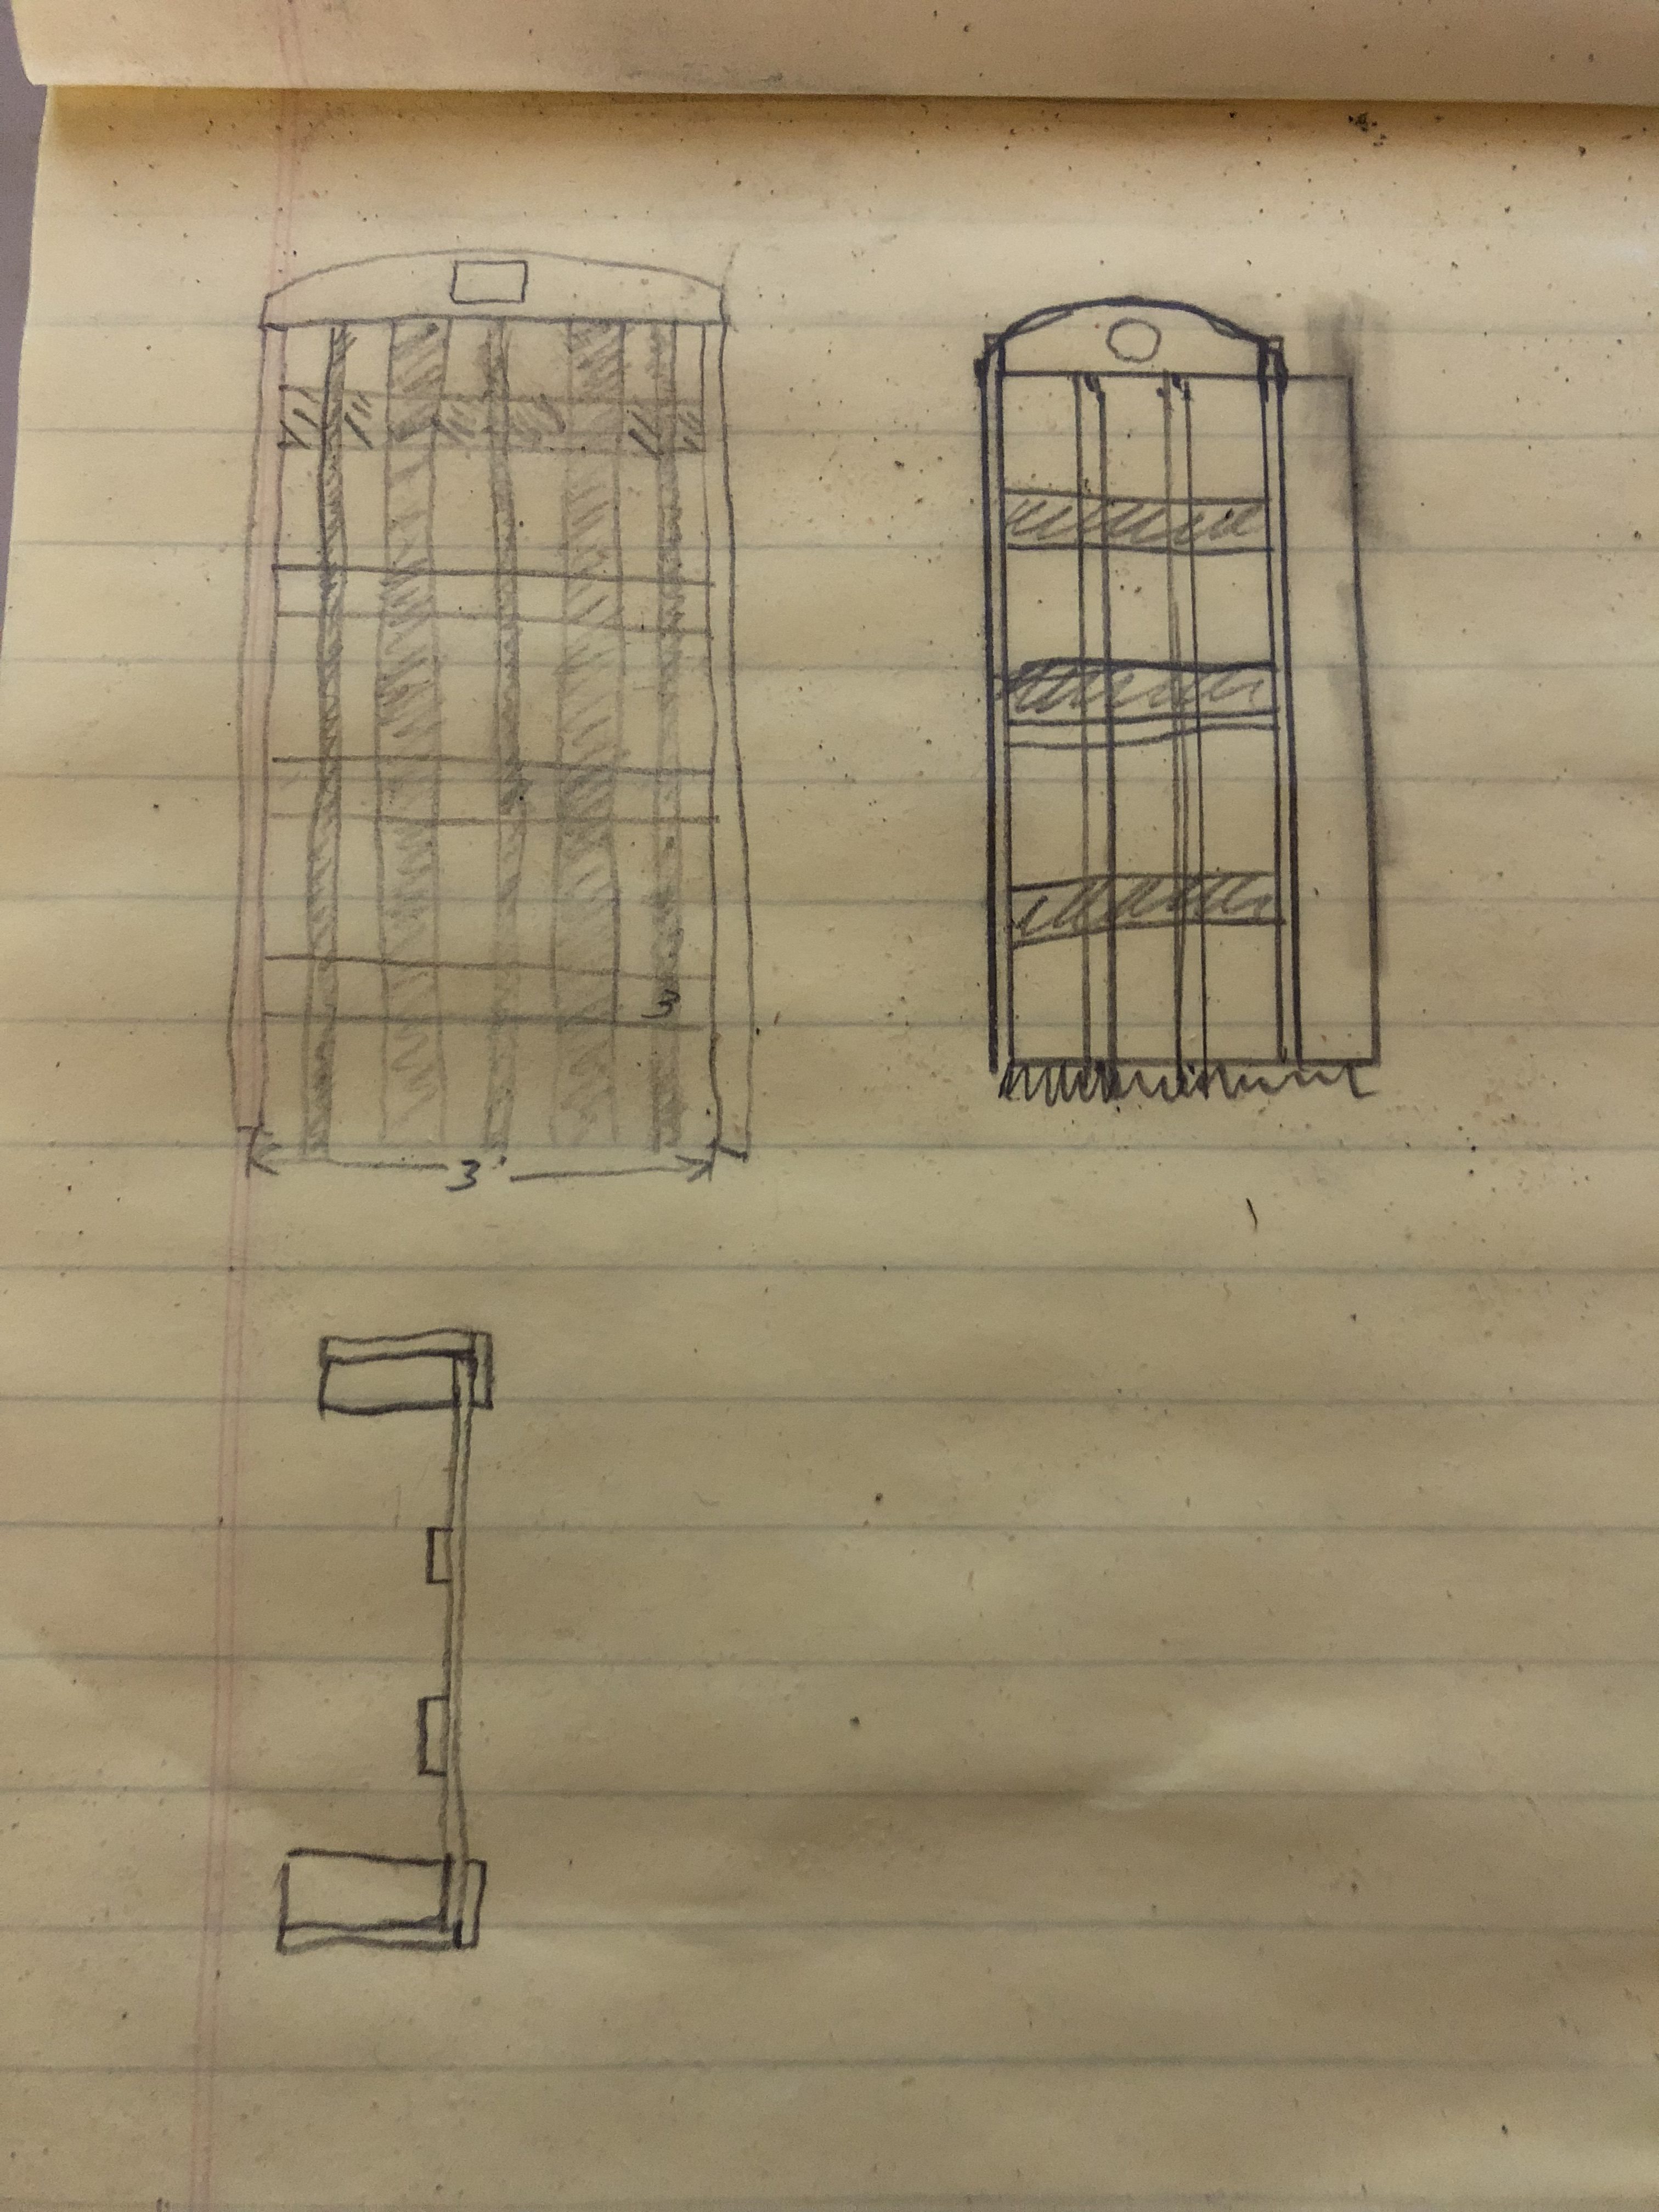
You’ll also see I was trying to work out which slats would be in front and which would be behind so I could visualize how I should put it together. (Bottom doodle in the sketch)
I also was toying with the idea to frame the 2x4s on the sides to help dress it up. This ended up not being needed, at least in my opinion, and i went with the straight 2x4s.
You’ll may also notice I had a plan for a highlight on the header (notated by the circle in the sketch). I ended up creating a sun design with a new hobby CNC machine.
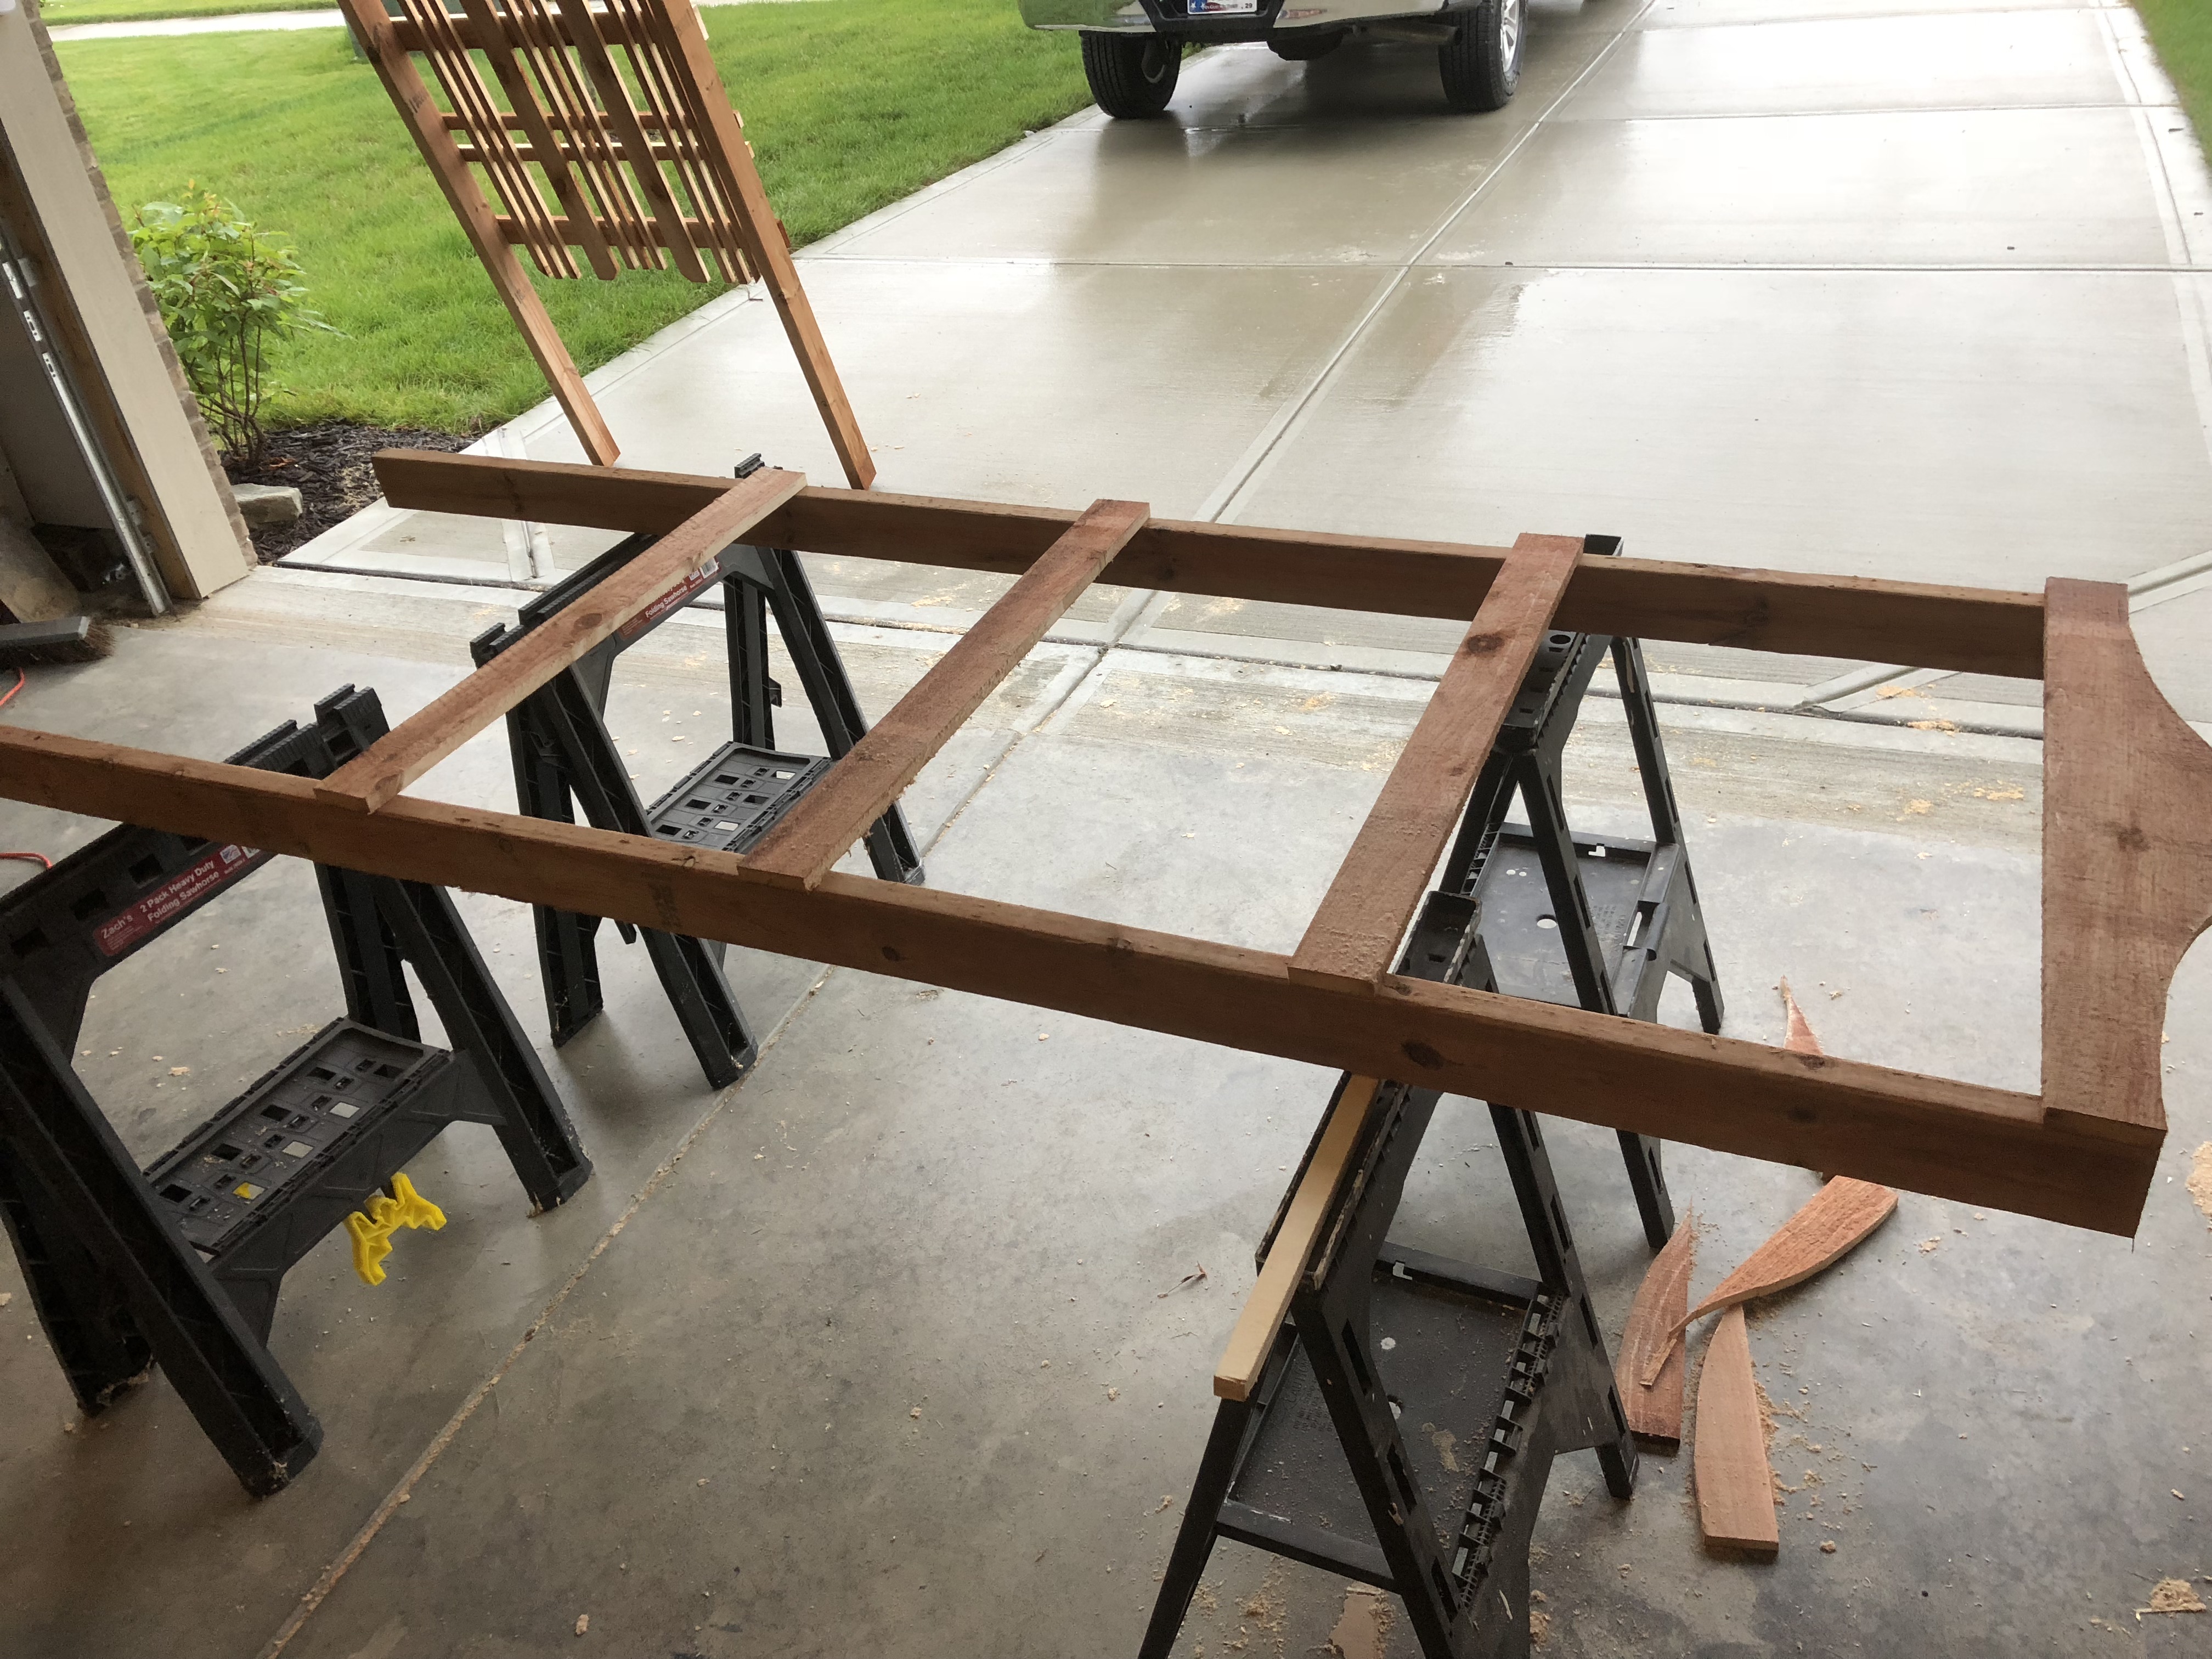
The Header
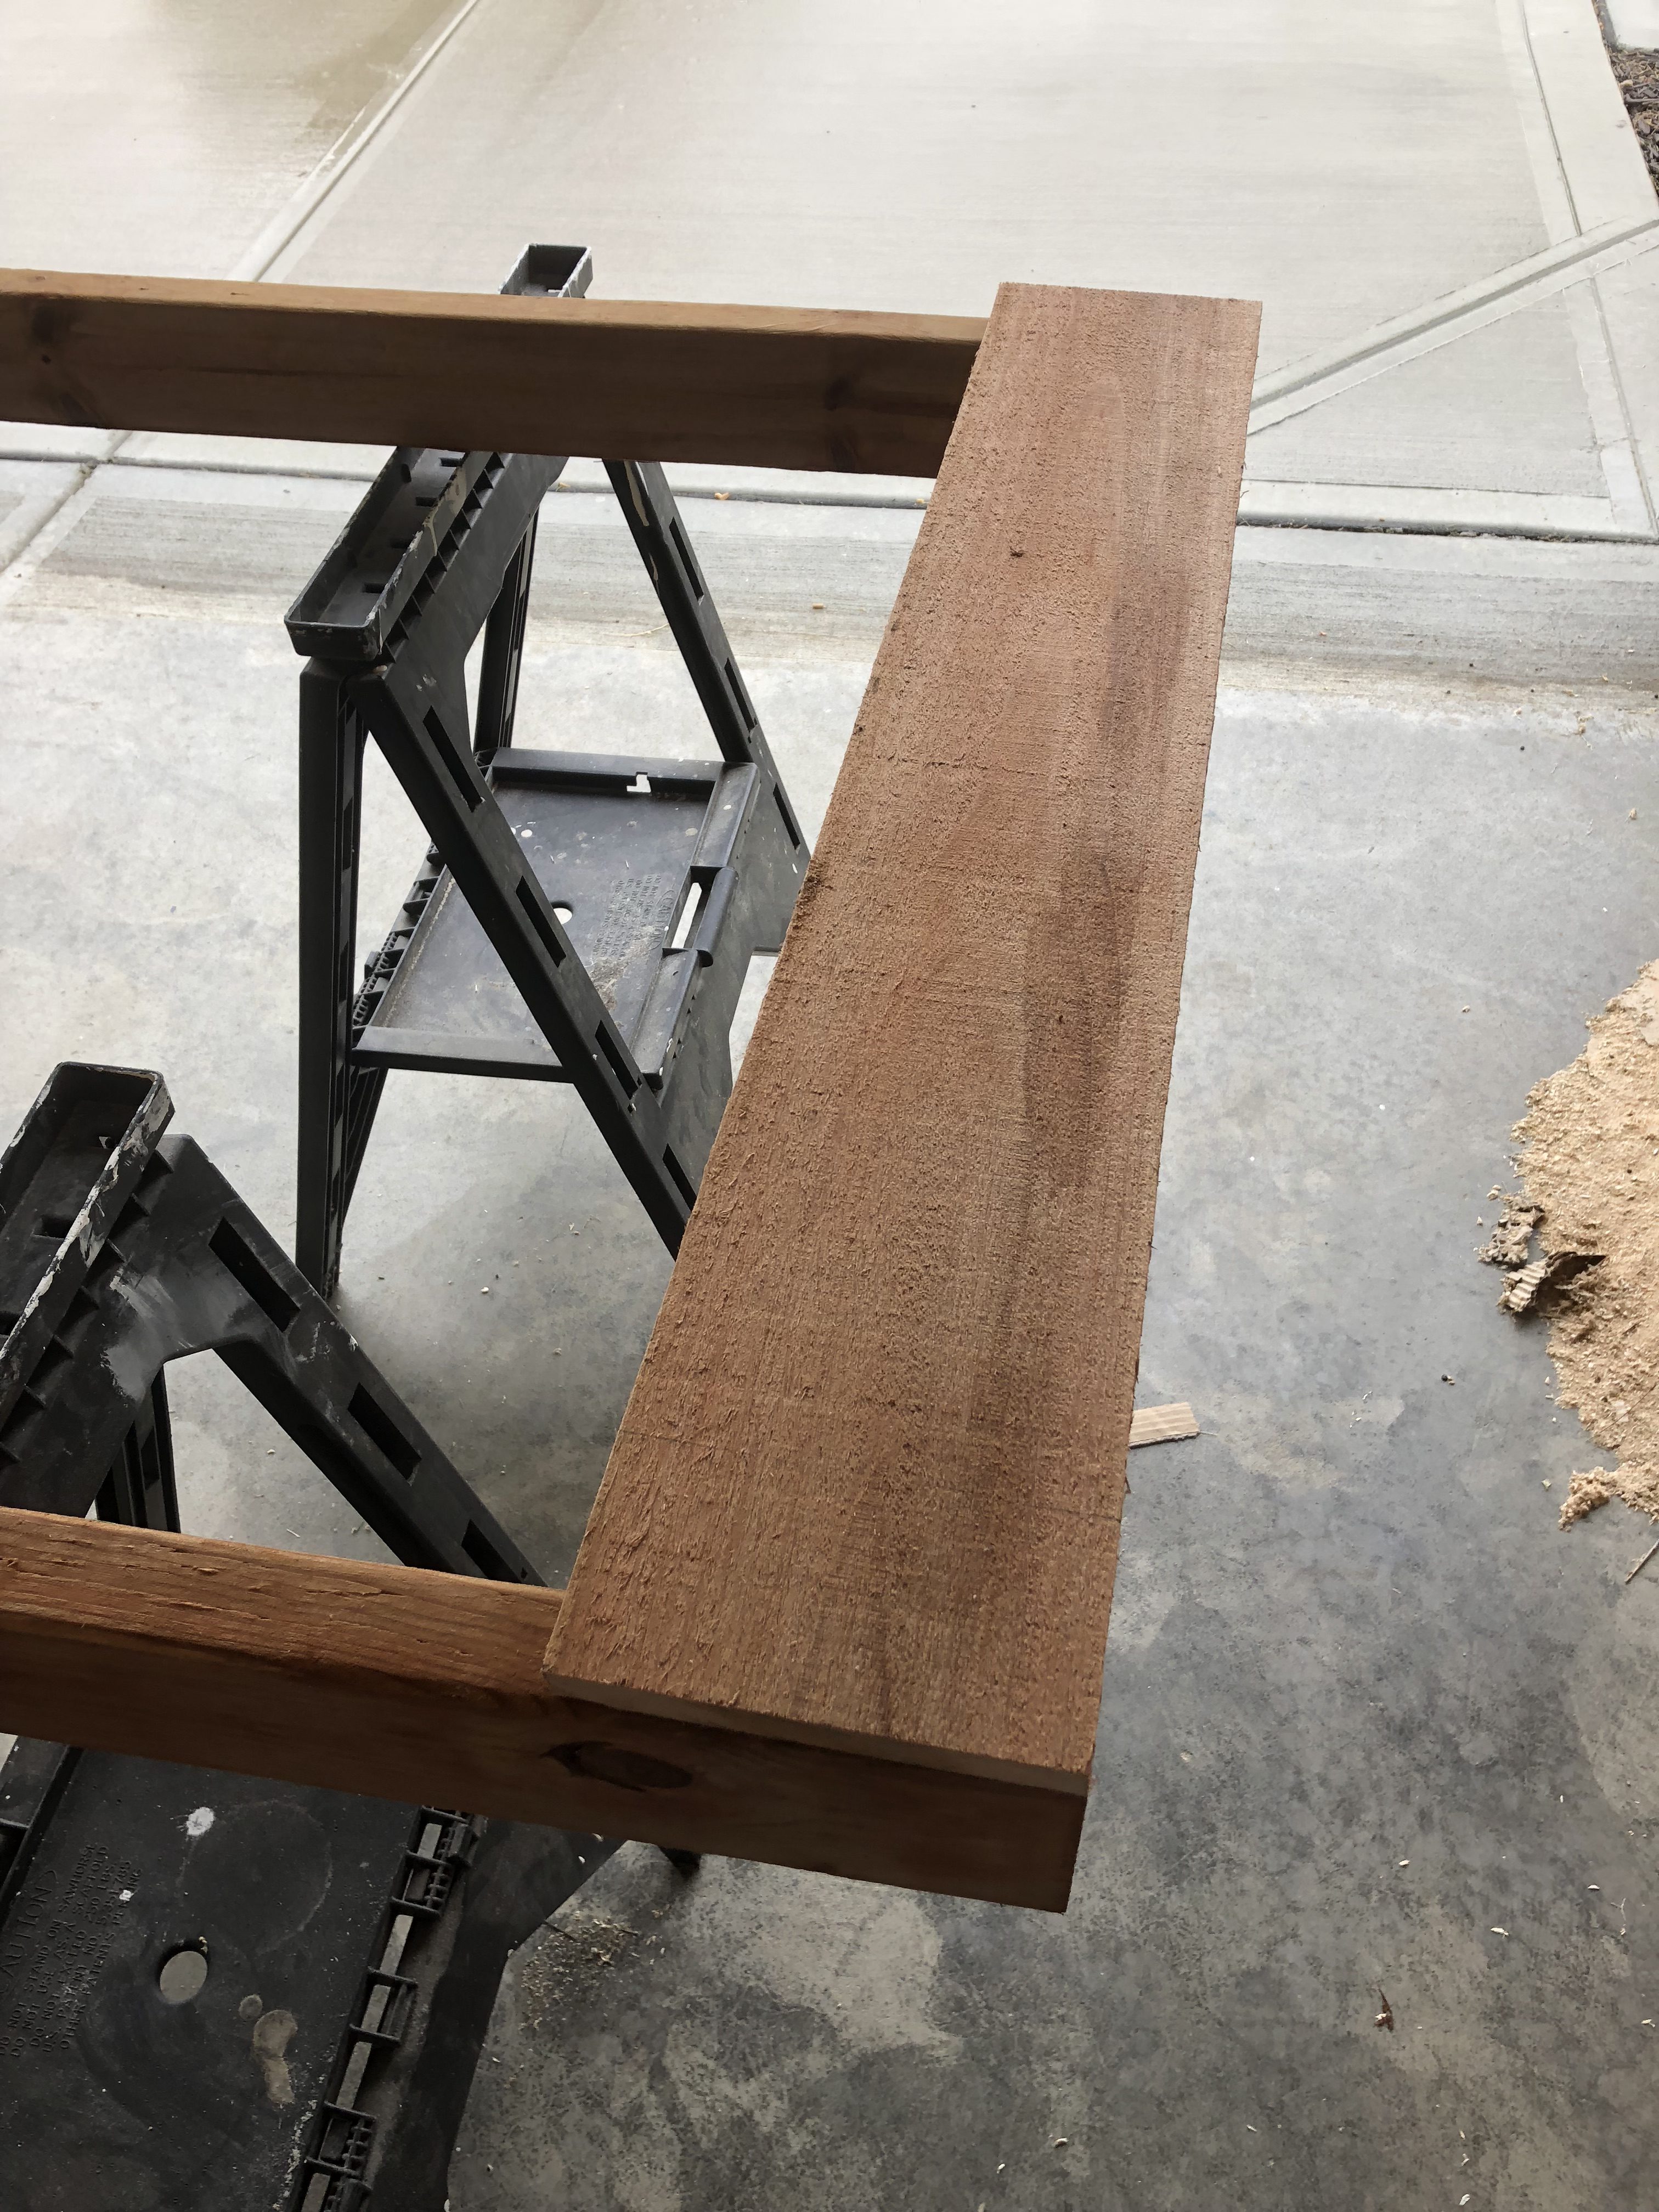
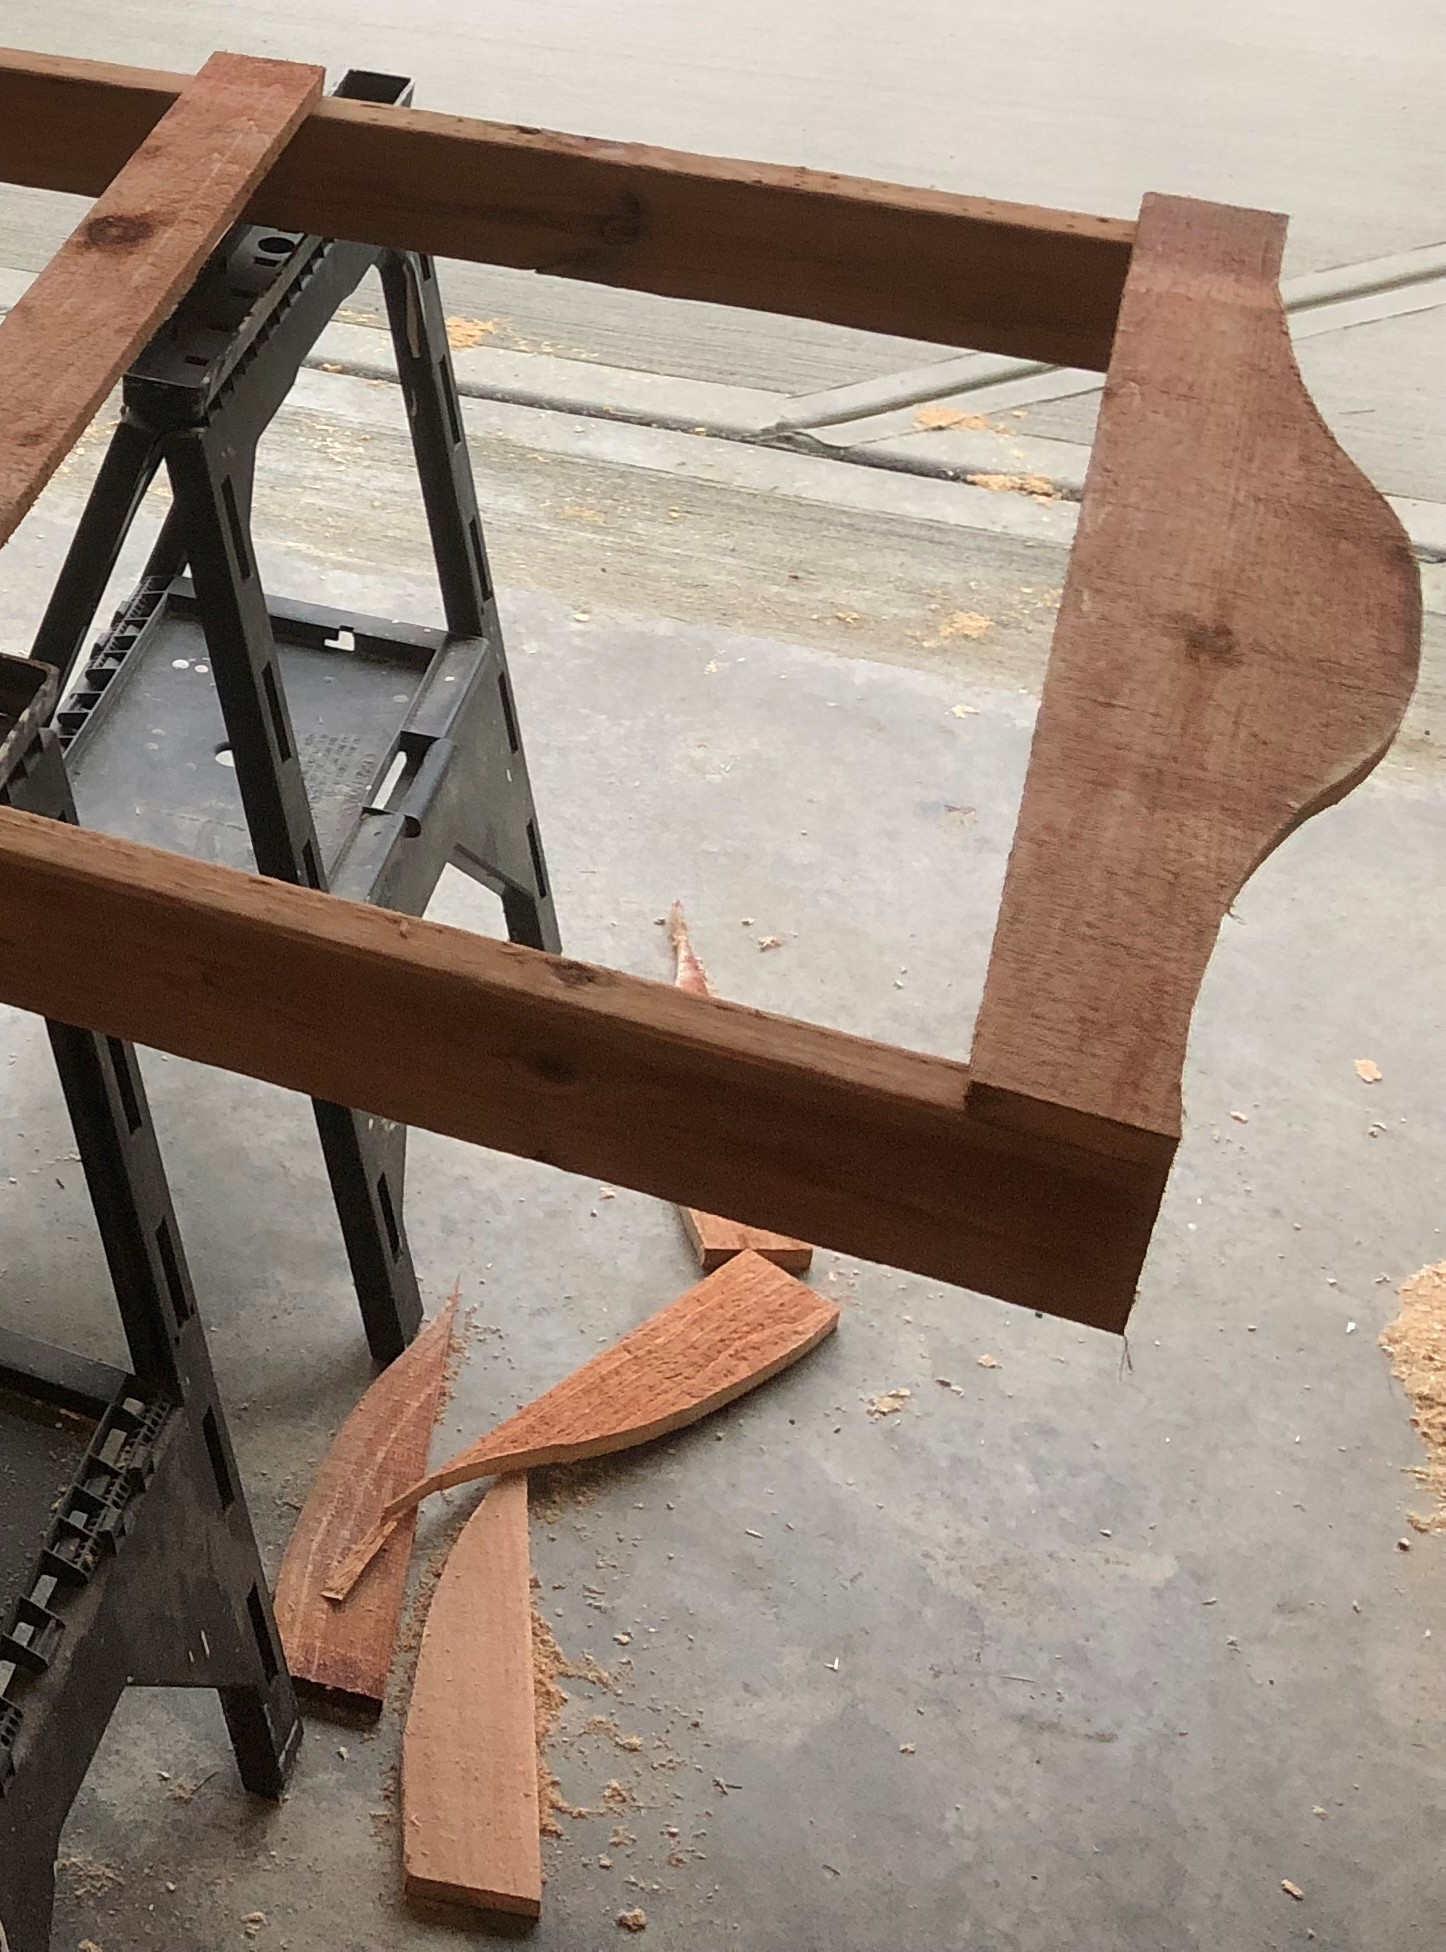
I started with placing pieces without fastening so i was able to play around with it a bit, starting with the header. In the picture above (Figure 1) the header is covering 5 inches of the 2x4s. In the final version, I ended moving it up higher on the trellis to where only 3 inches were in contact with the 2×4 post and 2 inches were hanging over the edge. That way I could cut the header in the arching pattern you can see in the final photo. I laid both headers on top of one another and cut both at the same time to ensure they were both identical. The jigsaw I have just BARELY reached through both layers. In hindsight, it probably would have been fine to do one at a time and use the first to trace the line on the second.
The Frame
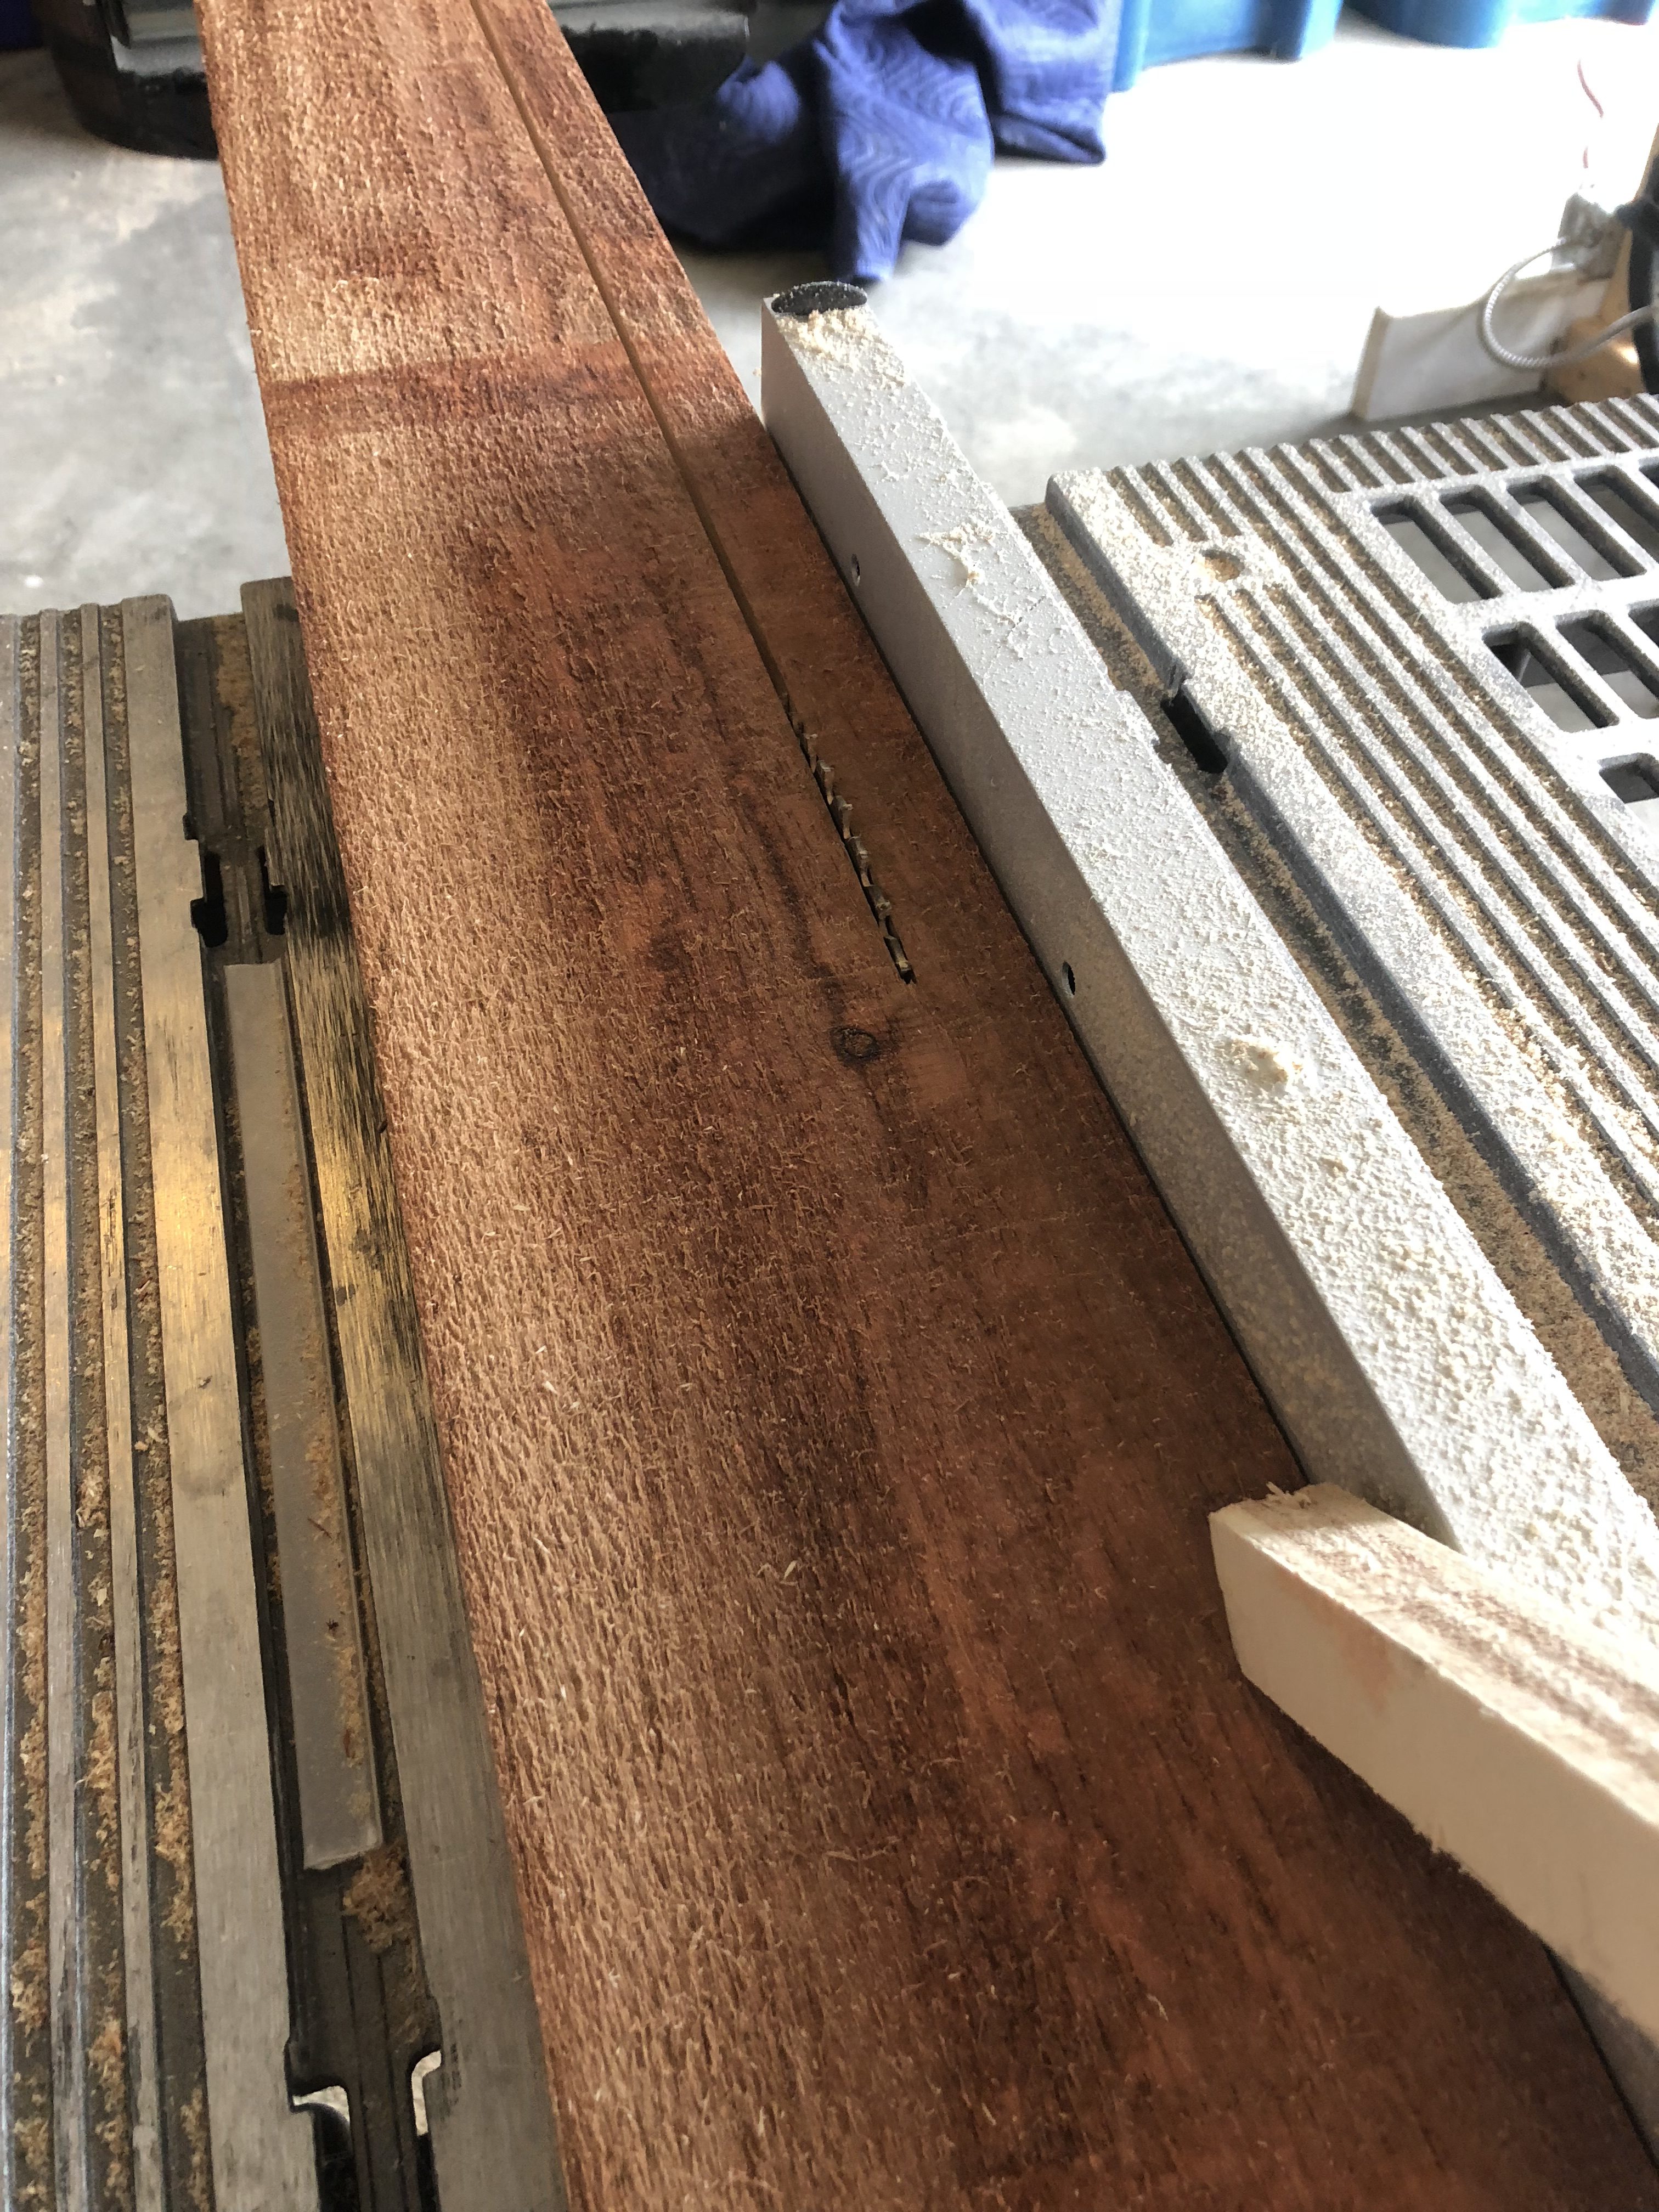
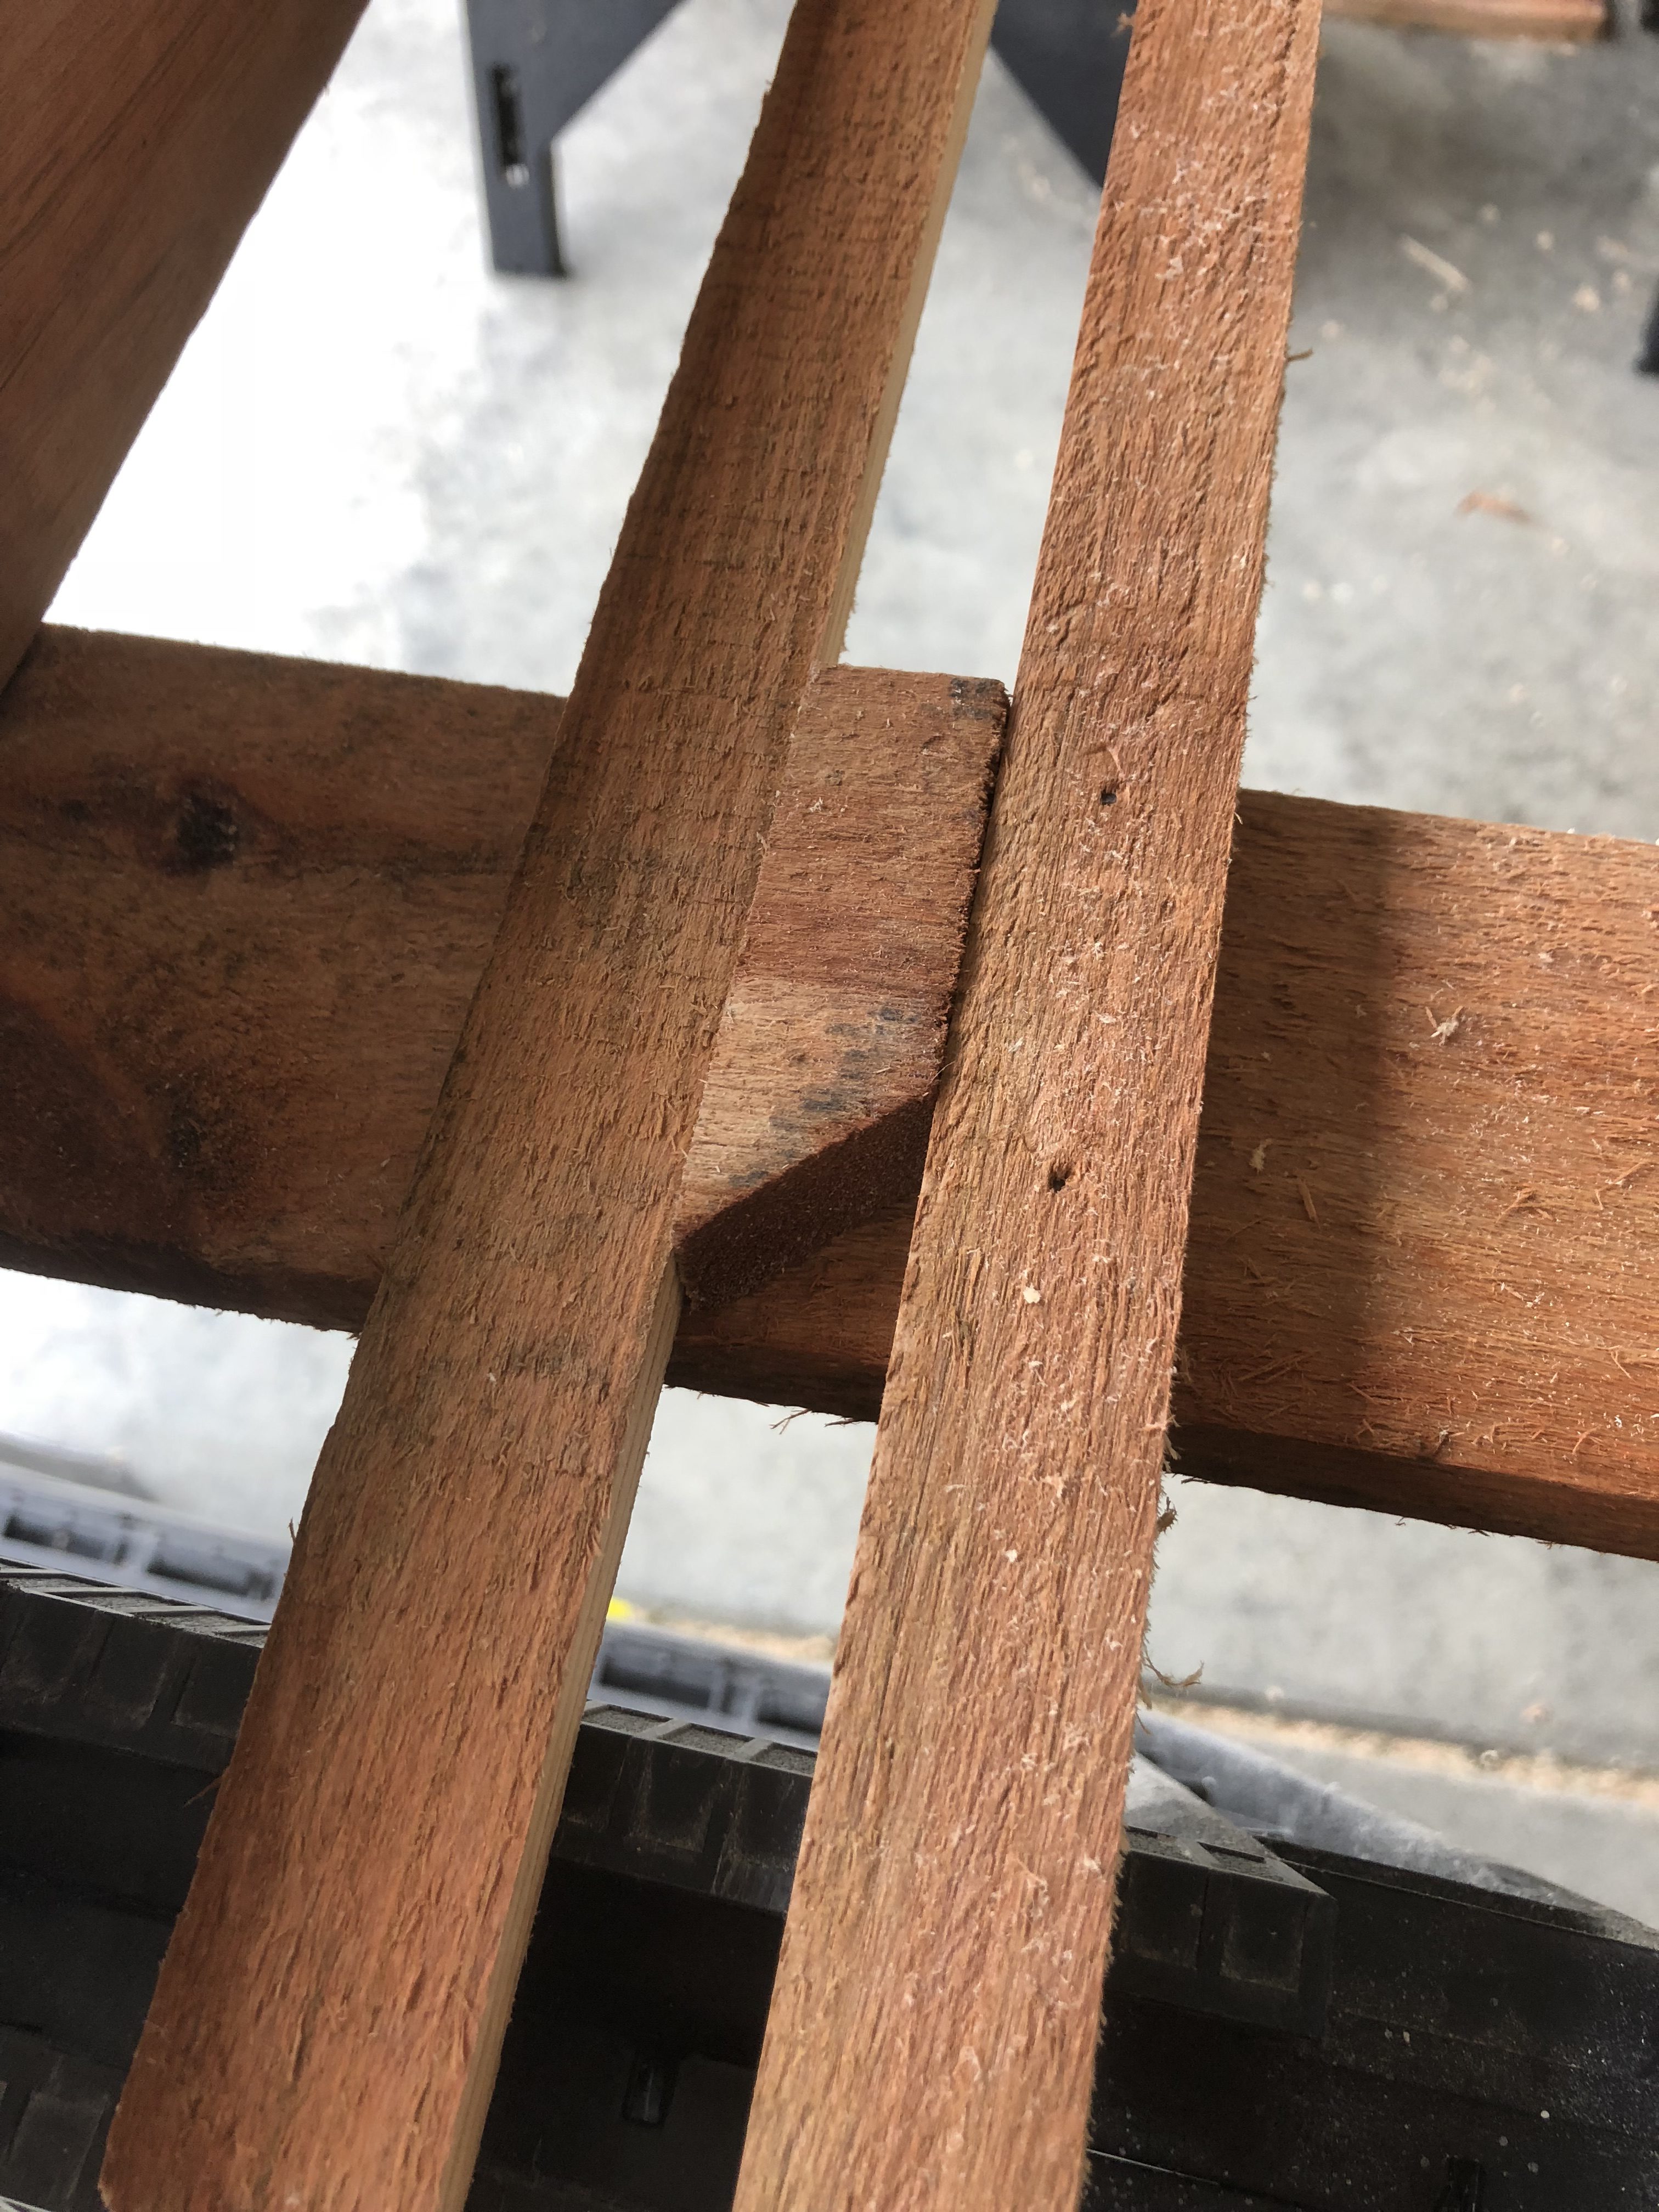
I started with cutting a fence post in half to see what that looked like for horizontal slats. In the other pictures, I’m playing around with different widths of the slats, patterns, and how they will run, over or under each other.

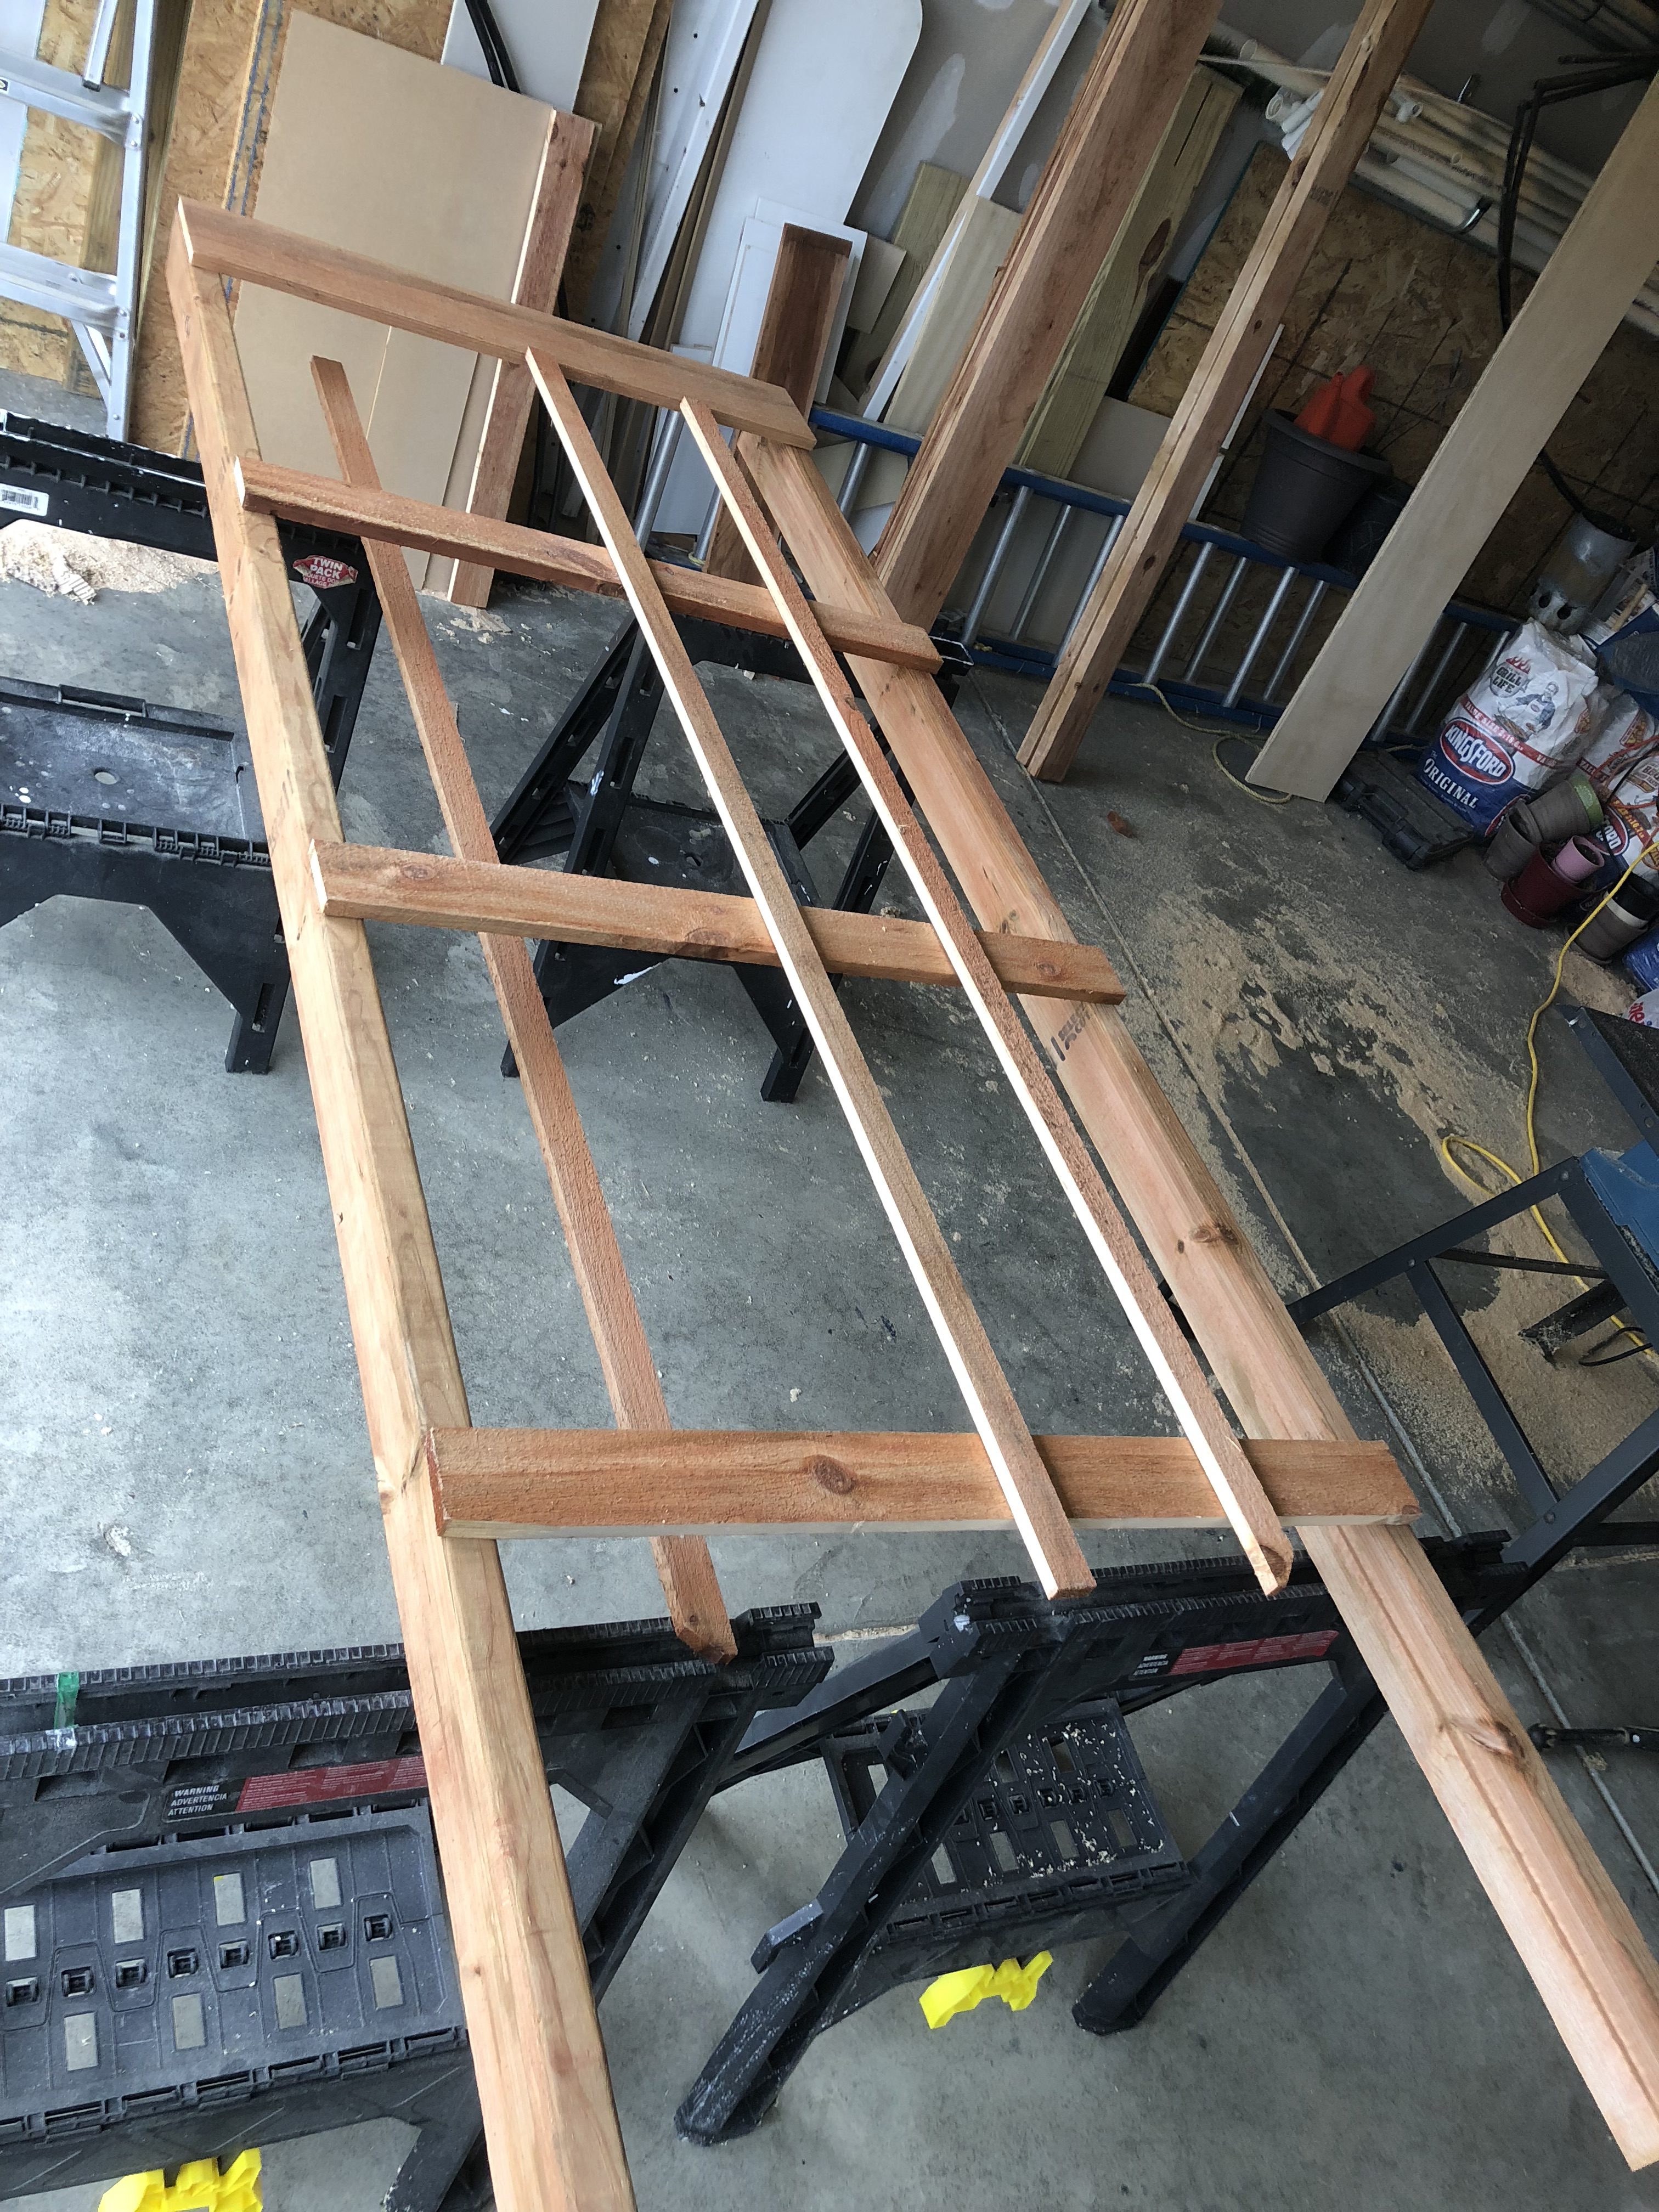
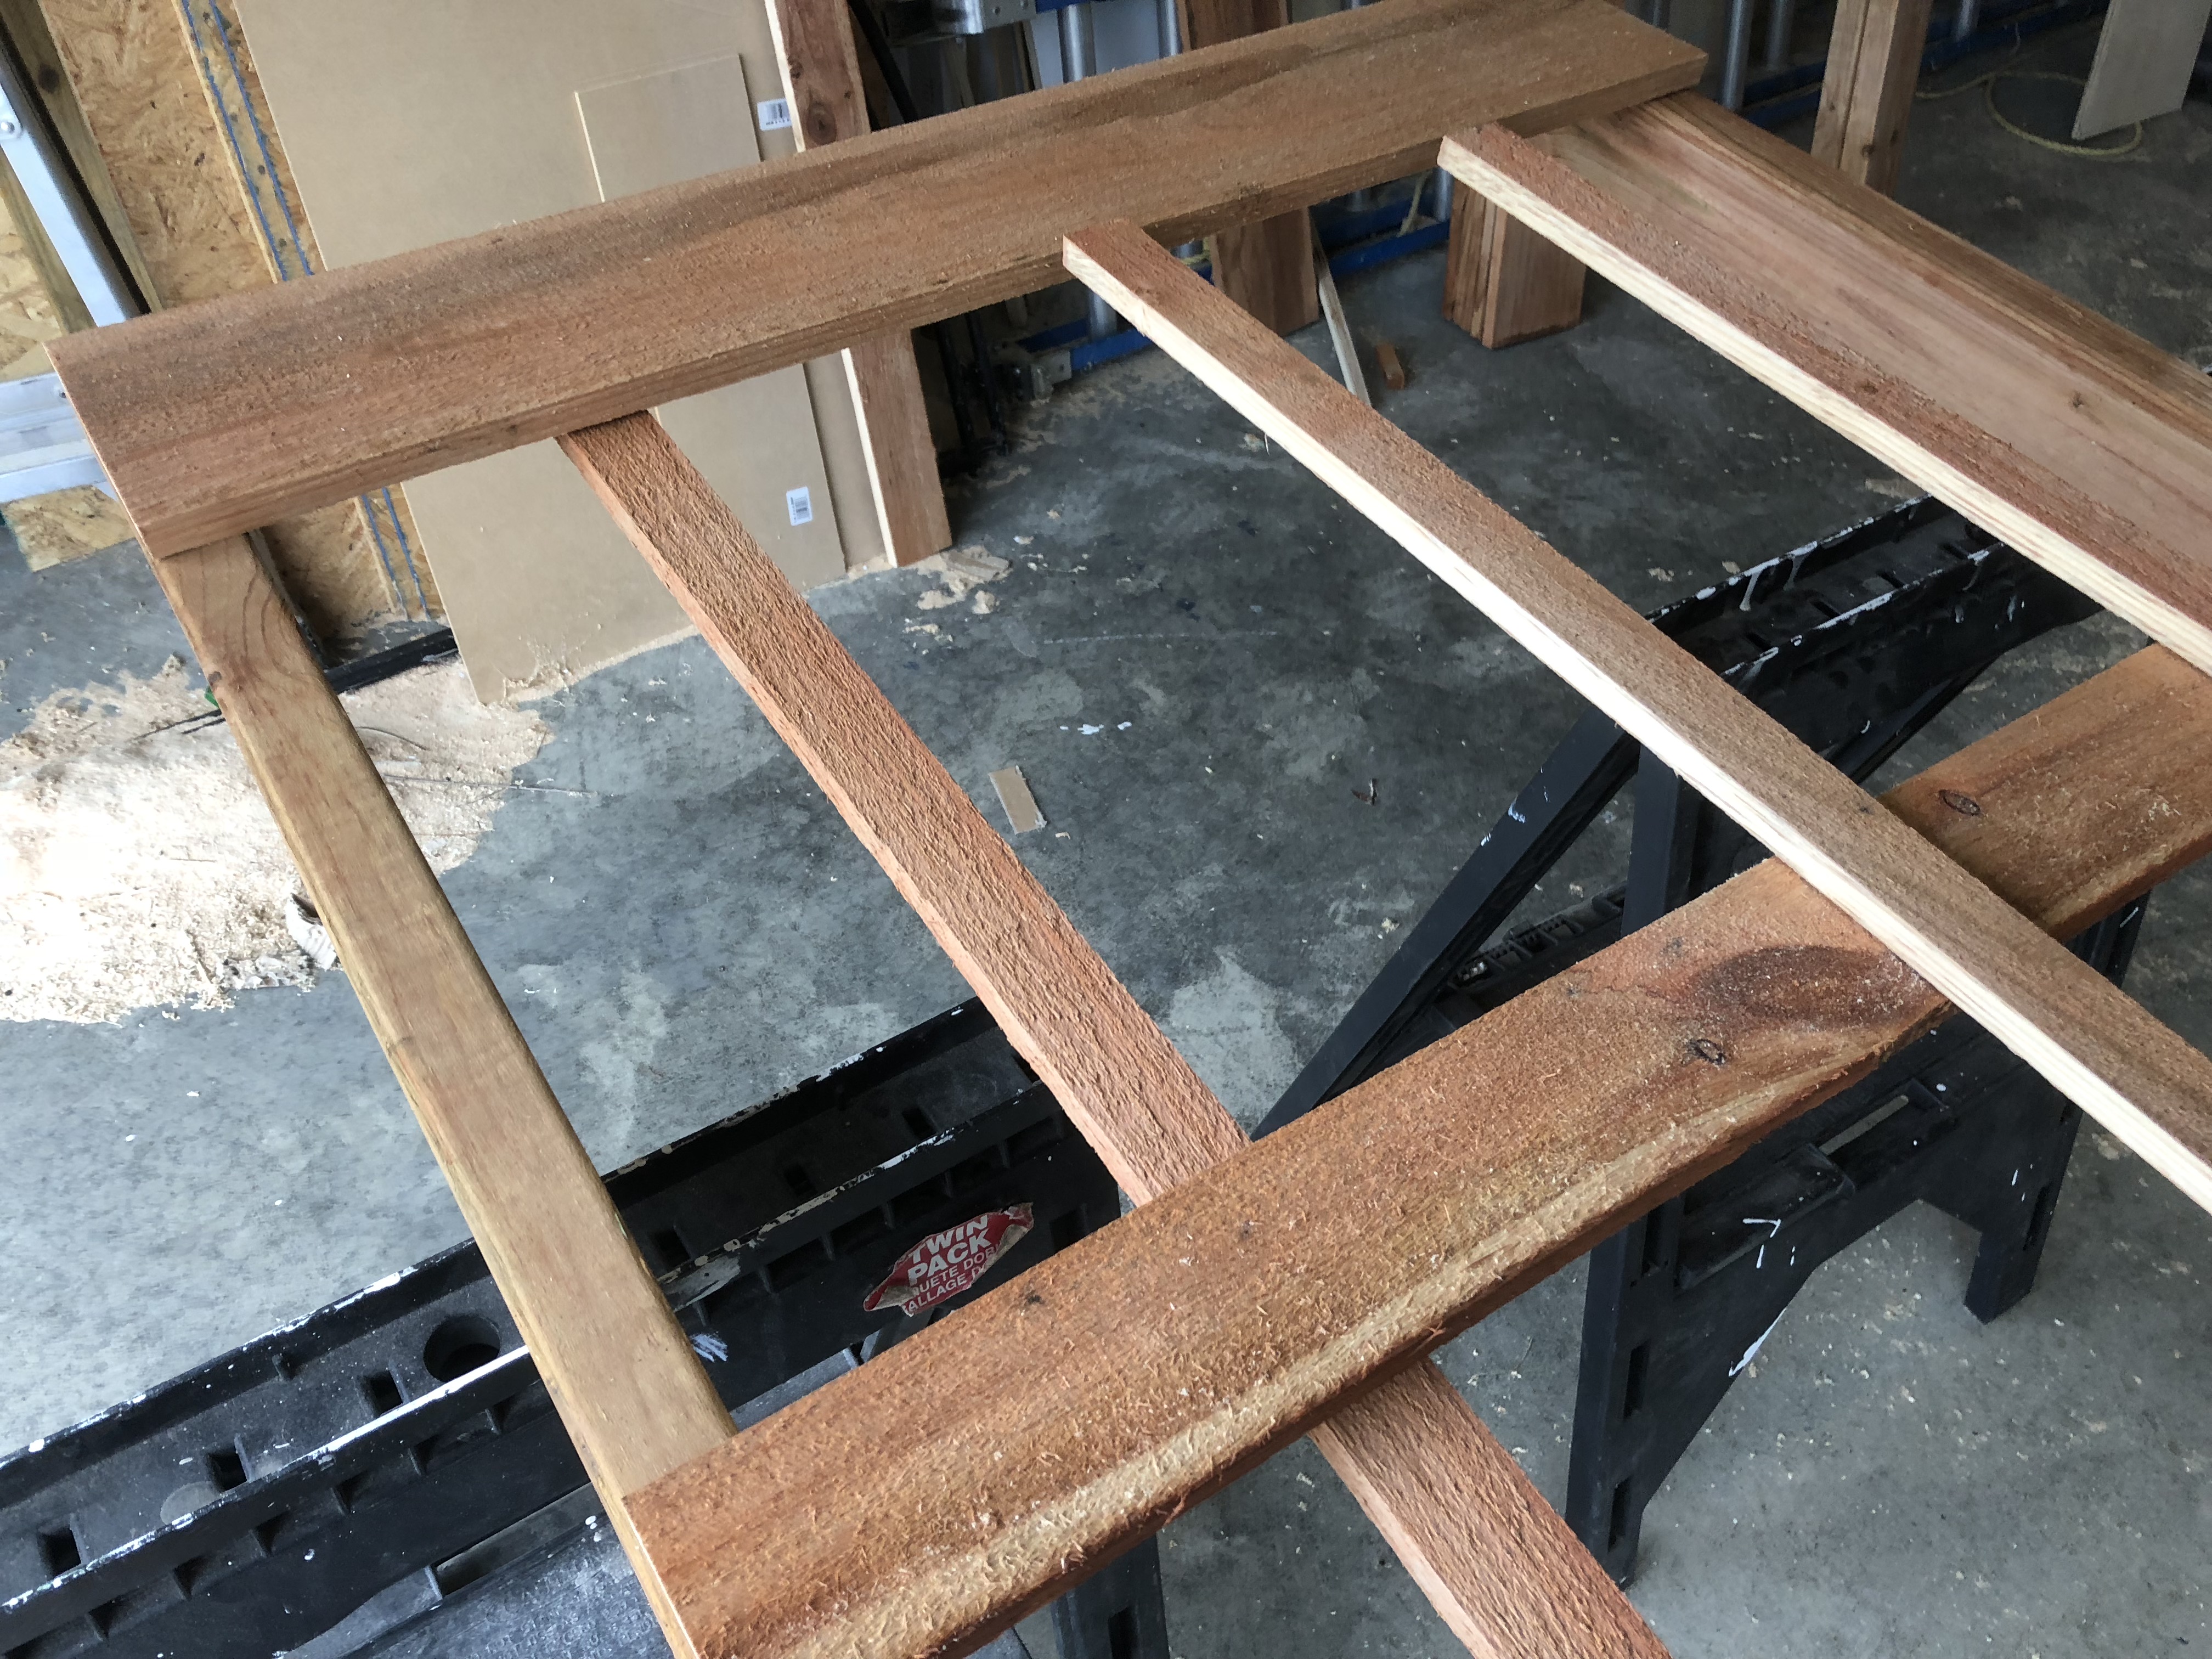
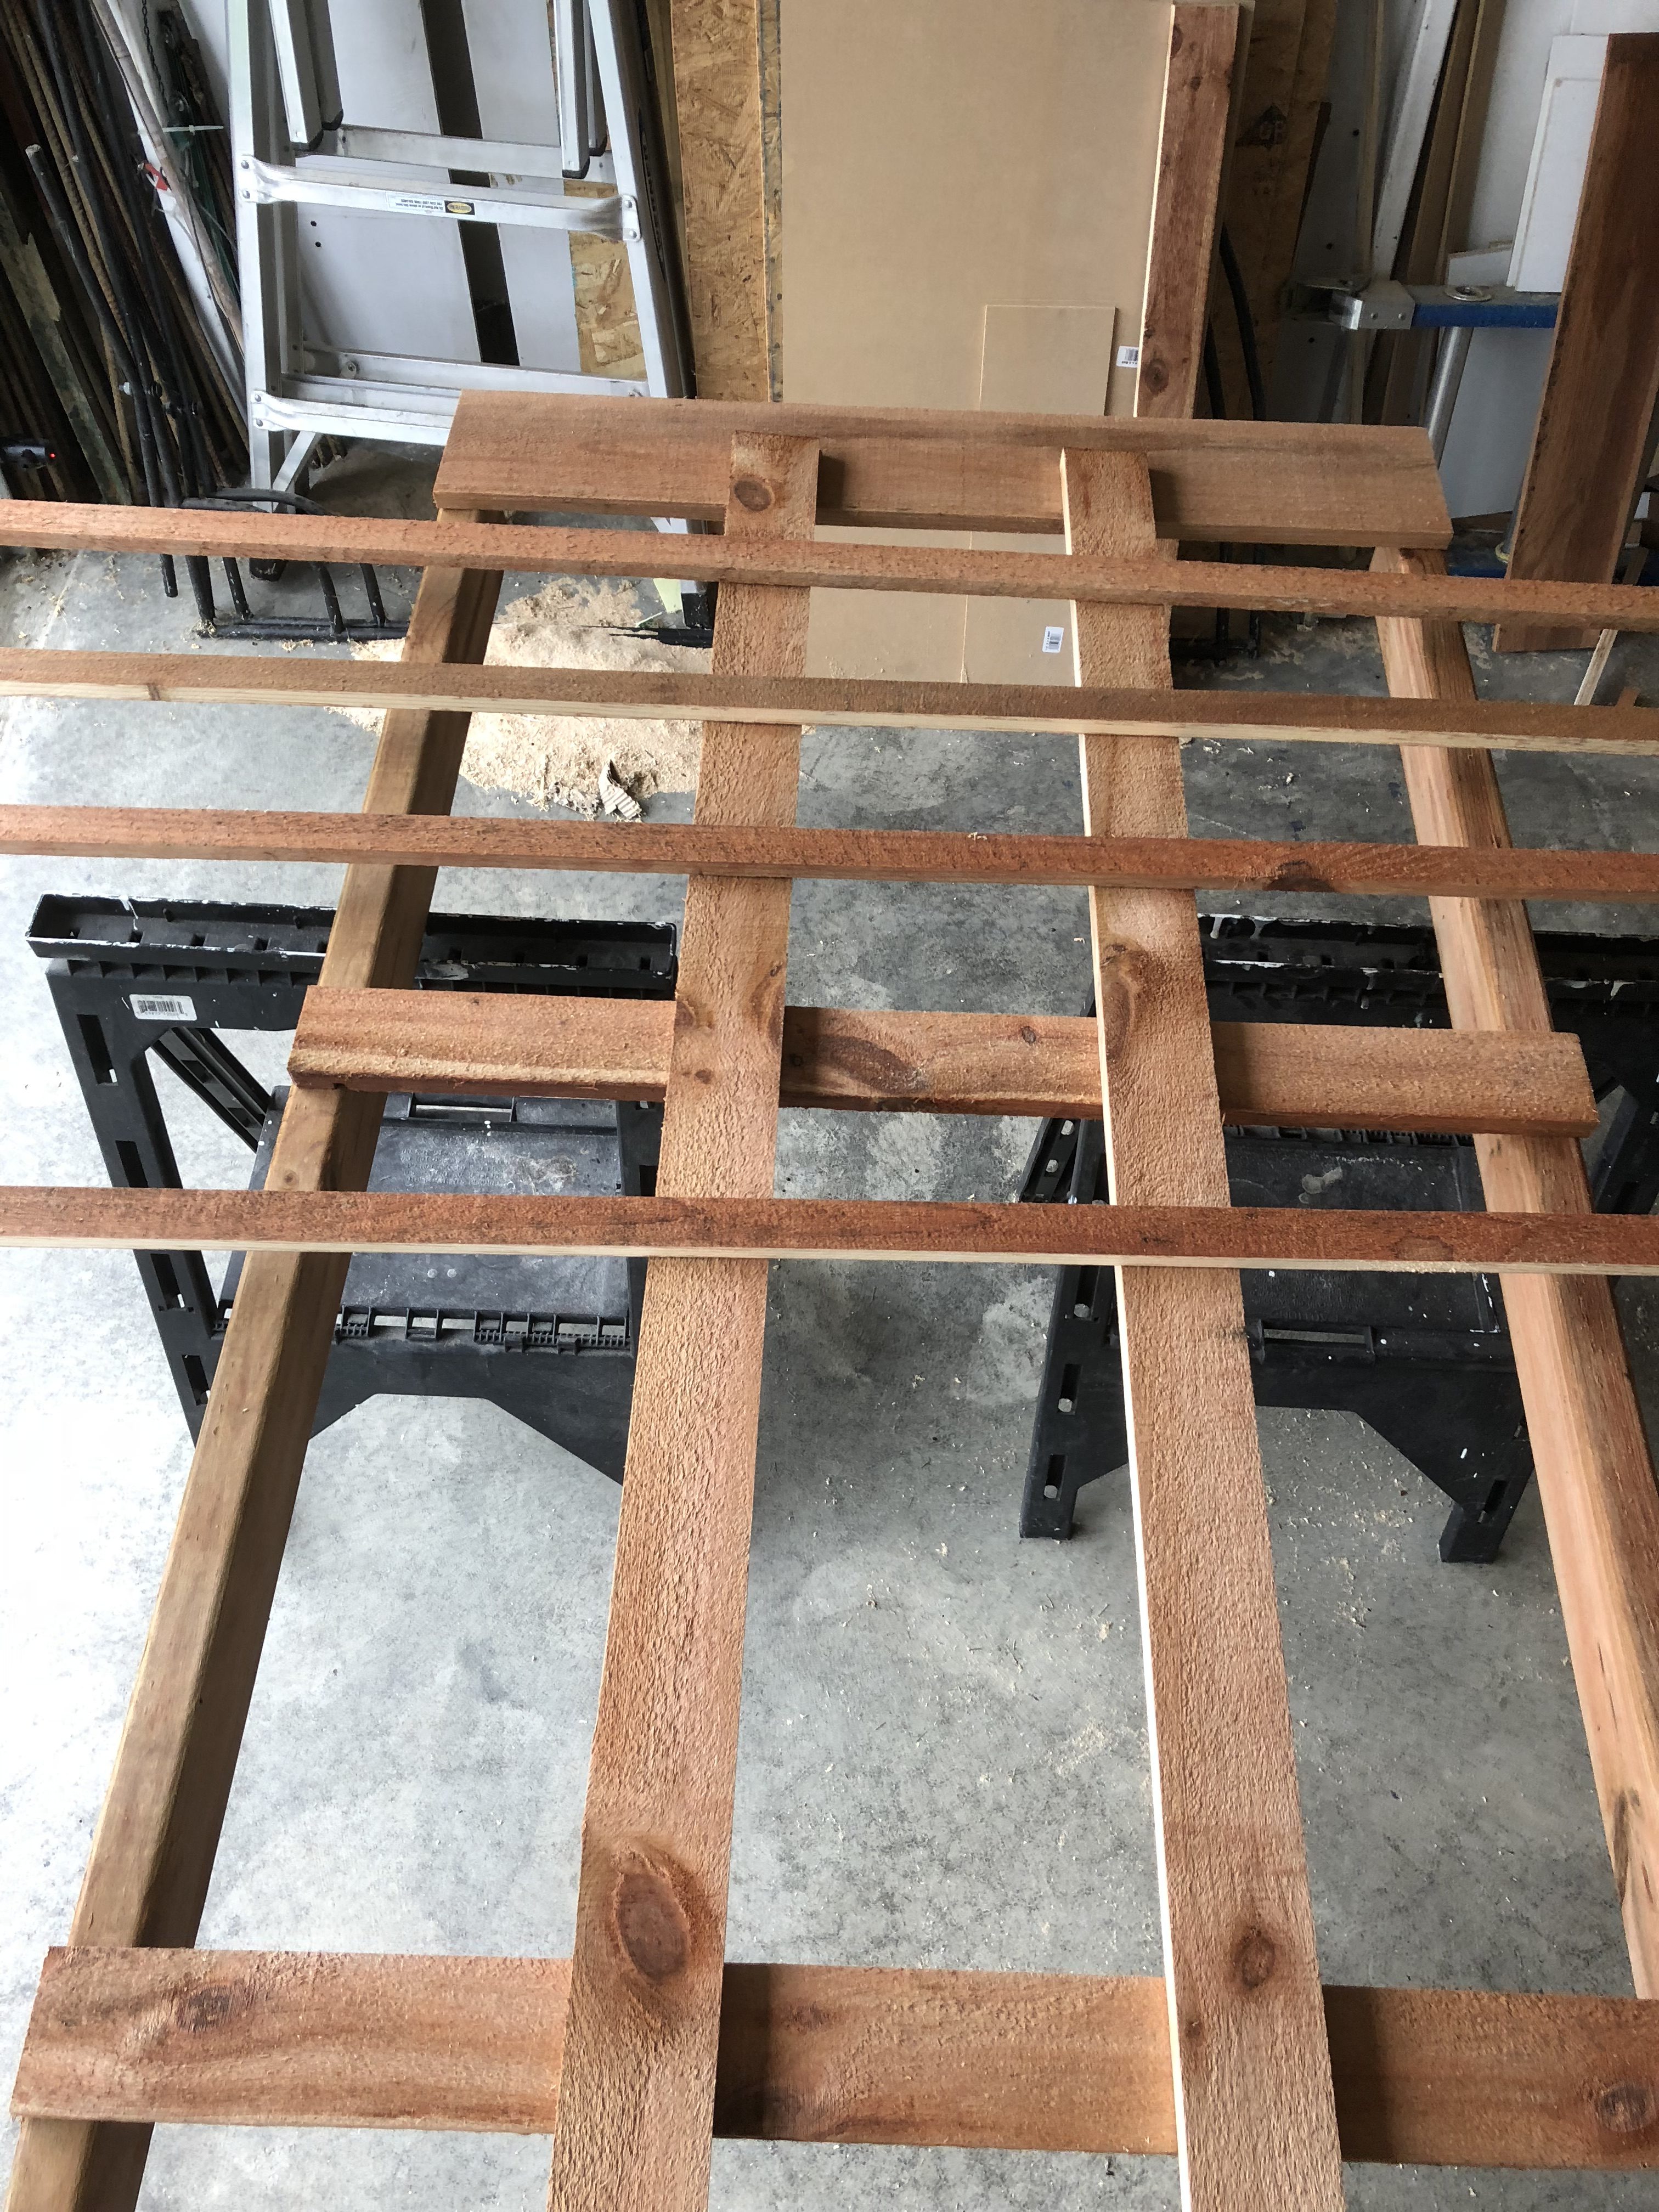
The last picture, I’ve finally got an idea of what I want to do and cut the remaining slats in the widths that i need.
Assembly
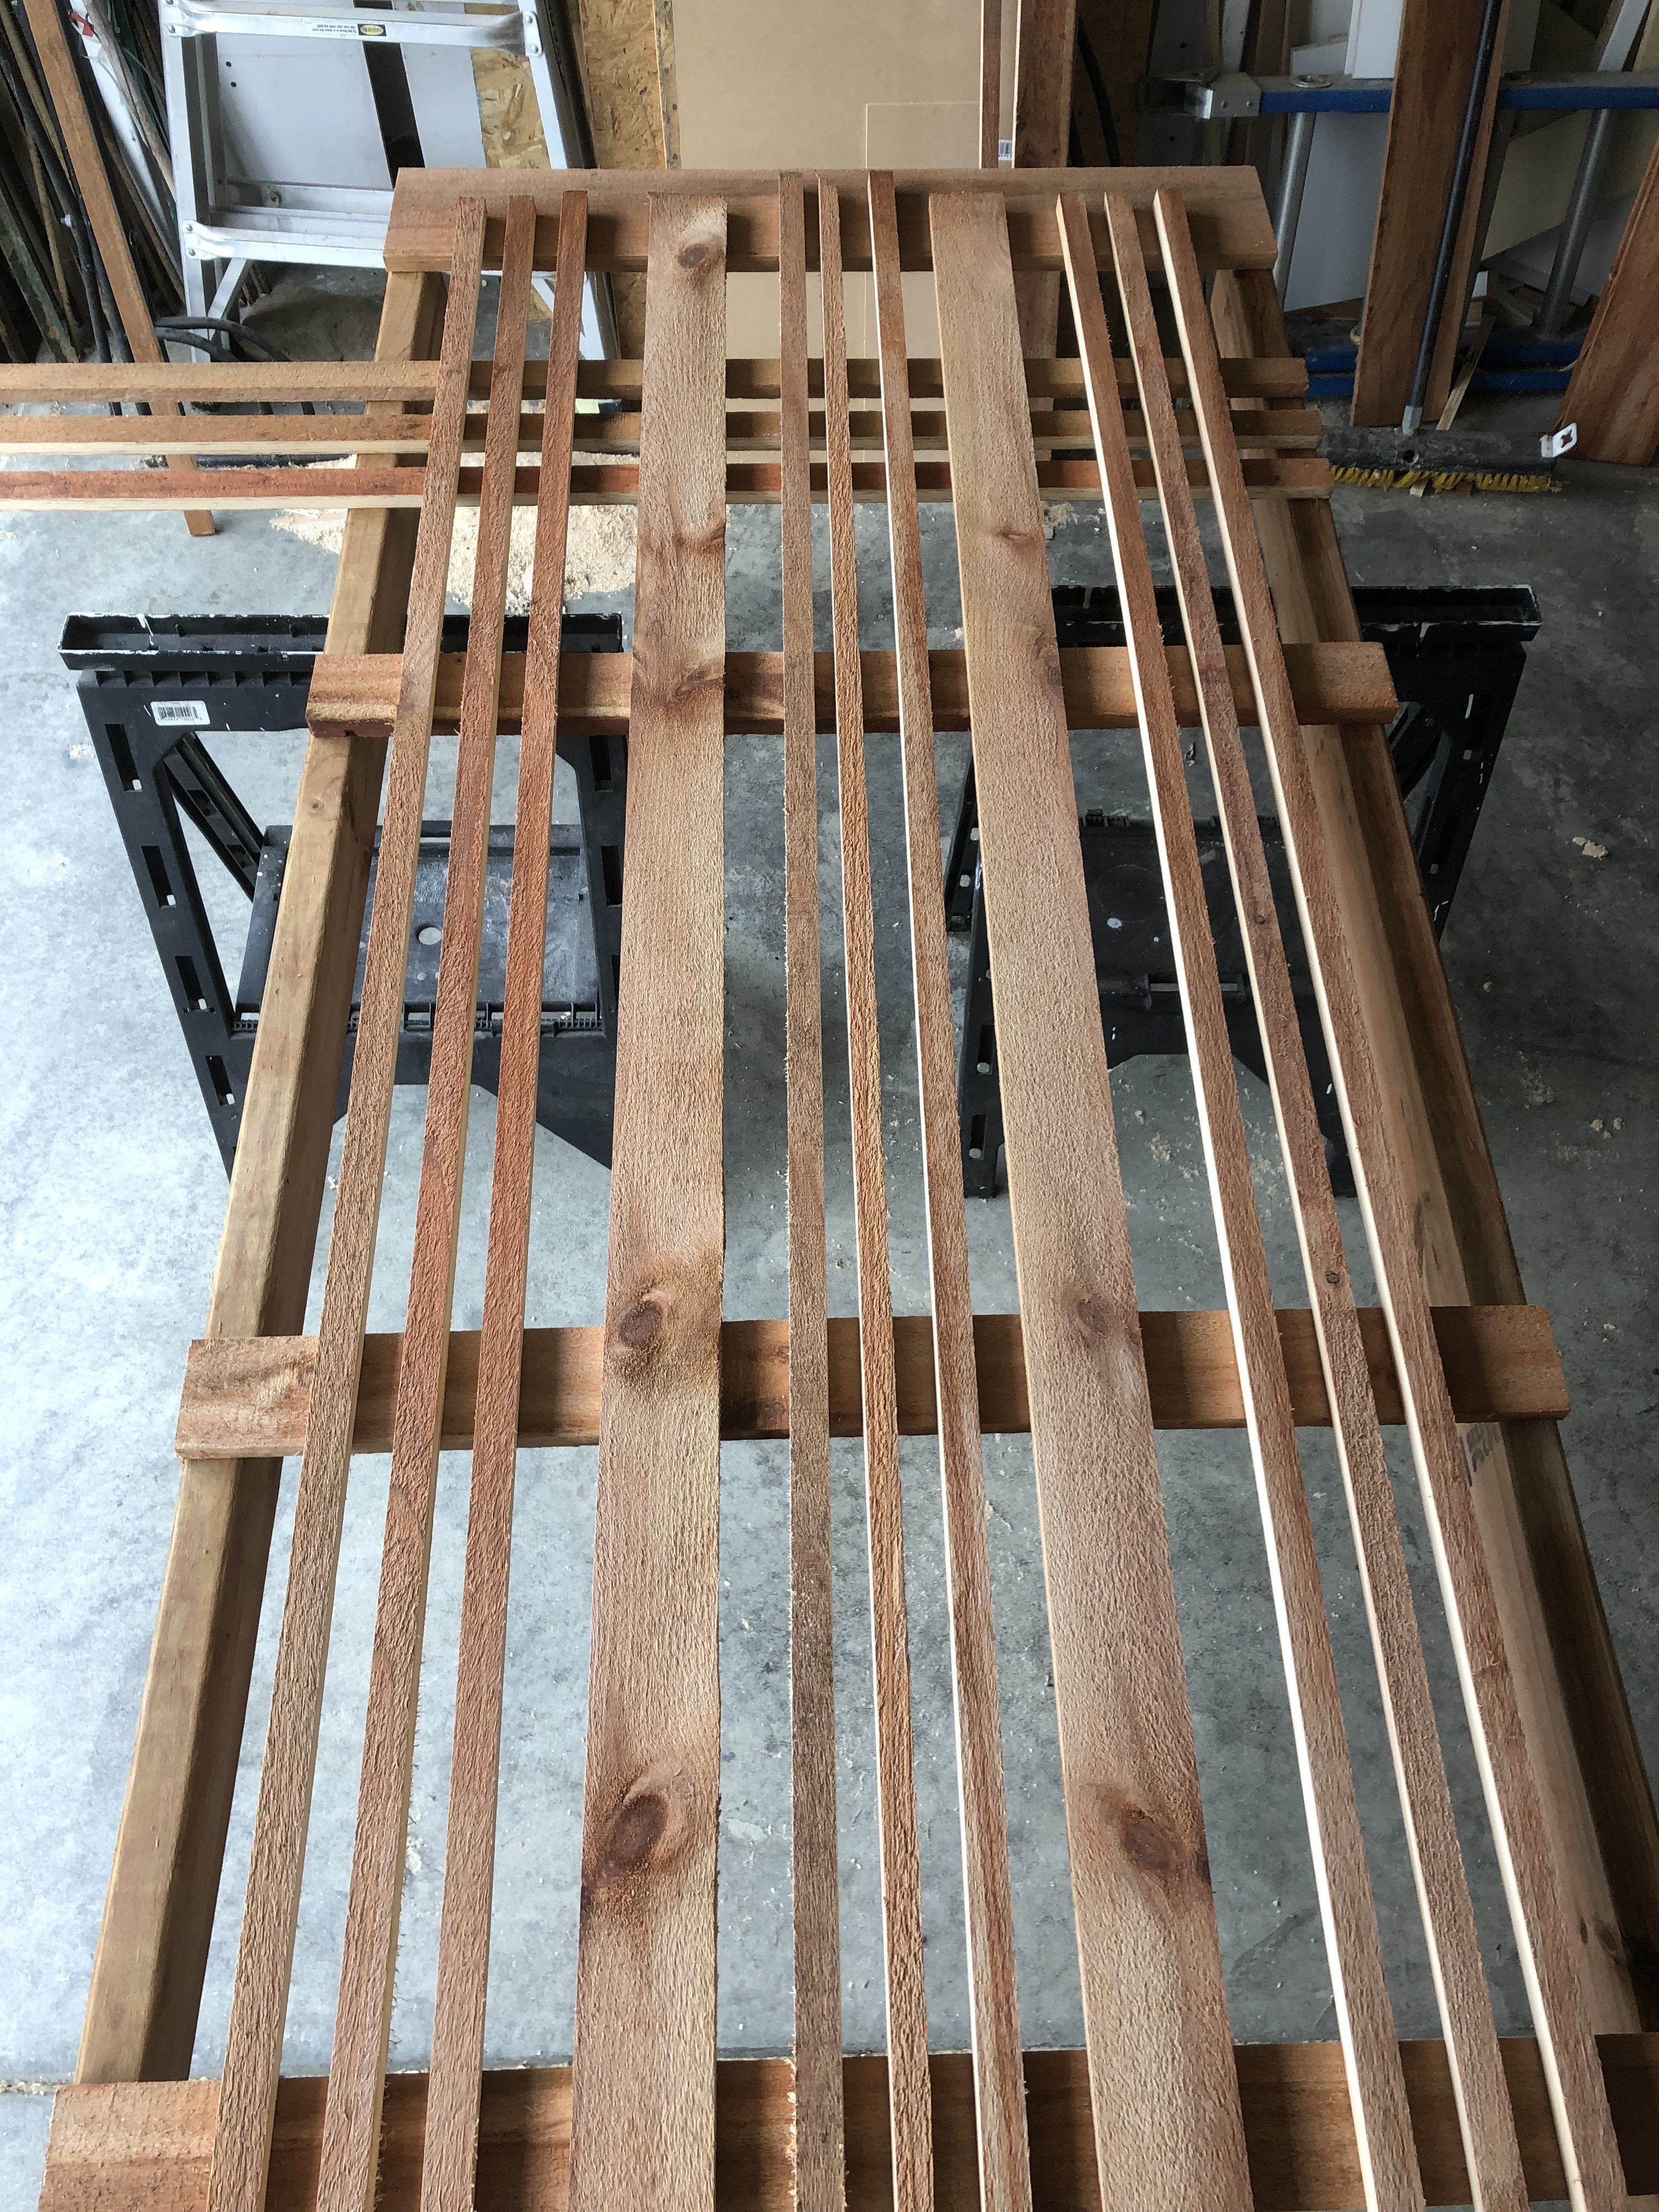
 I started by fastening the front horizontal slats and then flipping it over. Not sure this was the smartest thing to do as it was still very weak structurally and when I flipped over some of the nails came out and I had to redo them. Anyways, the second time I flipped it over I was super careful and everything was fine.

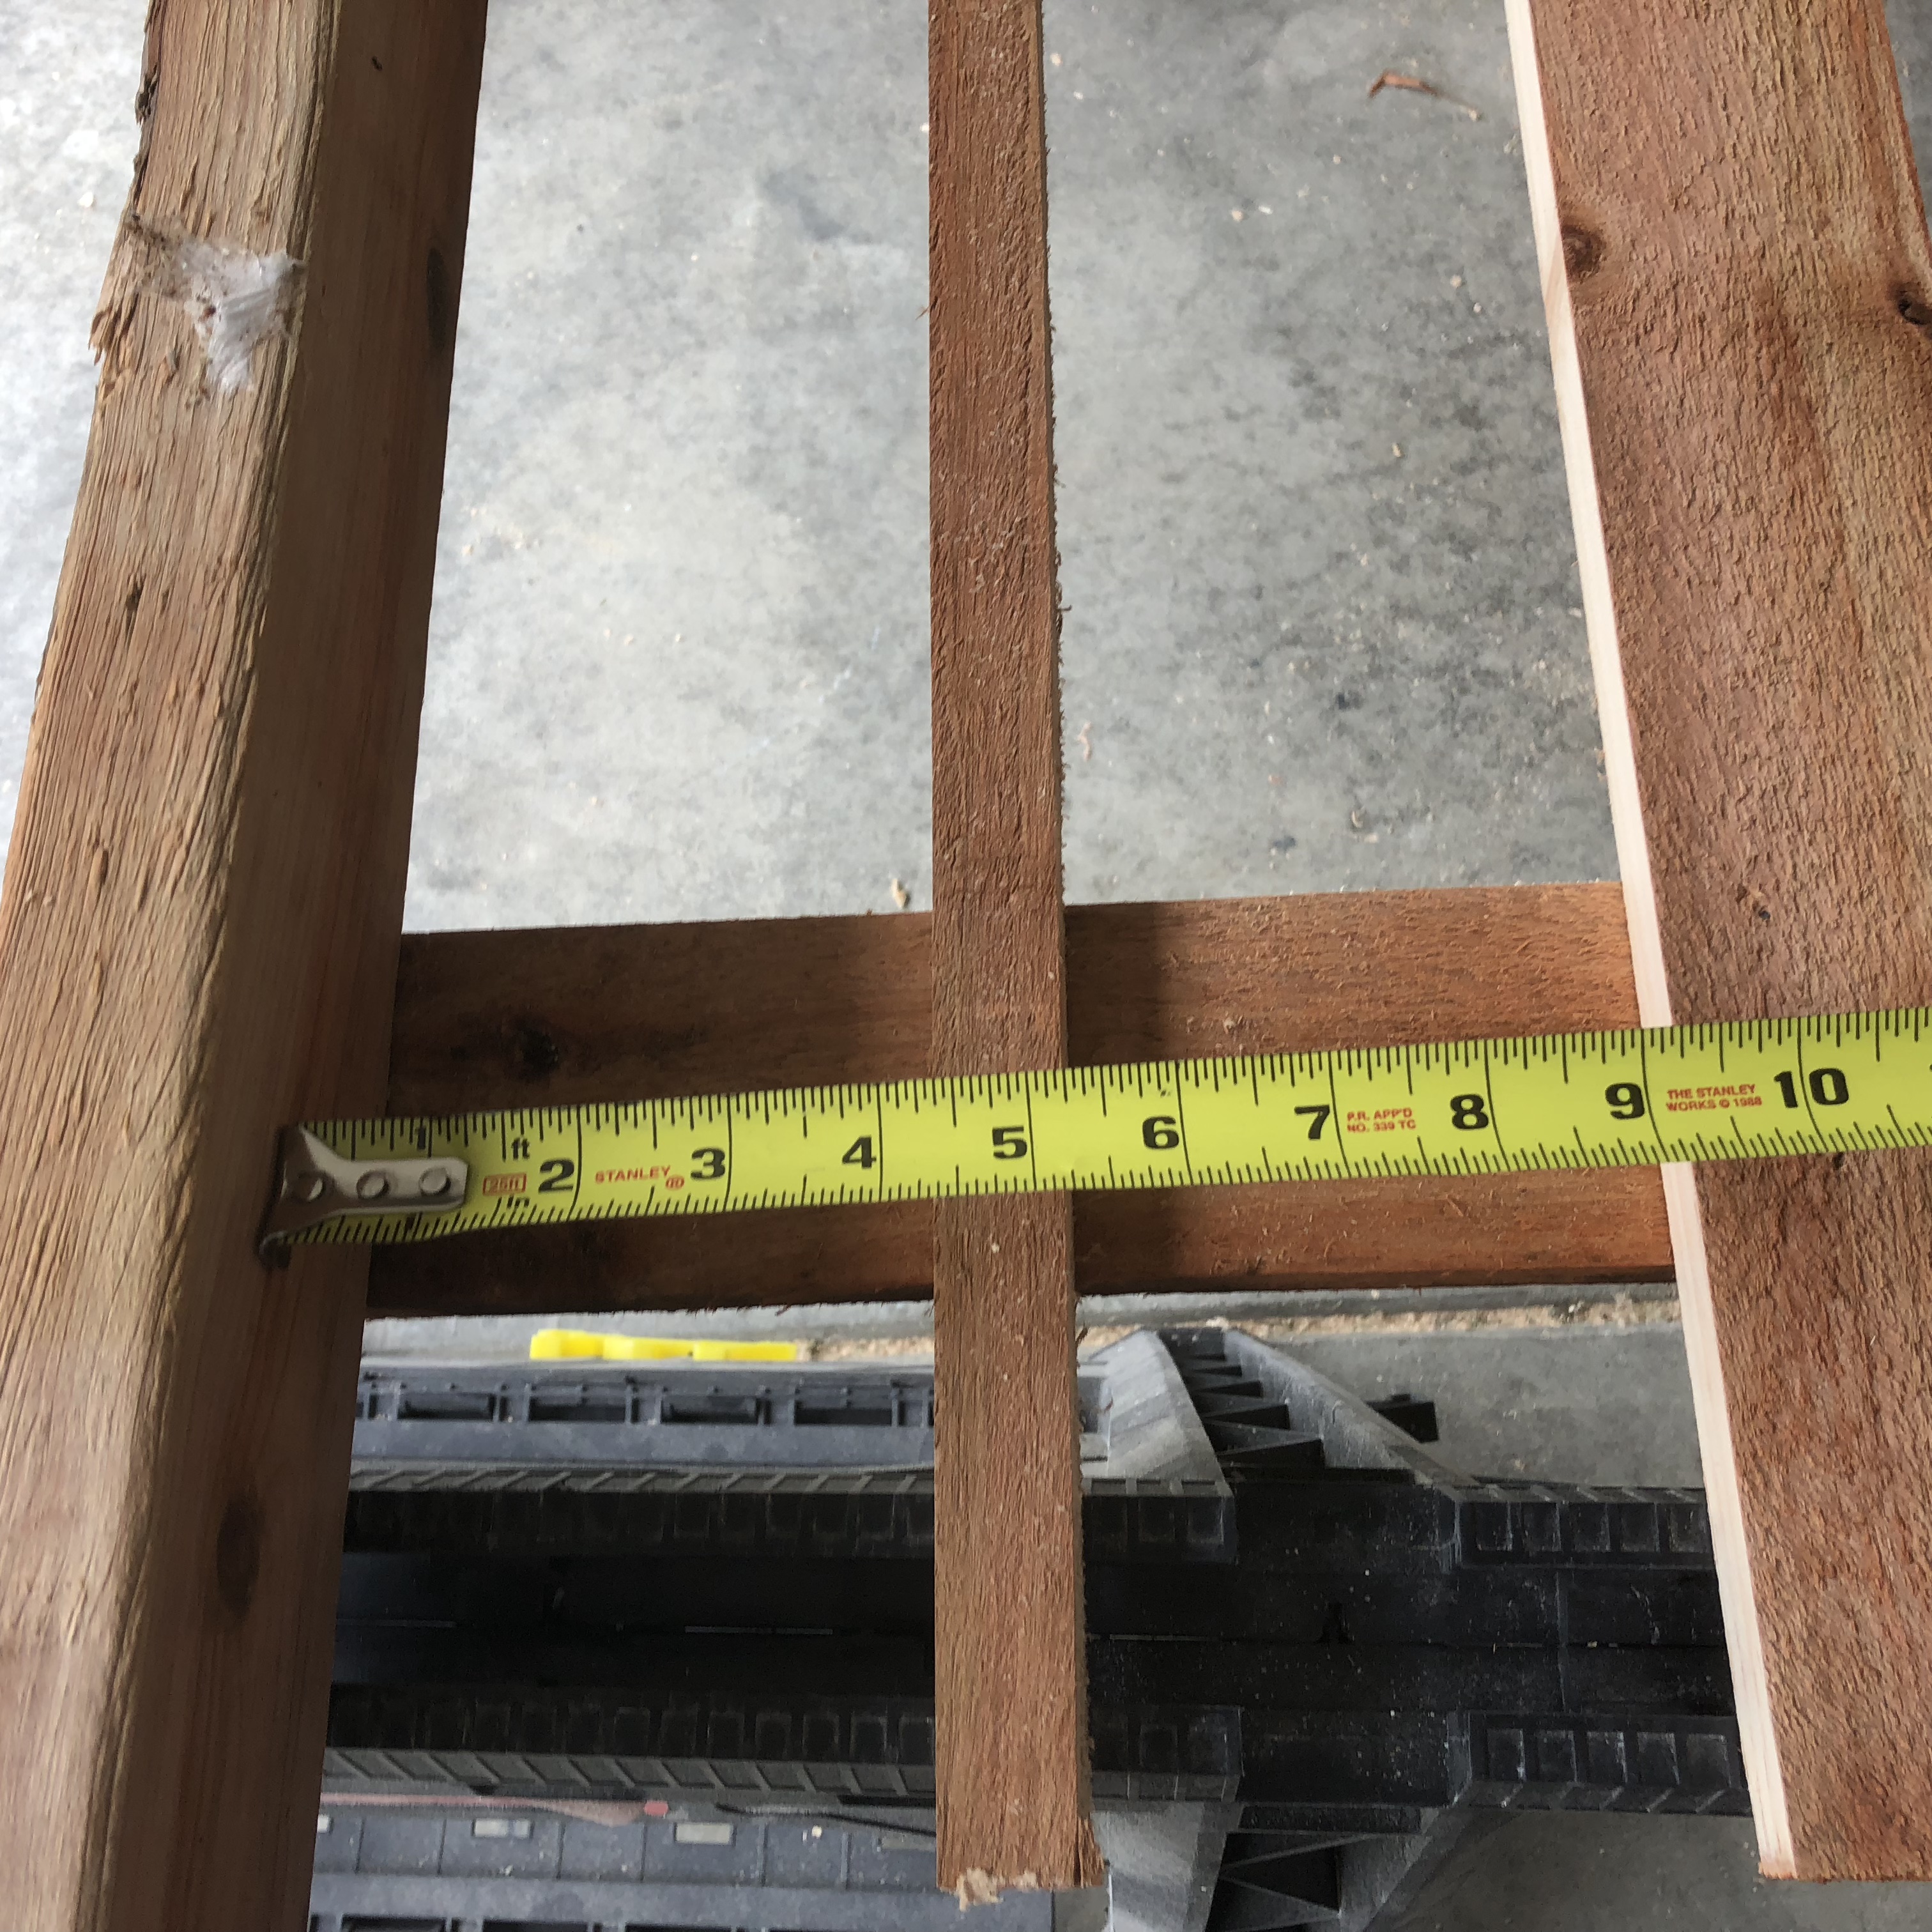
Most of the spacing between them was done by quick measurements with the tape measure.
Some places it was easier and faster to use blocks for spacers while I fastened them together.

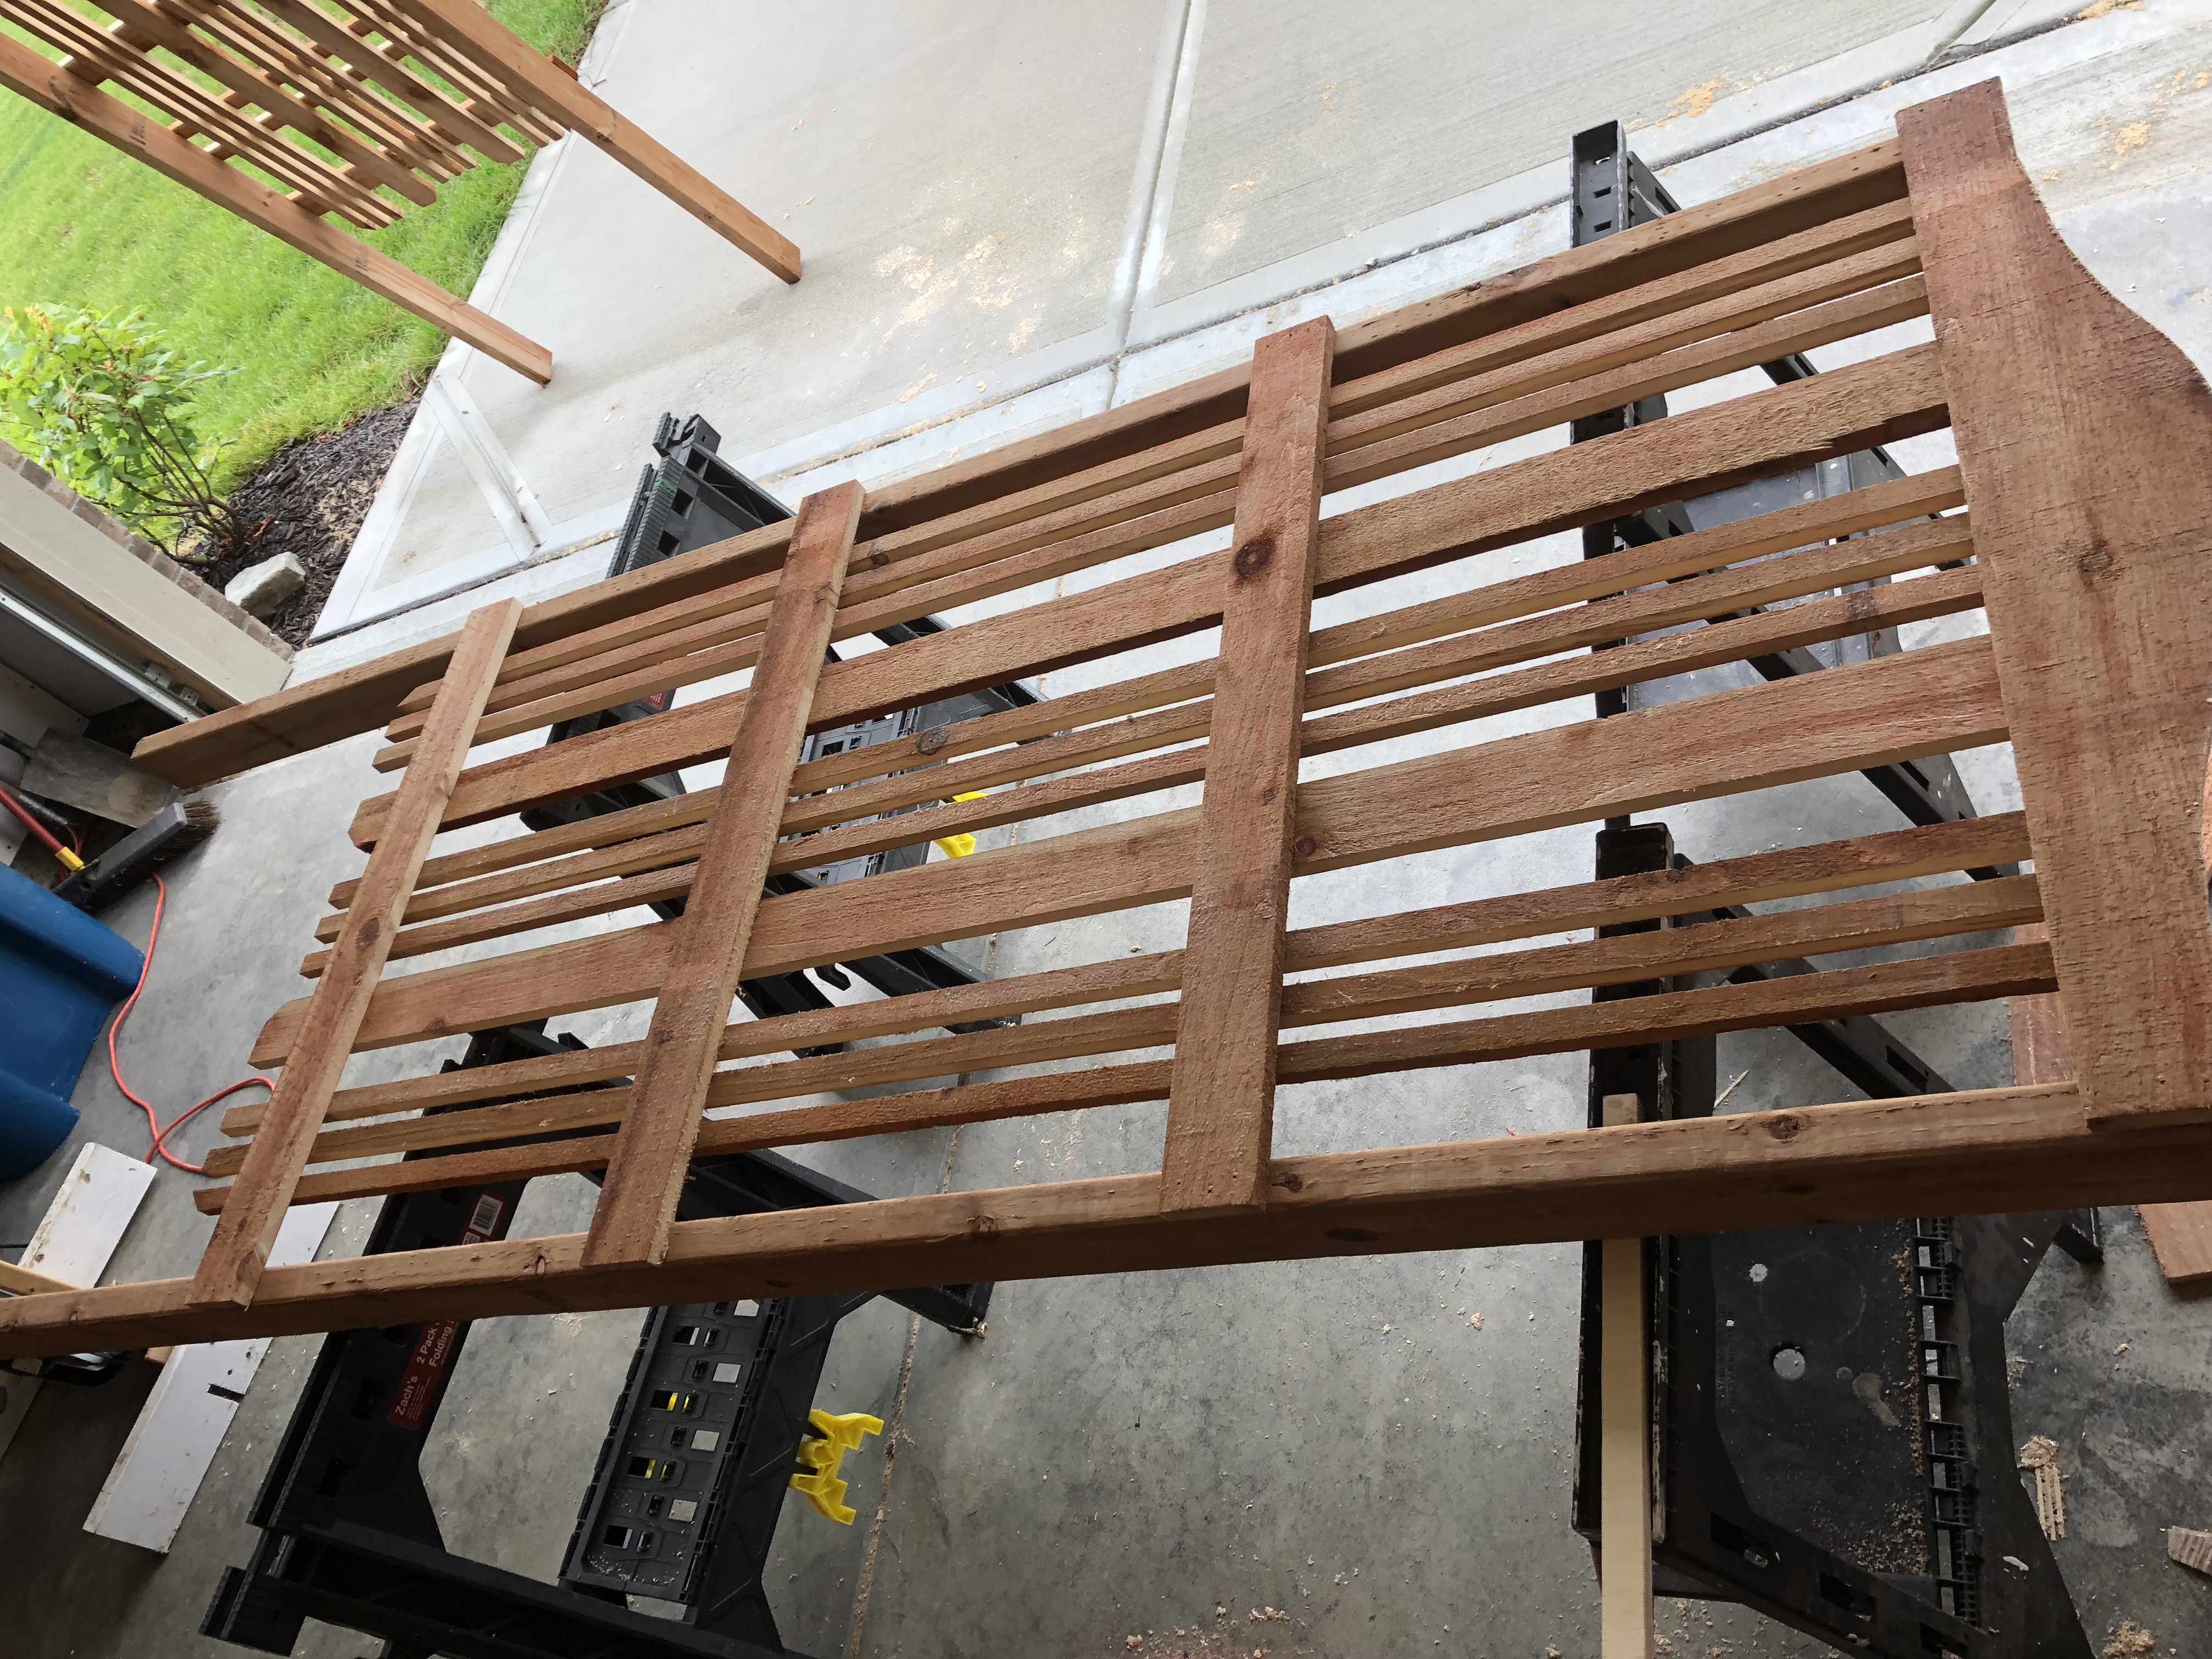
After flipping it back over, for good measure, I nailed it everywhere there was an intersection of horizontal and vertical slats… Within reason. It was plenty strong once everything was nailed together. I wanted this structurally sound as it will probably get some decent wind load in our back yard.

There you have it! A quick weekend project to make your backyard more private and pleasant!
Let us know what you think in the comments section. If you build one, take a picture and post it!