Entryway bench seating is one of the additional features many builders are offering. It allows for a place at the front door, or mud room, to take off or put on your shoes, coats, and weather apparel. Some also included some much needed storage options.
Every built-in bench we saw made us want one more and more for our next house. However, as we were pricing out our house, we quickly realized we weren’t going to be able to afford to have the builder put one of these in for us. We’d have to do it ourselves.
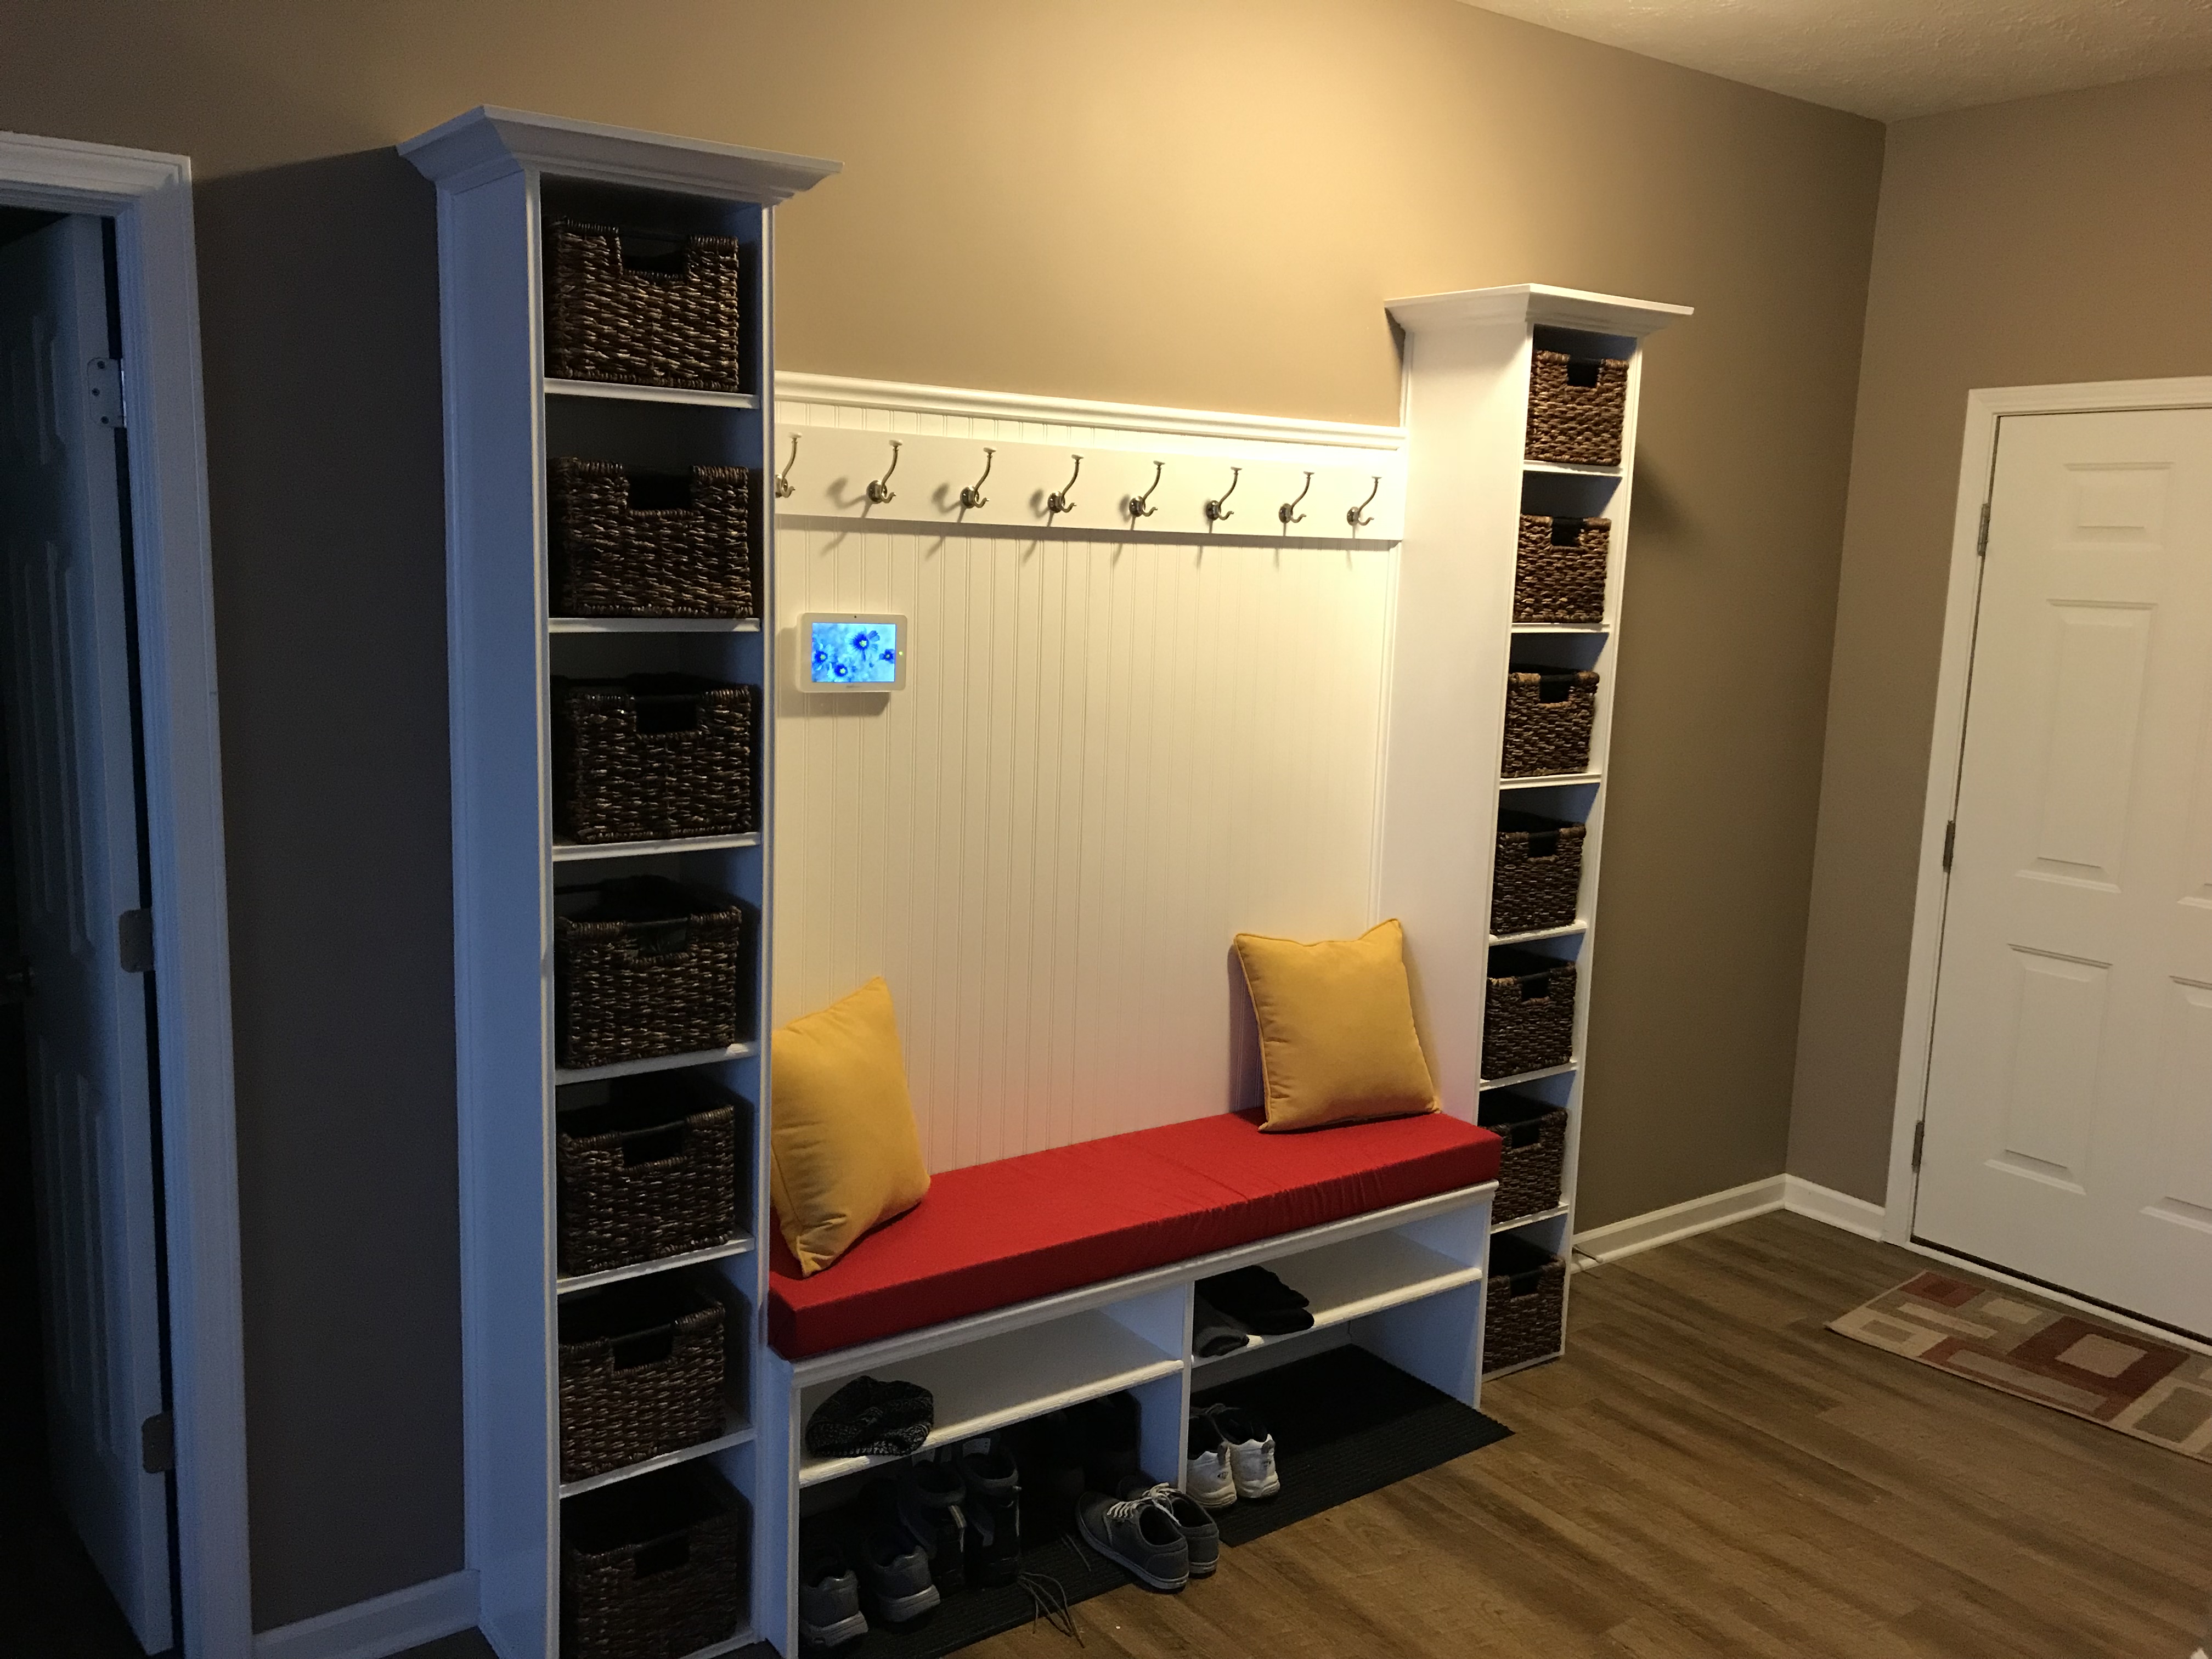
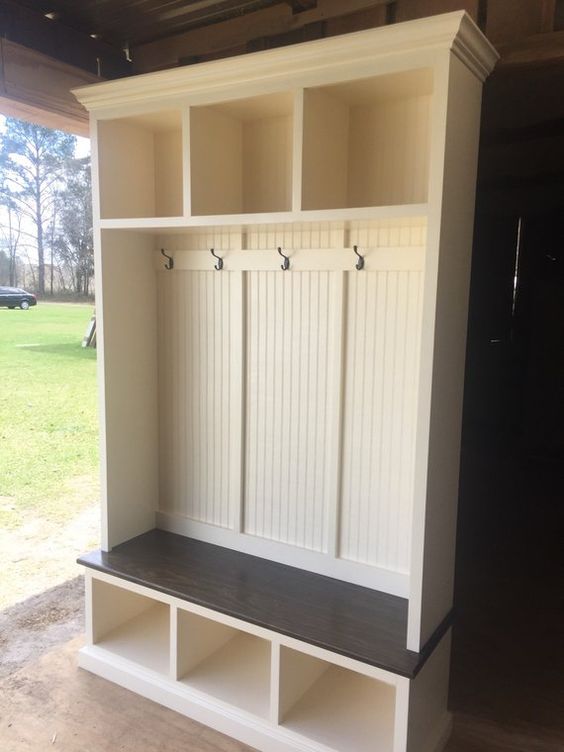
In the picture above, you can see the final product after all the work, setbacks, and paint fumes. While it took much longer than we anticipated, we learned many things along the way. One thing we discovered is that we had the ability to create something that looked pretty darn good. So if you are thinking about something similar, you can learn from our mistakes!
I’ll start off with background on the project, how we approached project planning, how we went about building the project and some of the lessons we learned.
If you’d like to skip all the blathering about planning and get right to how we built this, jump ahead to the Draw it out section.
Here are the steps we went through:
- Figure out what you want AND your budget
- Draw it out
- Figure out how you will use the materials
- Identify the materials you need
- Buy and stage the materials
- Begin the physical process of creating the bench
- Paint (Highly controversial)
- Install
- Final prep and painting
- Final touches: Trim and Caulk
Bonus:
Create a custom bench cushion
Step 1: Figure out exactly what you want
This sounds pretty simple, but it’s much more involved that we thought at first. Like I mentioned earlier, we originally got the idea to build a bench as we were building our latest house and we were visiting multiple “demo” houses. We love doing that. Highly recommend it if you’re looking for DIY projects for your home or great decorating ideas.
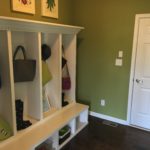
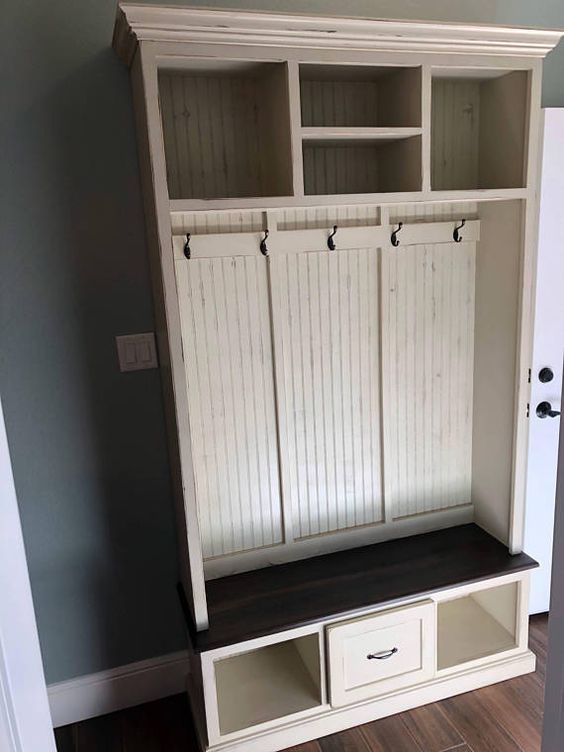
Here are some of the pictures that got ideas brewing in our heads:
We liked the idea of sitting down to put on and take off our shoes. We were fortunate to have a large space in our entryway to work with. In fact, it looked really odd to NOT have something in the space.
We also needed storage for coats, purses, keys, hats, gloves, etc. Our house didn’t have the option (or more like we couldn’t afford the option) to have a coat closet in the entryway. And we have shoes. Lots and lots of shoes. They multiply every time I turn around.
We also felt that if we did a built-in solution, we could add value to the house as well as being extremely useful. We did investigate many options from simple off-the-shelf benches to pre-made shelving units, but none of them were exactly what we wanted and many were too expensive when all was said and done.
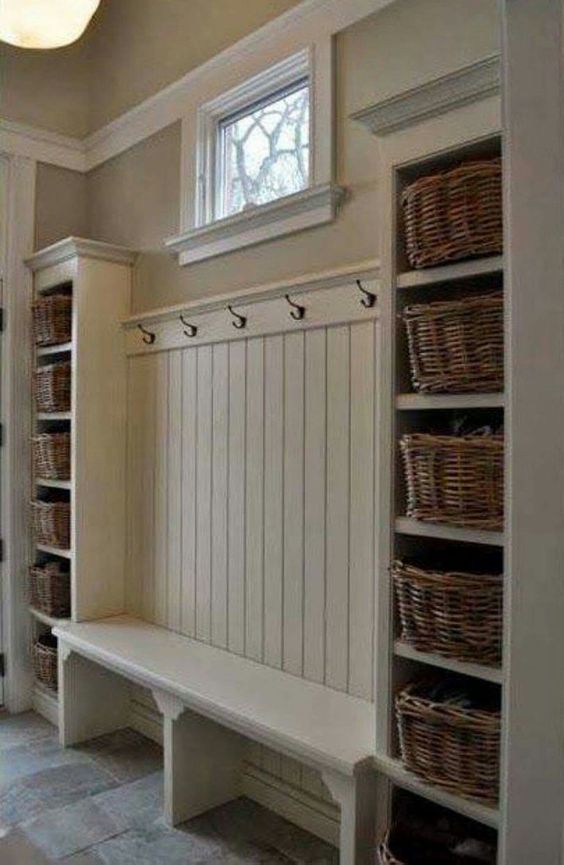
To give the proper credit, we finally settled on this design we found on Pintrest
(image is linked to the last Pin we saved):
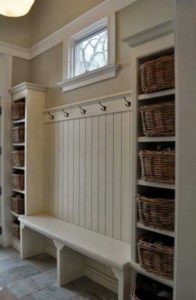
We wanted to use this design, but unfortunately we couldn’t find any information about how it was made or anything. Just this picture. I recently read somewhere that the two end shelves may have been Ikea shelves that were modified, and looking at the picture, this could definitely be the case. However, I could never find anything but posts referring to the picture. If you know more, please feel free to leave a comment as I’d like to credit the original posters appropriately.
We really liked nearly everything about this particular design, so we went about seeing how we could design everything from scratch. While I will admit there were some pain points along the way, it was a good learning experience.
I don’t have much wood working experience and even less with furniture making. But I was motivated, and I enjoy learning new things. So the journey began.